
The Stitch part of my business has been wanting to be creative. I’ve never made a quilt, but I wanted a challenge so I went for it.
I don’t know how I found it, maybe it was part of the algorithm on the socials, but quilting videos popped up. Then that led to finding all kinds of quilting pages. I found out that some sell Quilt Kits. I didn’t know it was a thing, but I was all for it because they had kits that had modern prints and less old lady vibe. It also took the stress out of finding fabrics that go together. There was also good quality fabric brands that I’ve used before. I went with @peonypedalquilts. This is what the quilt kit looked like went I pulled it out of packaging. The fabric is labeled to go with the pattern. You just have to cut the pieces. The quilt kit is for a Throw size.
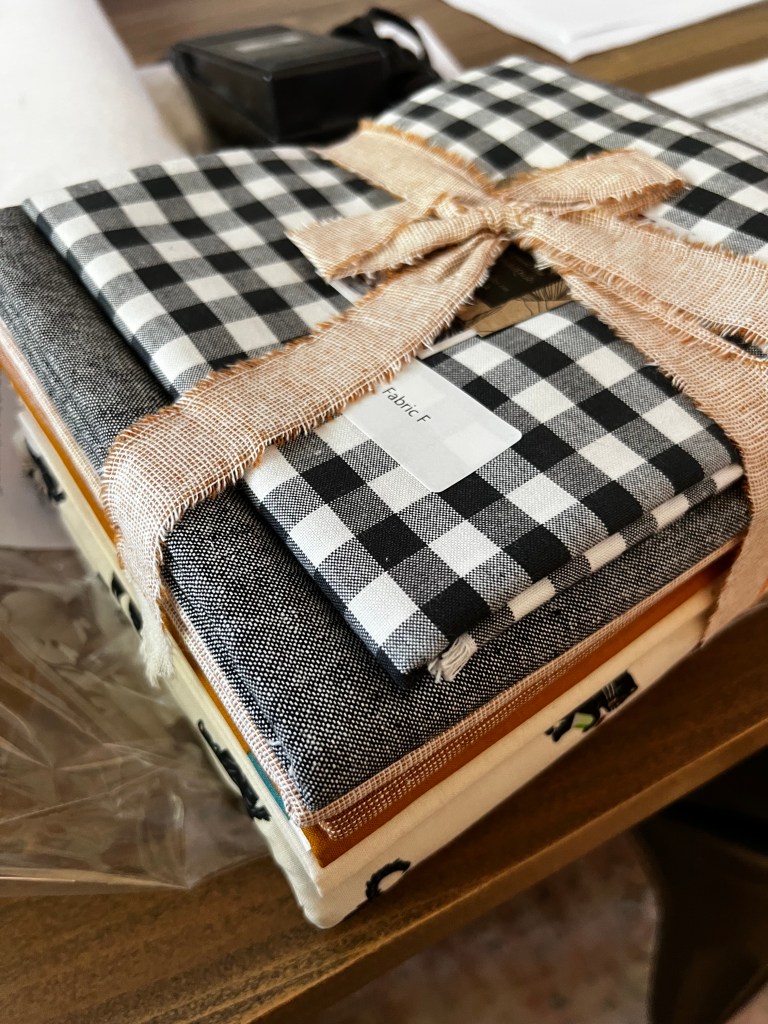
I purchased it from her Etsy page PeonyPedalQuilts and the Quilt is called The Little Kitten-Marjorie Quilt The pattern wasn’t included in the kit, that is sold separately but it’s listed in details what pattern to purchase. The pattern is called Marjorie by @penelopehandmadeshop. Yeah… for my first quilt I was really going for it and it was listed at Beginner.
I printed off the pattern looked it over and started going.


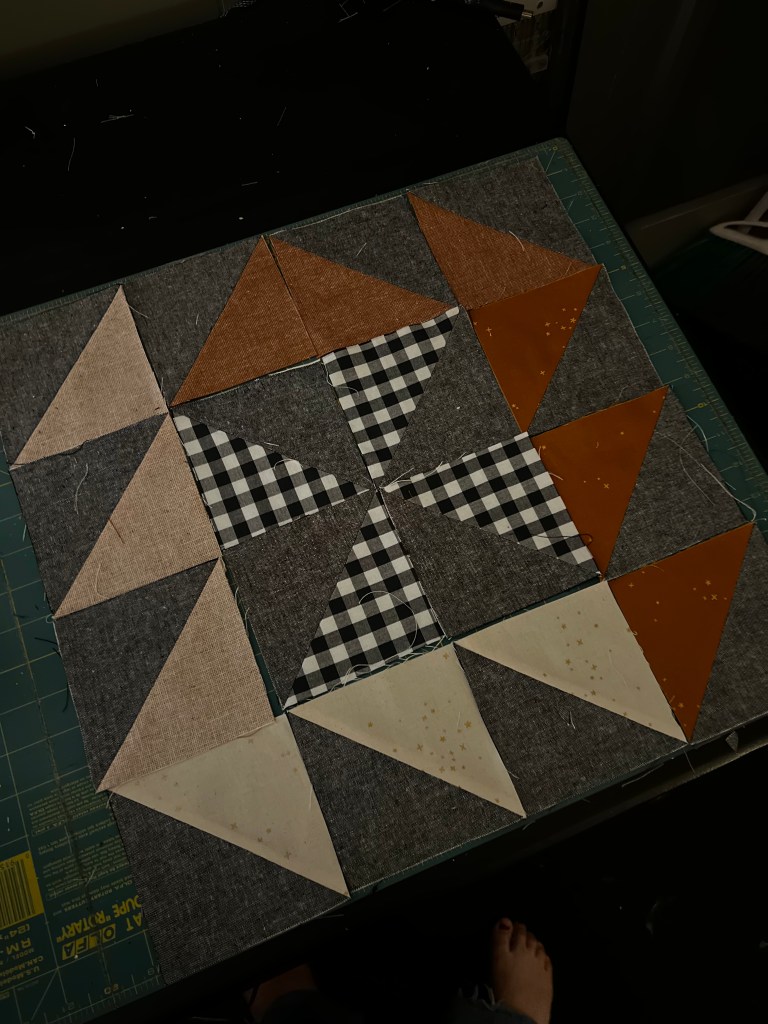
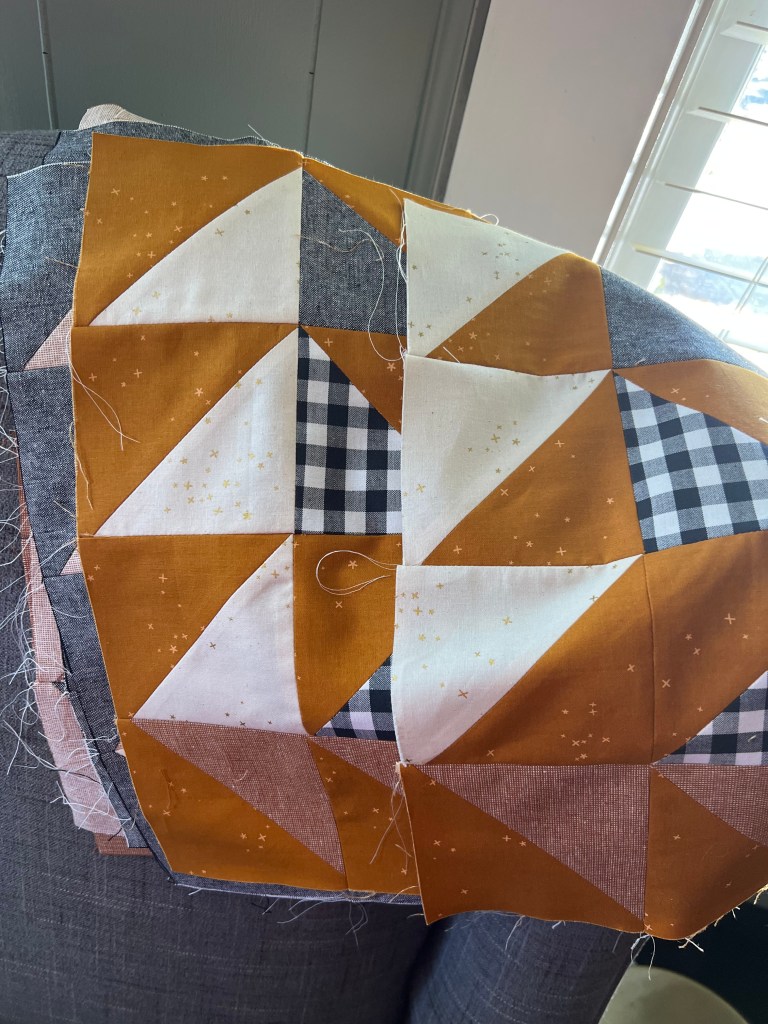
This is where I laid out my first square. The amount of times I burned my fingertips doing the creases in all this triangles. It was worth it. They looked like this once I sewed them all together.

Is it perfect? No, but I was pretty proud of myself. After this I had to make 15 more to complete the squares. I only had to take apart one of the squares, because I didn’t do the layout right. Here they are stacked nicely waiting for me to sew them all up. I need to square them up before sewing them all together.
The day had come and it was time to sew them all up. I was soooooo nervous because I really didn’t want to screw this up. I laid them out 3 times on the floor in the dining room before sewing them altogether.
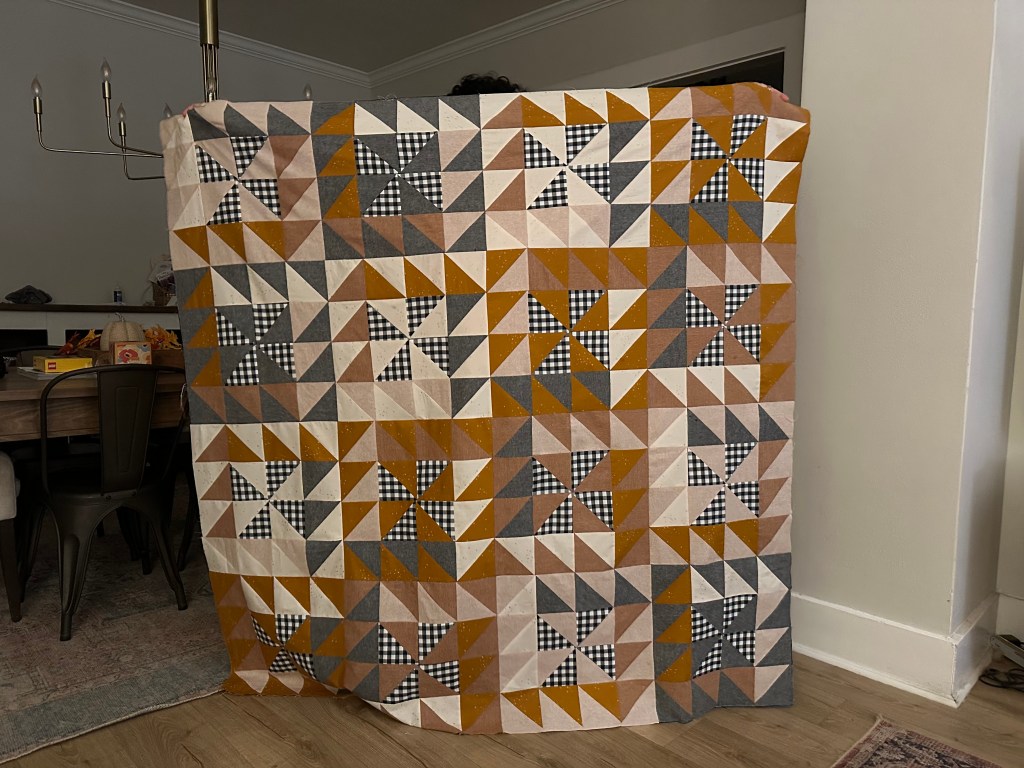
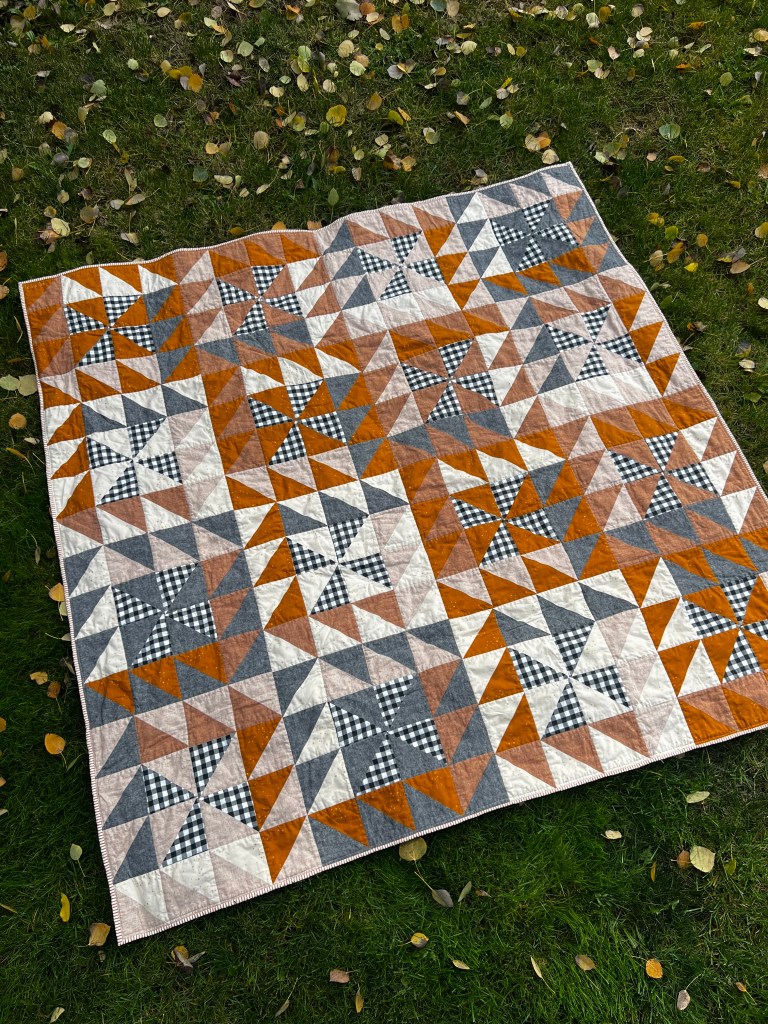
Look at it all sewn up! There are some imperfections, but I think for my first time it’s pretty good. The last few steps were the hardest. I didn’t know anything about batting, basting, and binding.
These were things I’ve never done and I needed help. I contacted my Mother In-Law a lot through this project, but the other place I found help was at the local Fabric store in town. Woodburn Sew & Vac. I went in there for random things from time to time, mainly thread. It’s the hangout for a lot of Senior Citizens in town. They finish all kinds of sewing projects in there. A cute little dog named Daisy likes to greet you when you come in.
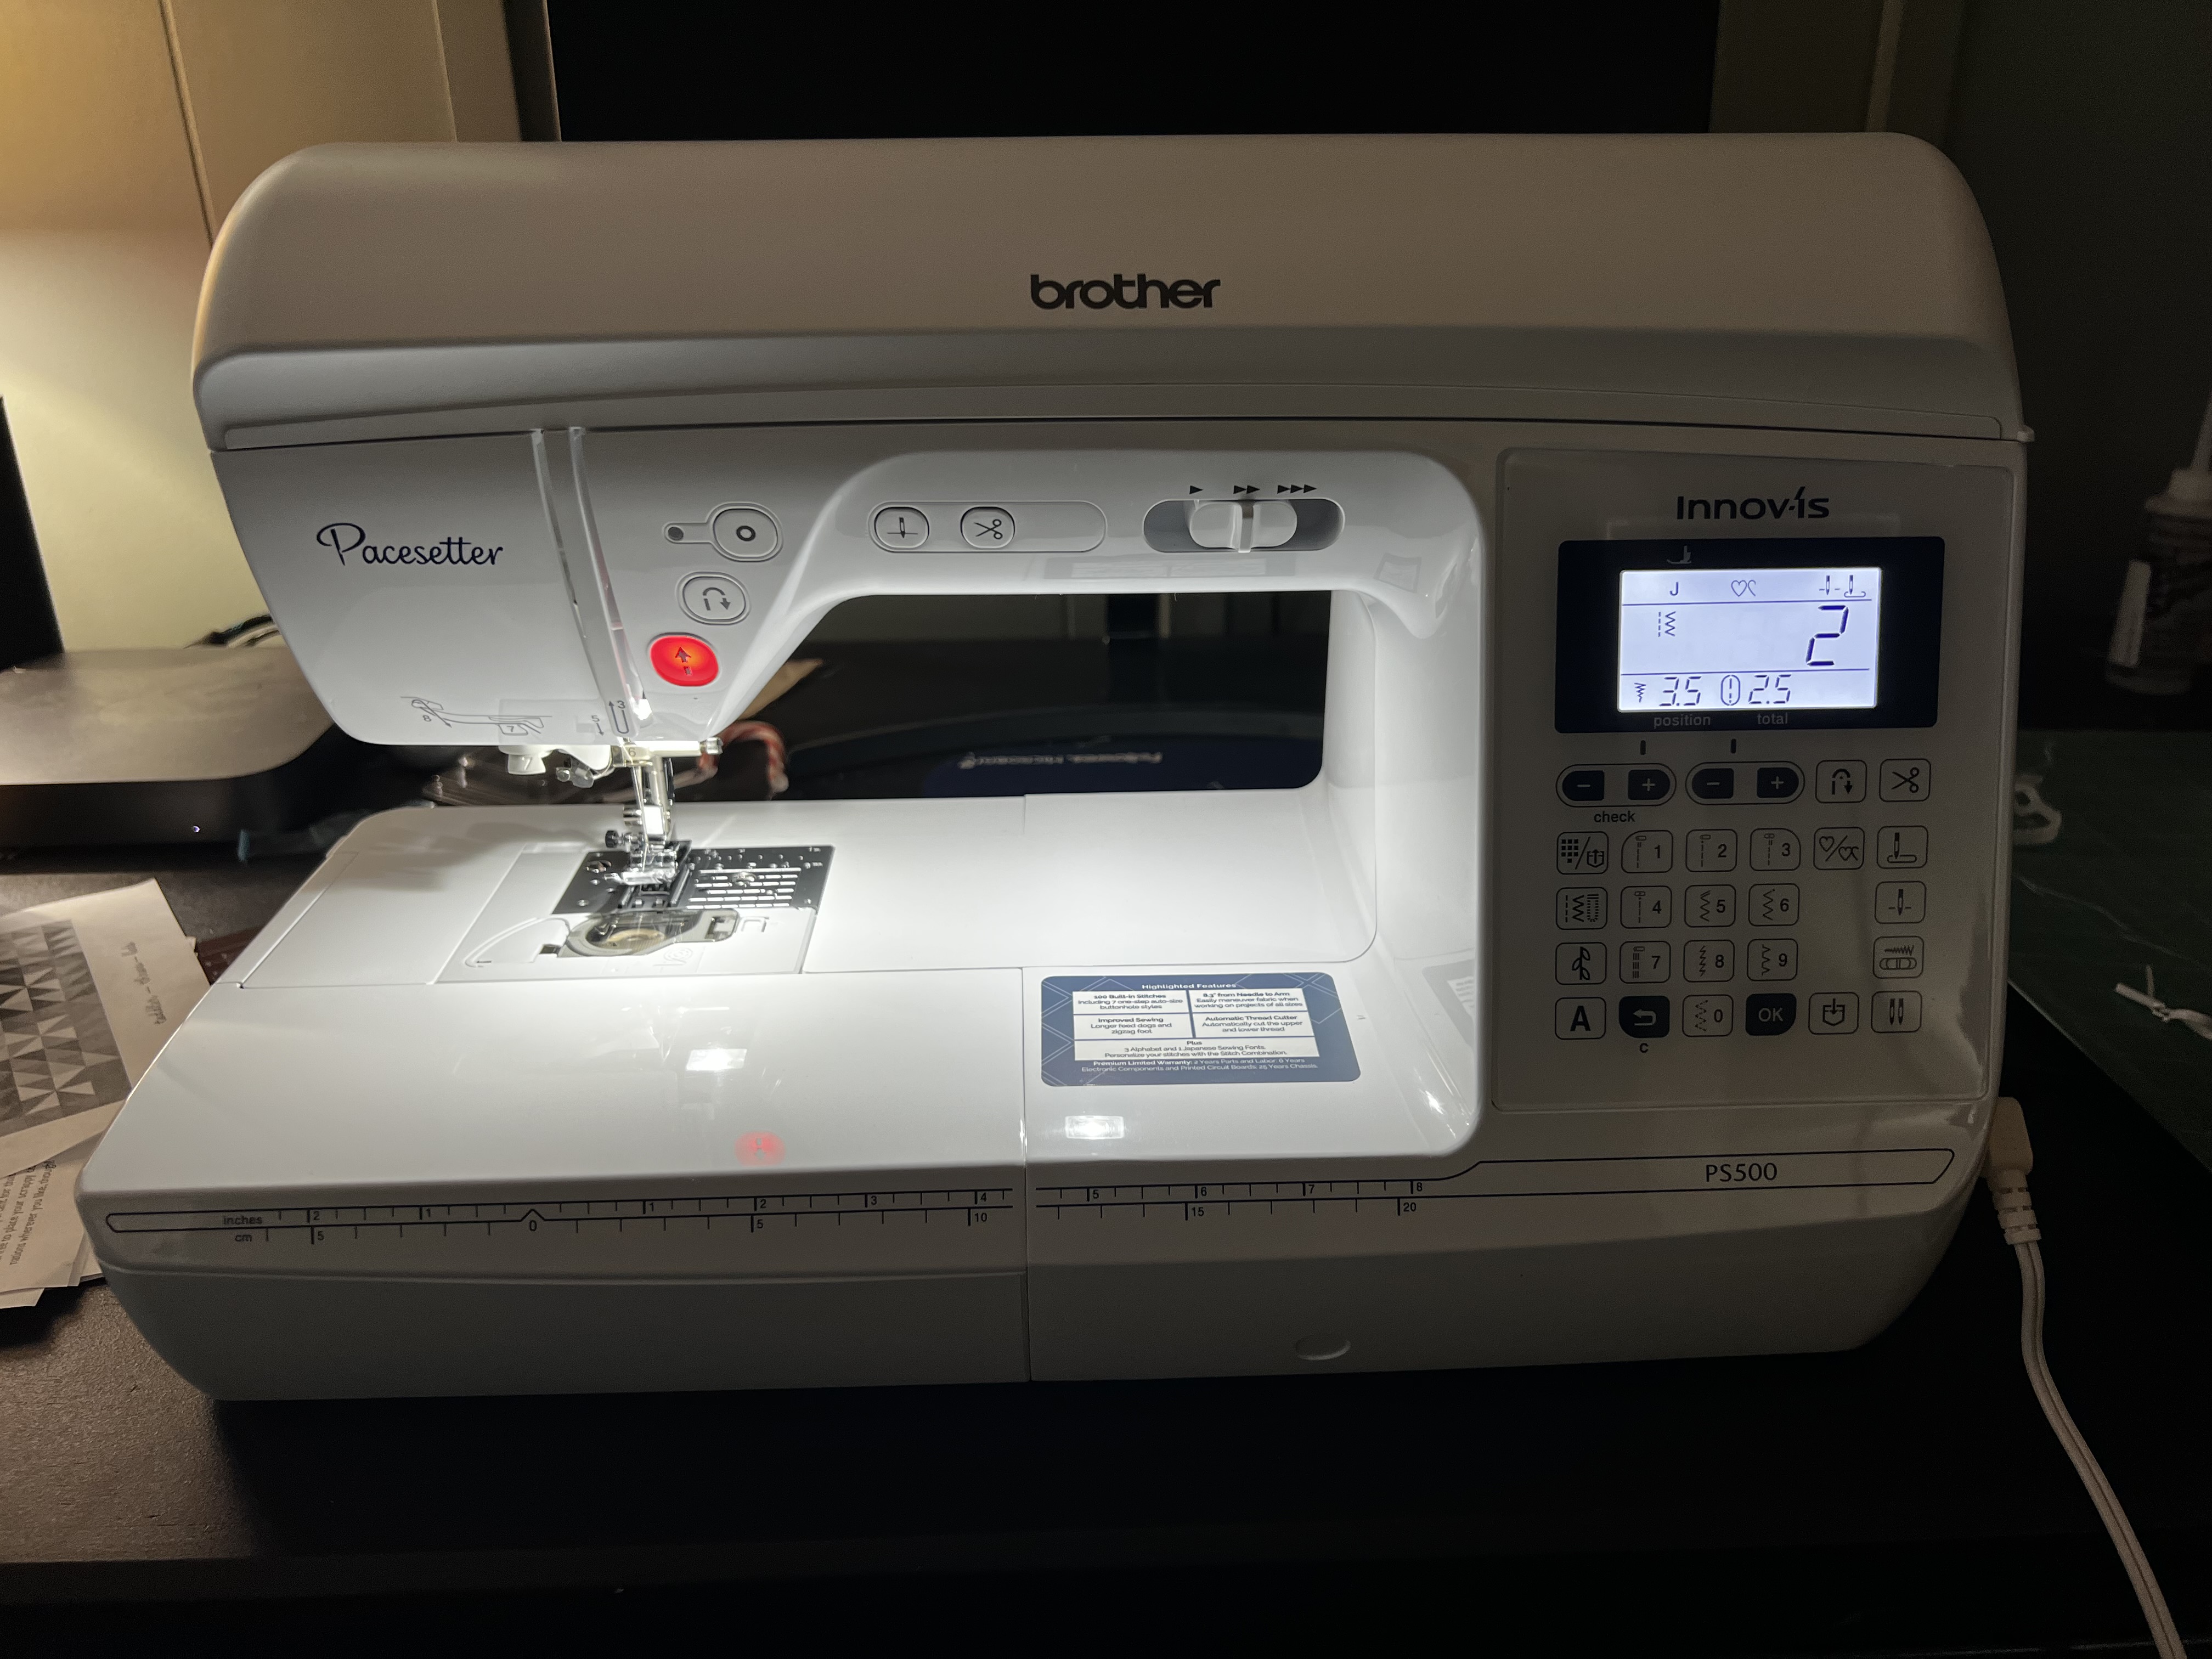
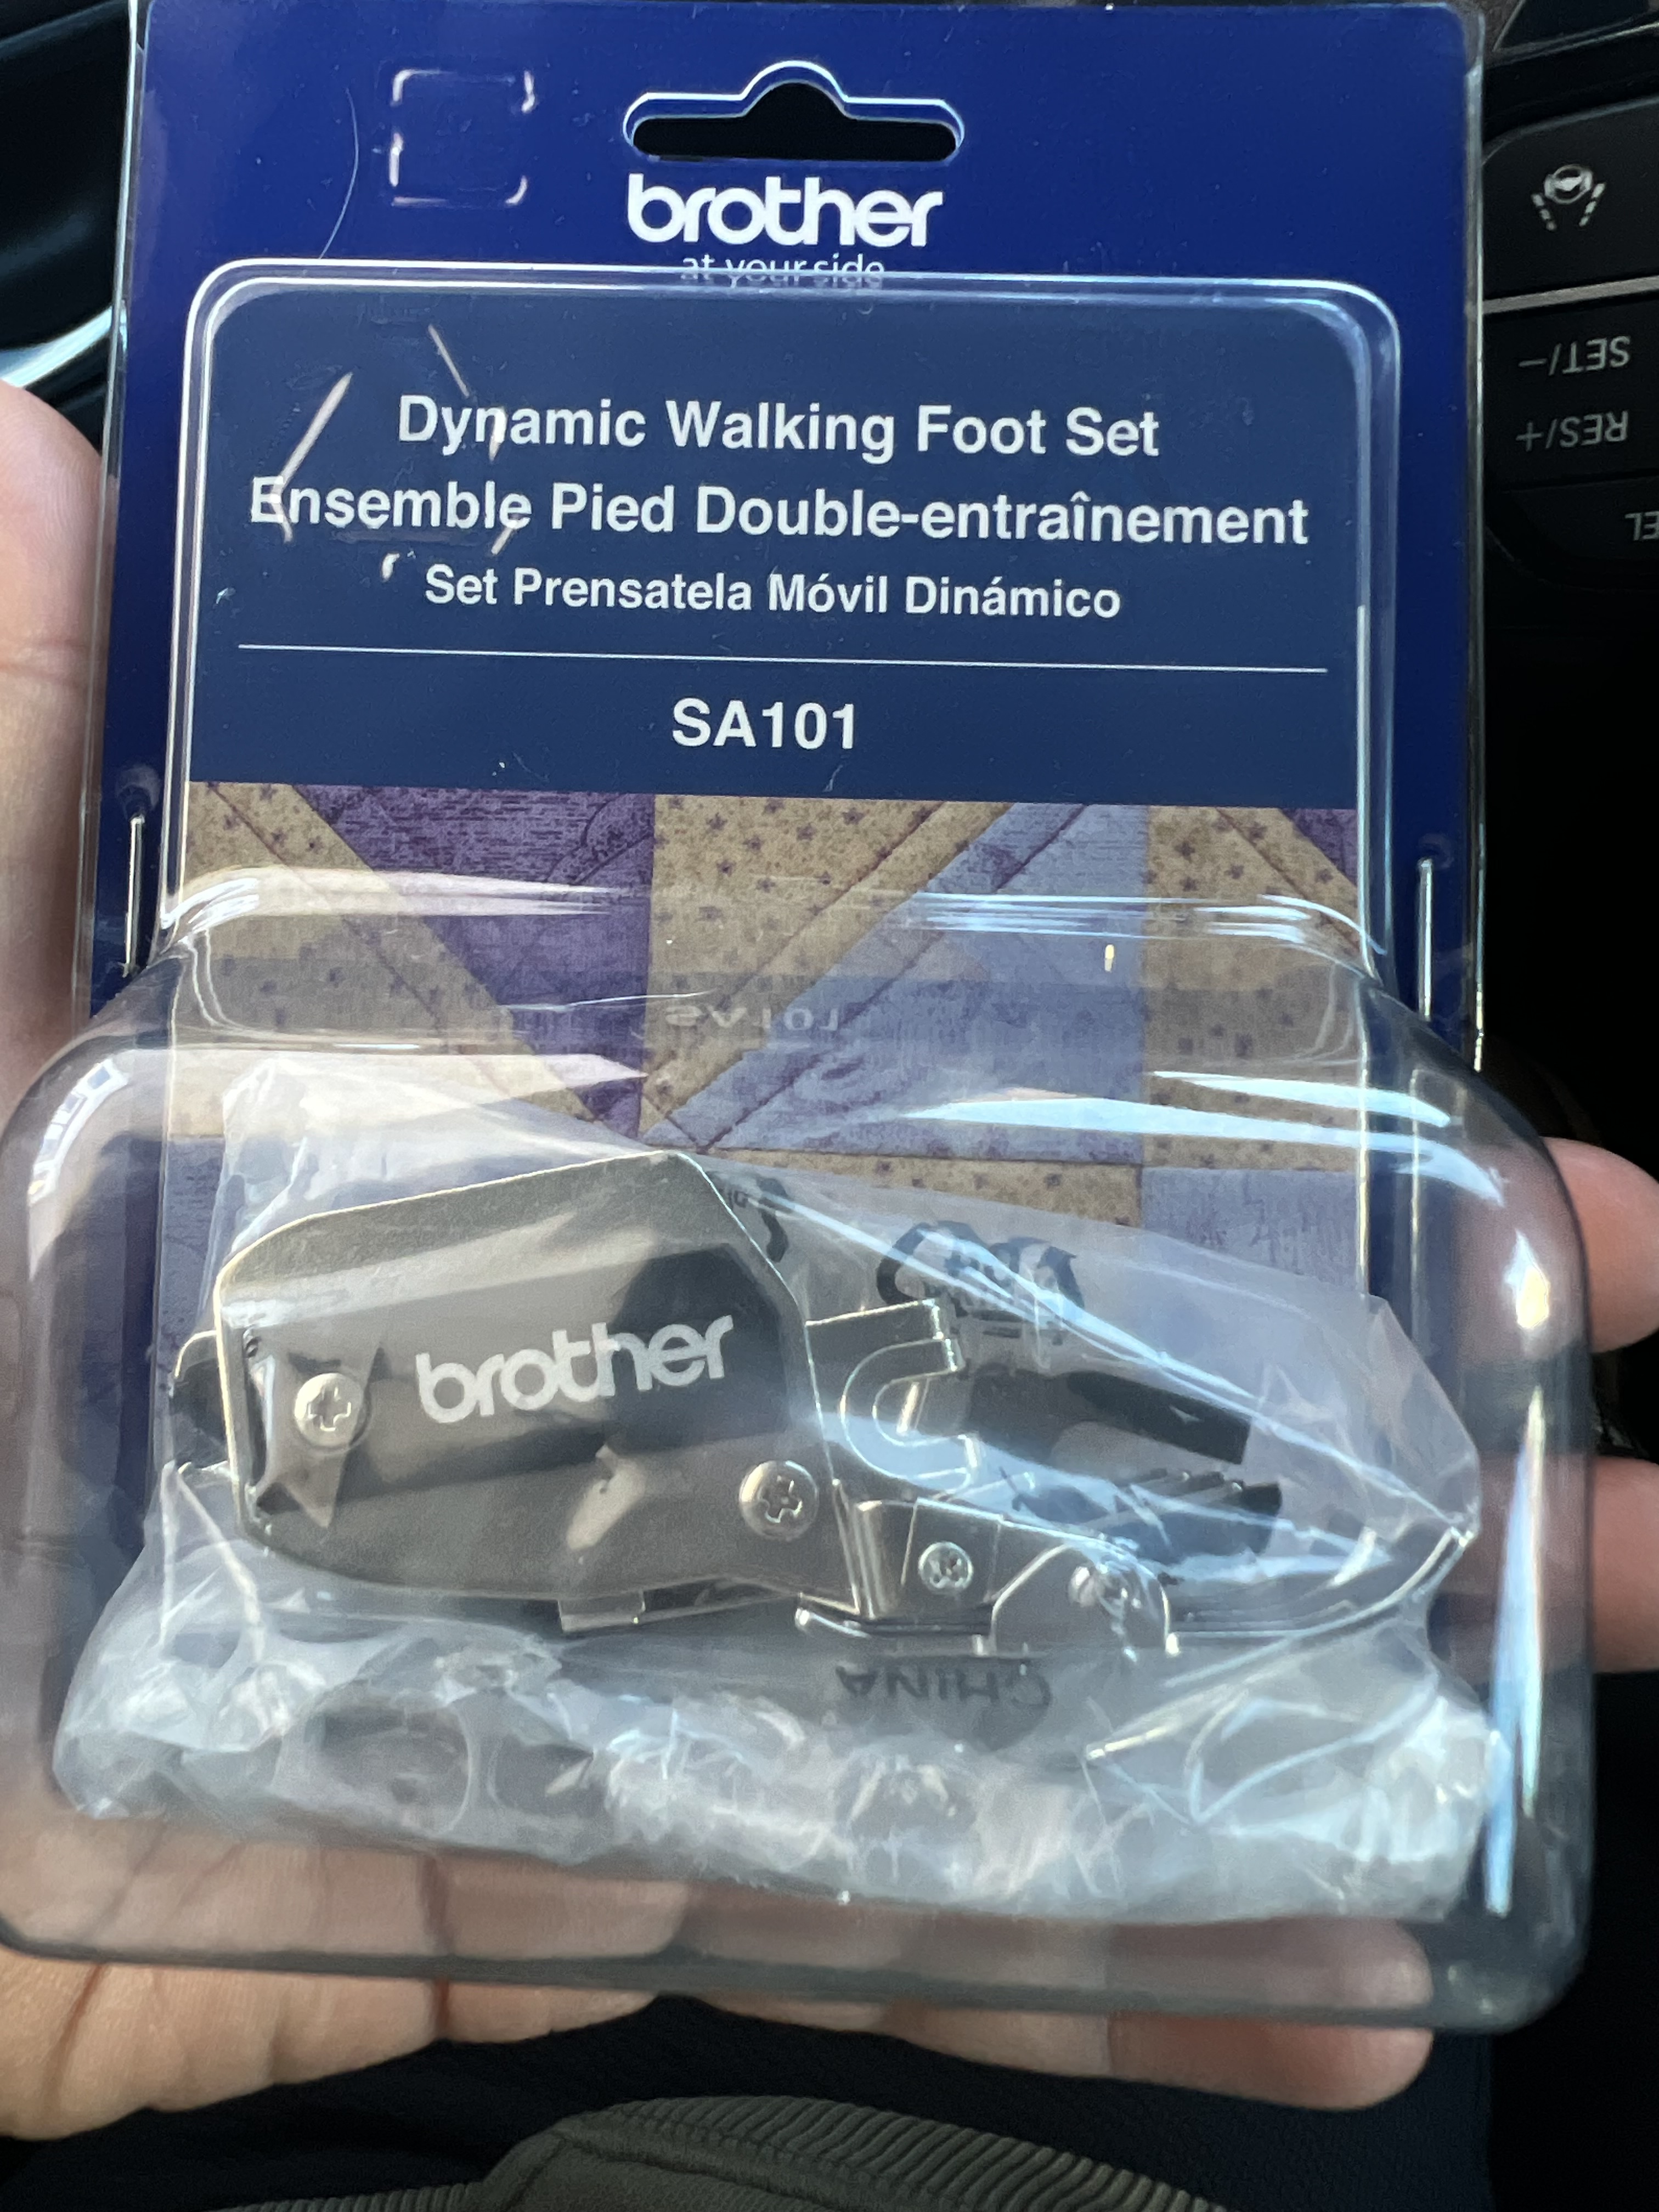
I went in there enough where the ladies that worked there recognized me, but I’m totally spacing their names. I finally got to the point where I had to sew all these layers together so she gave me some tips and then tells me to use a walking foot. A what?! I learned about a walking foot, stitch in the ditch and then the next thing you know I’m walking out with a new sewing machine. Granted I knew I needed one, but Im just too cheap when it comes to buying things like this. When I make the pillows we sell, my sewing machine barely handled it, so It was something I needed to purchase for the business a long time ago. I also bought the walking foot and was invited to come in for Open Sew Days. Woo Woo!!
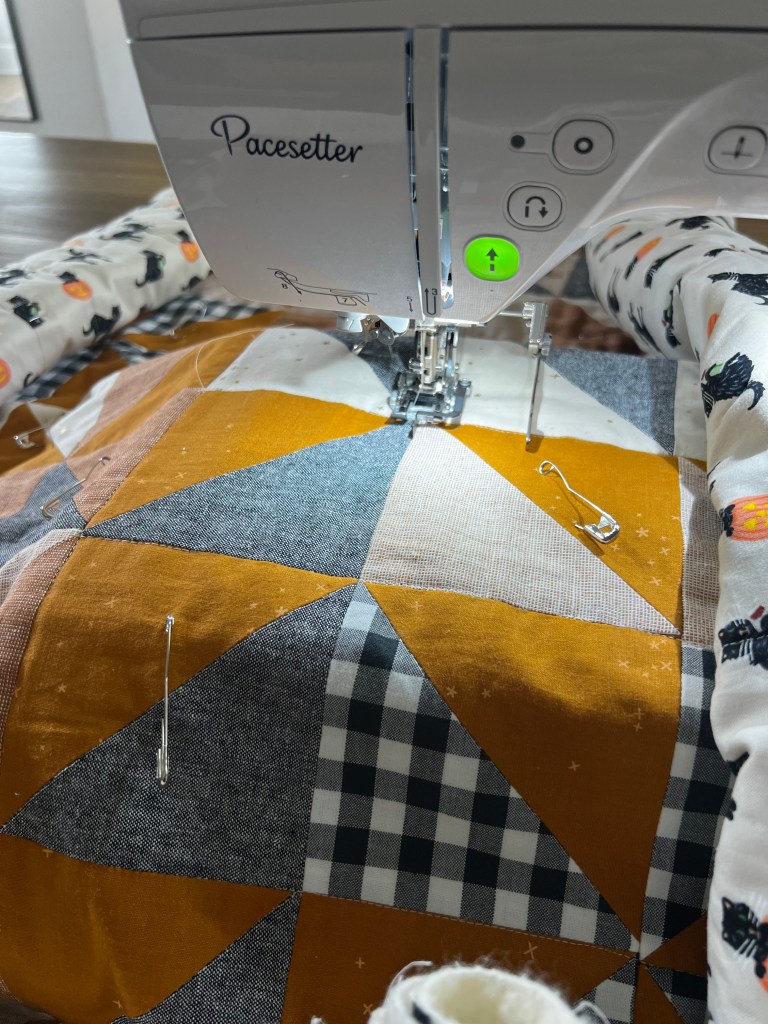
I bought the batting and started layering. I taped the backing to the floor because my MIL said it prevents it from moving. After that I take the batting out lay it on top of the backing smoothing out any lumps and then I add the quilt top. To keep all the layers from moving you’re suppose to add safety pins through all the layers. I forgot to take a picture of it on the floor with all the safety pins, but this it was it looked like when I rolled it up and then a close up of when I started sewing with the safety pins.


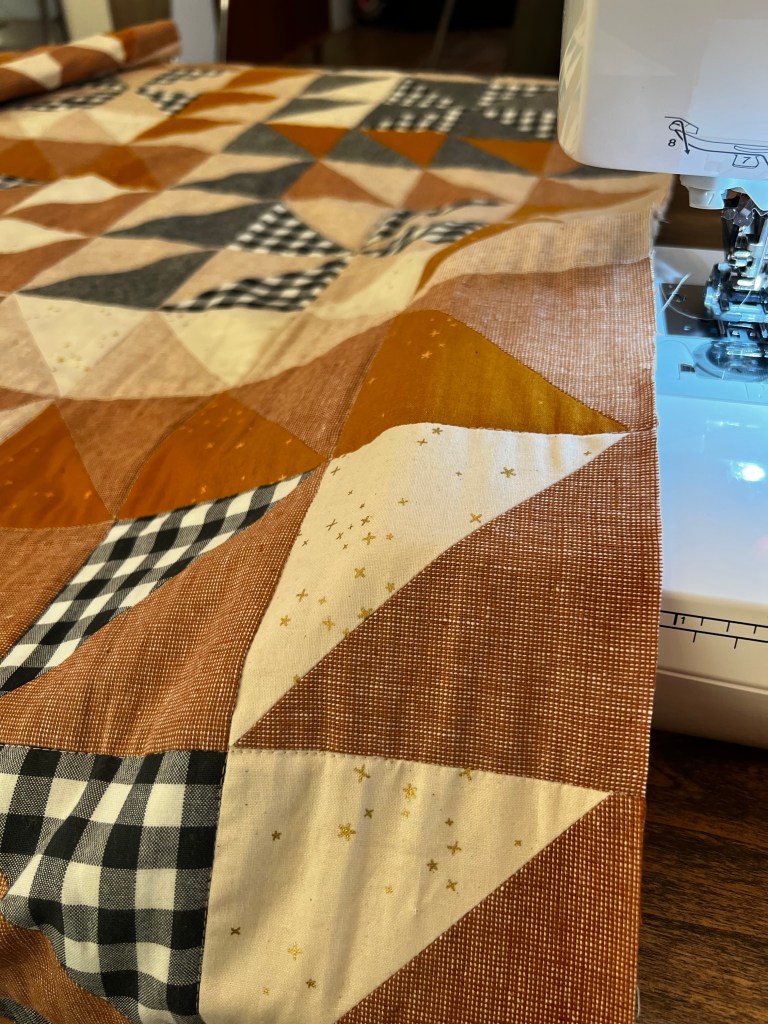
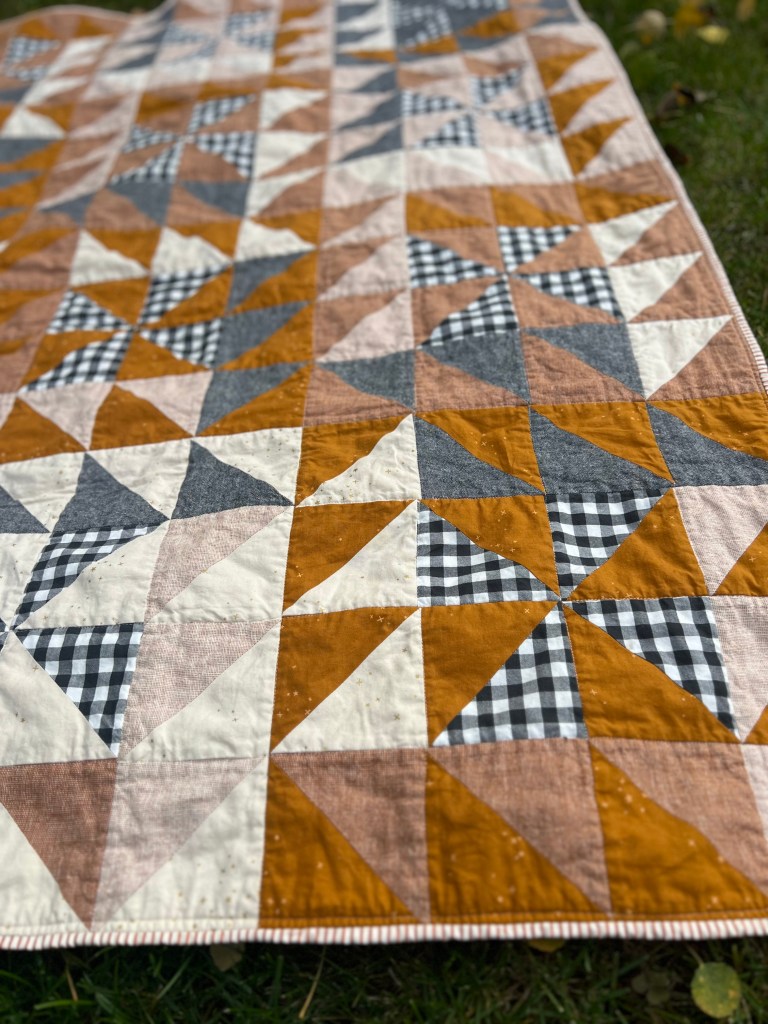
I think this step of quilting is called Basting. I went with the stitch and ditch. It means you sew through all the seams that you made. I think. I did not follow all the triangles, just the 4.5″ squares. The next part was the Binding. I was a little nervous because it was a stripe pattern and any flaws would definitely show.
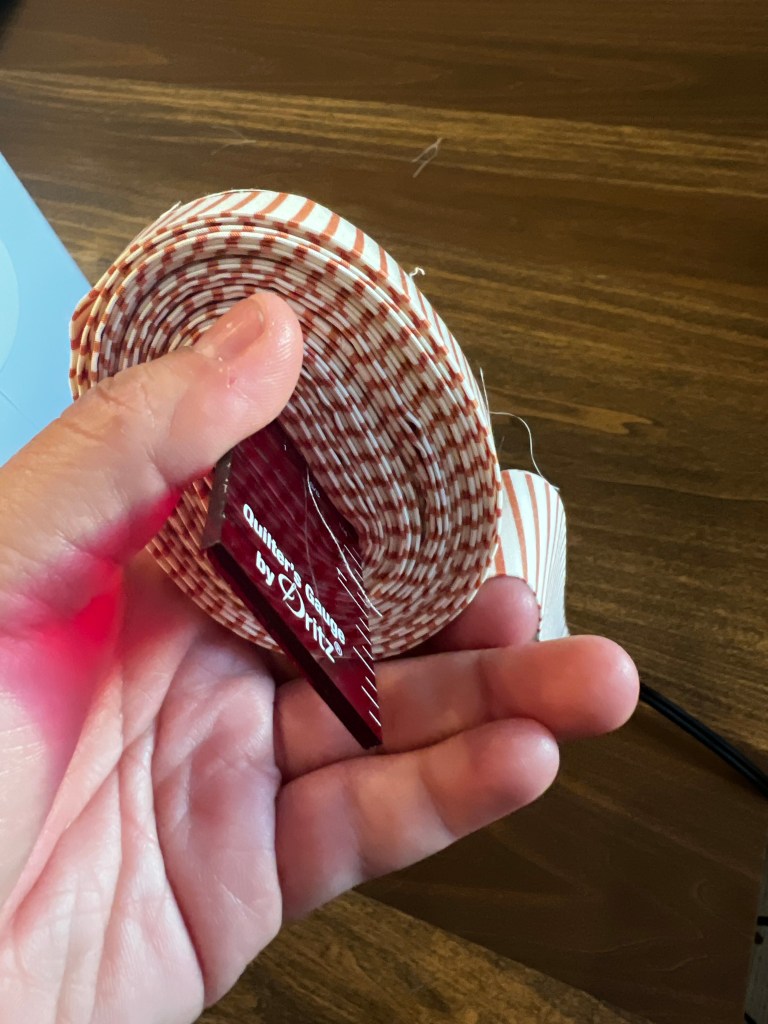
The only picture I took of the binding when I was making it. It came out pretty good. Now it was time to put it on.
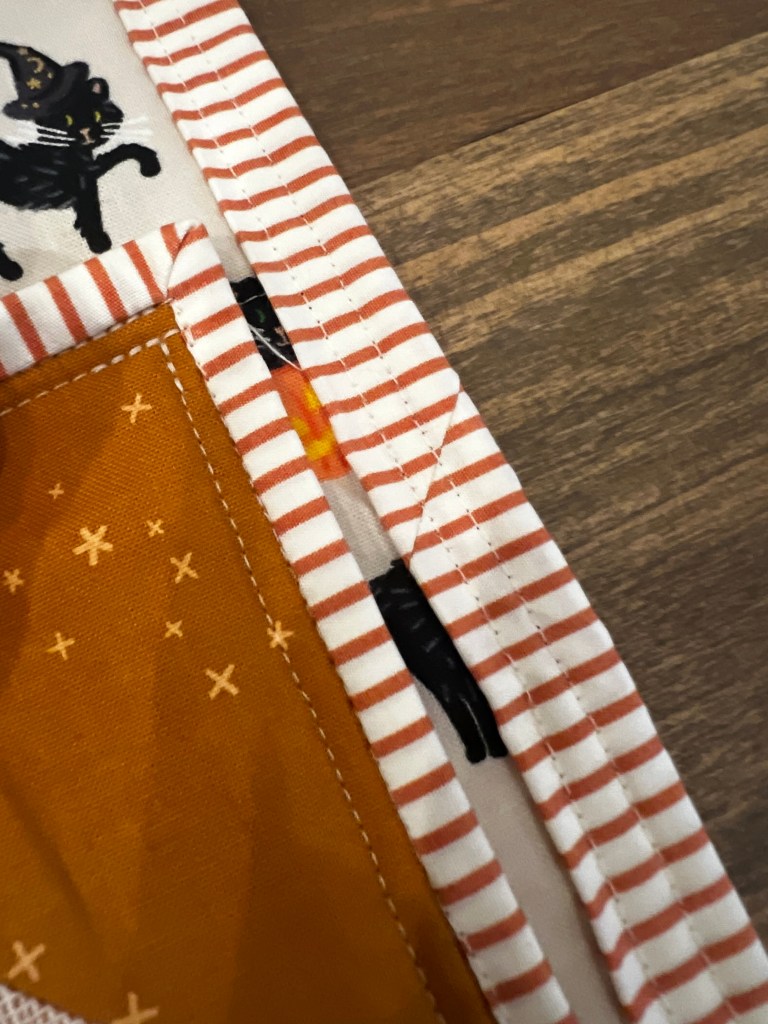
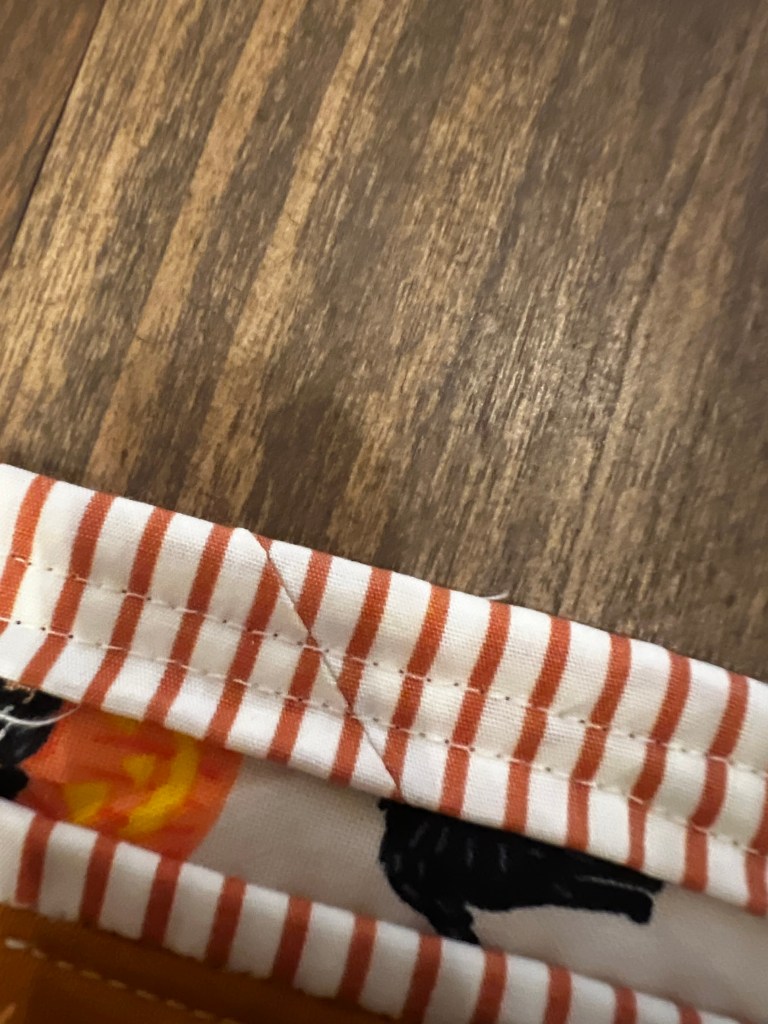
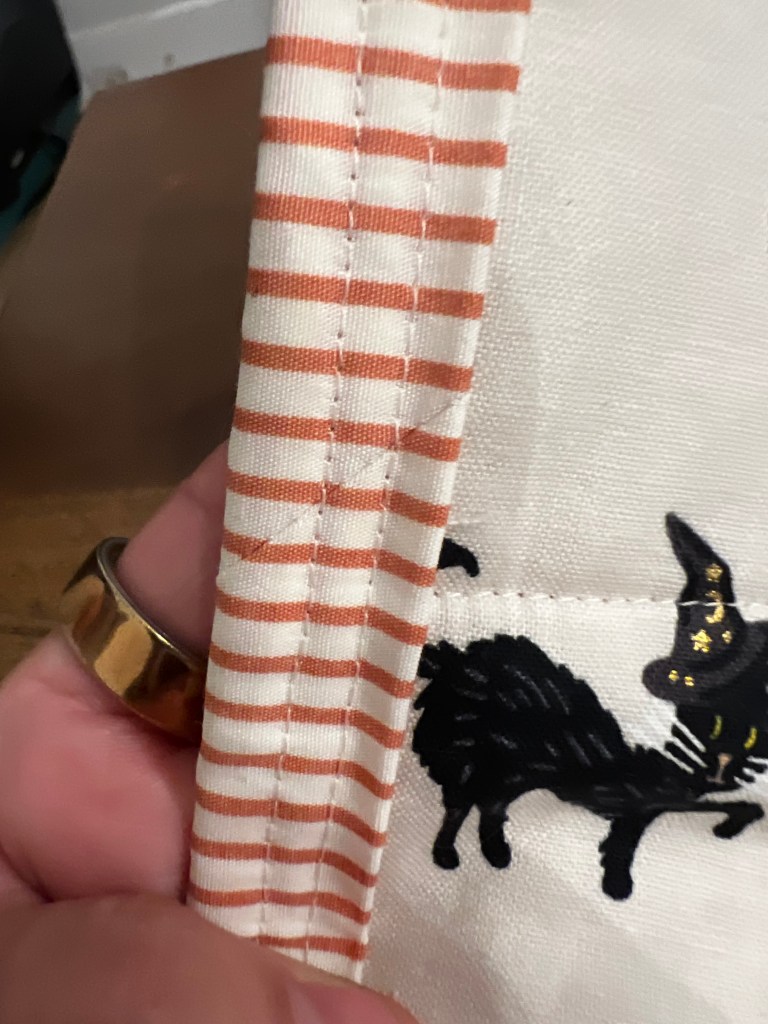
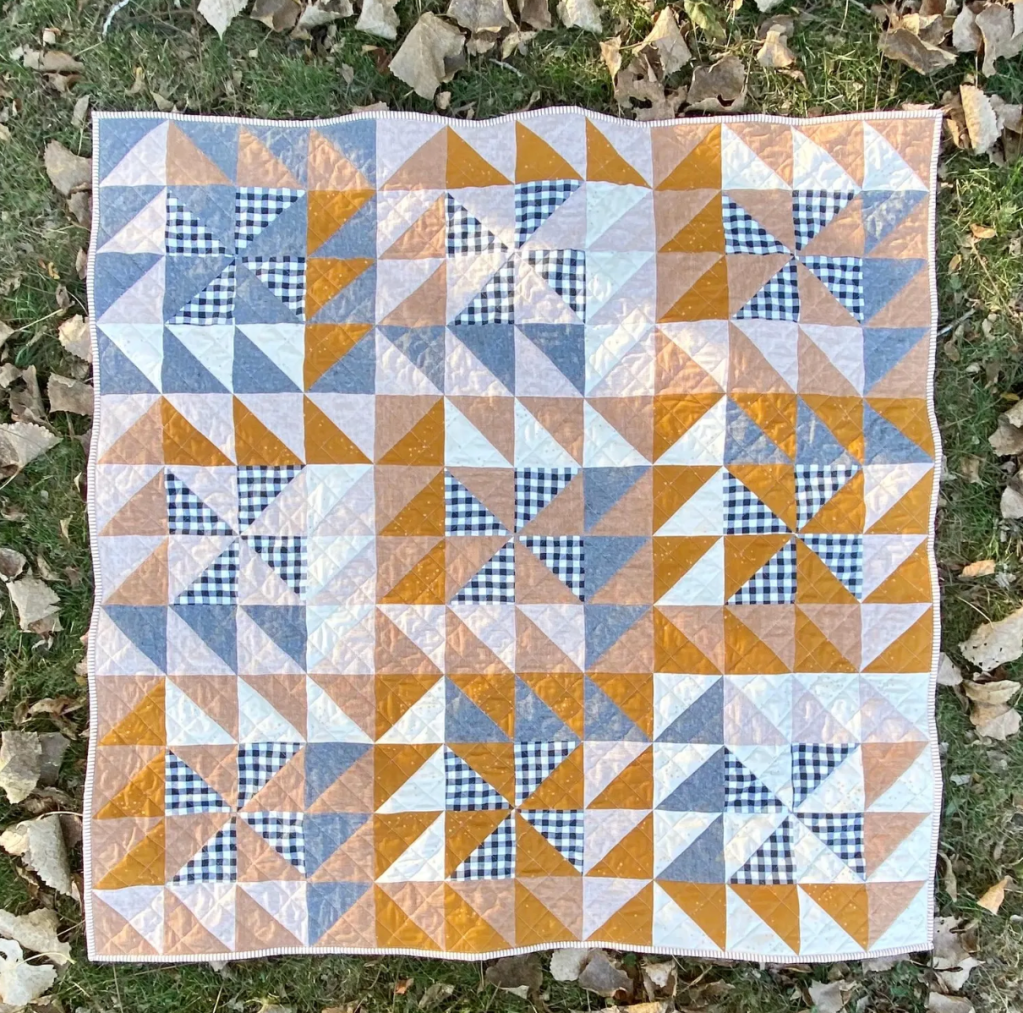
It’s on and just like I thought, I could see the imperfections I had made when making the binding. It was matching the stripes that was a pain. When I went to sew it, the piece would slip and cause it to be off. I did get one on there perfectly though. One mistake I did make with the Binding was pulling it too tight. After I was done sewing it there was a big flap, so I decided to add another stitch all the way around and it looked a lot better. It’s ok, I think I like it better with it anyway.

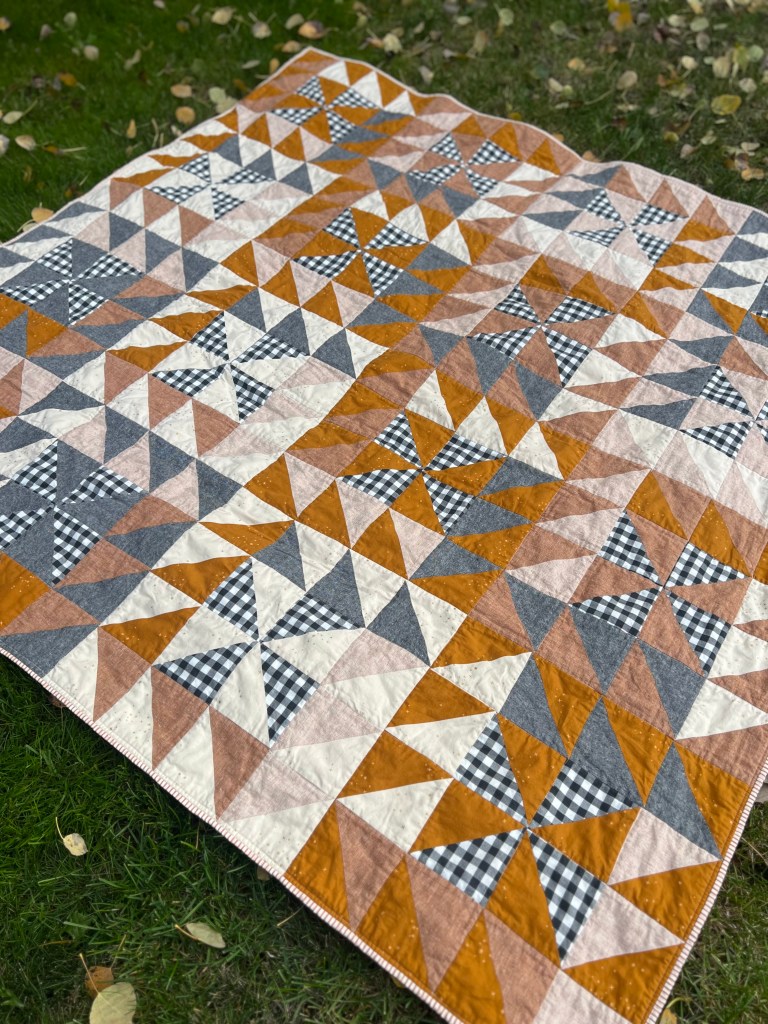
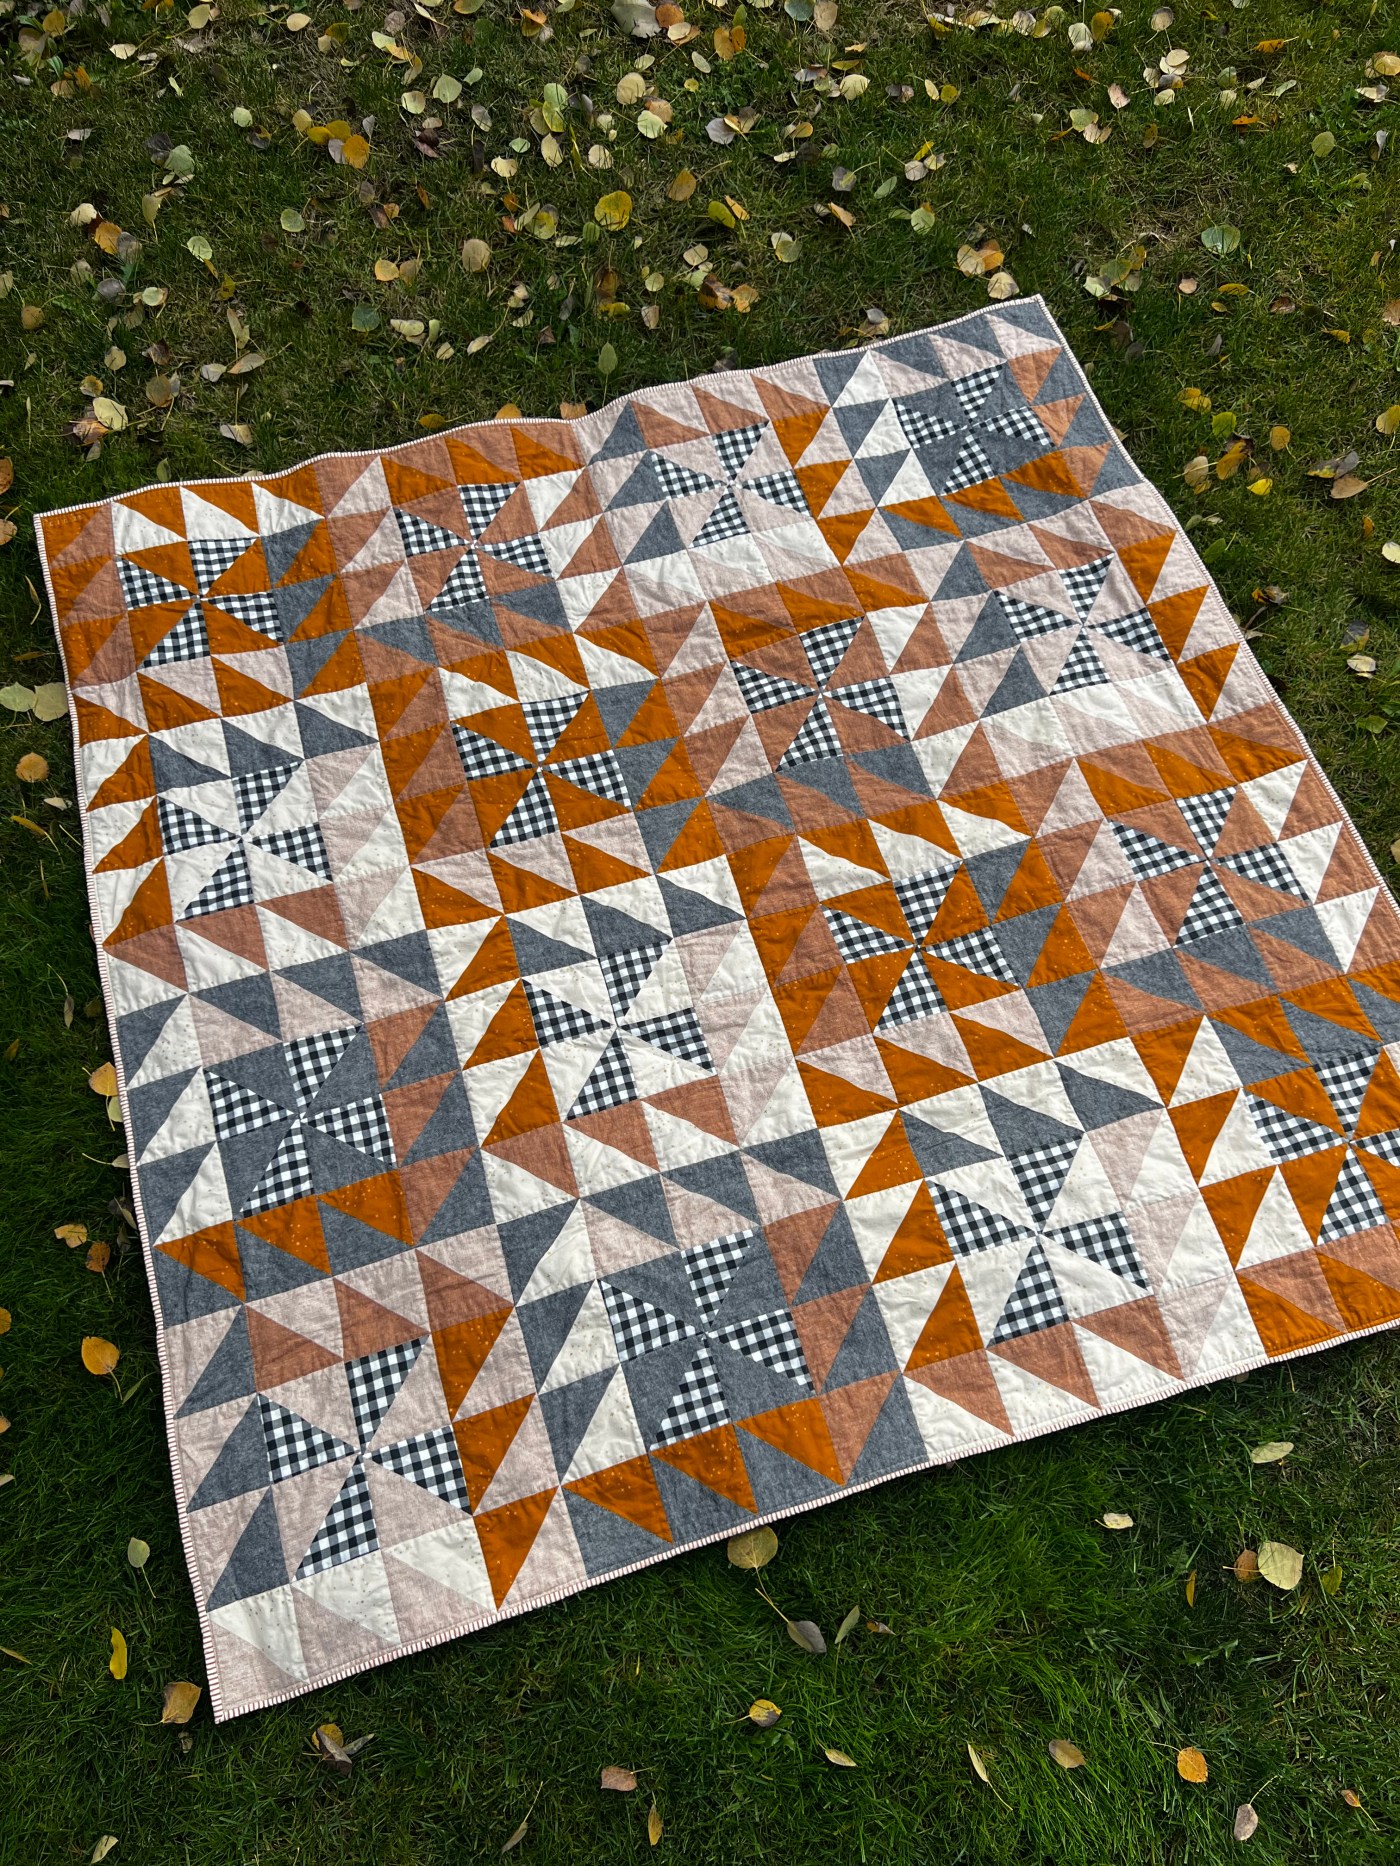
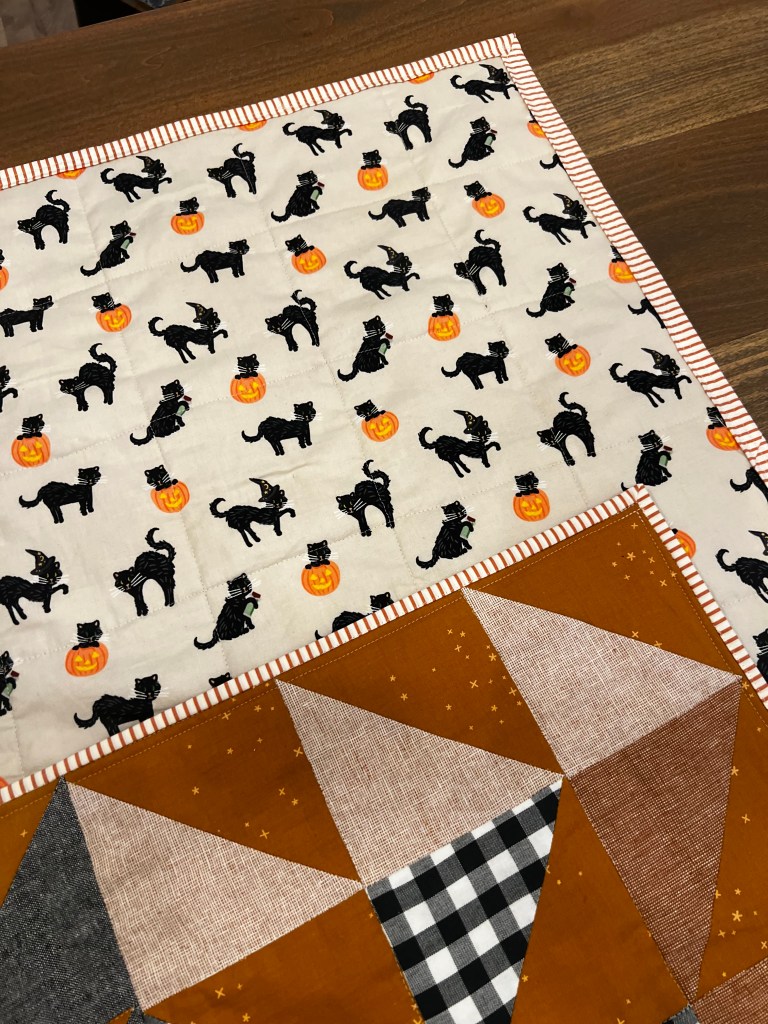
Here it is all done. I had fun making the quilt. So much fun that I ordered another quilt kit from PeonyPedalQuilts. The next thing I plan on doing is making a Quilt Ladder. They are little wider than the blanket ladders I make, so I think that will be my next build after Phase 2 of the Kitchen remodel. I think some quilted pillow covers may be up for sale soon as well.


Leave a comment