

I mentioned last year that we’d start our Kitchen Remodel and we finally started it in late July of 2024. We’ve lived in our home now for 11 years. It’s a 1908 Victorian, but through the years not much of the original victorian is left.
The house is the only original part on the property. The garage and Mother in Law suite are add-ons from previous owners. We’ve tried finding plans on our house, but have had no luck. Over the years we’ve done minor projects inside which is basically painting and getting rid of the old that just didn’t go with the house or we didn’t like.

The only thing that’s original to the house that we haven’t had to break through to find is the stairs, some windows and doors. What’s still here that we’ve had to peel through to find is the floor on the lower level and then 2 bedrooms upstairs. The exterior was changed, hiding the original siding which we’ve seen pieces of through various projects. In the Summer of 2023 we did our biggest upgrades on the exterior with a new roof, exterior paint and gutters.
We love our old house, so we try to keep what we can that’s original. At some point we’ll get to enjoy our house once we’re done doing projects. After the kitchen remodel we’re headed to the laundry room, downstairs bathroom, then upstairs to the second bathroom. So let’s get started on the kitchen. I’ll try and link some of the things we used for our projects along with the companies that we used for our exterior and interior work.

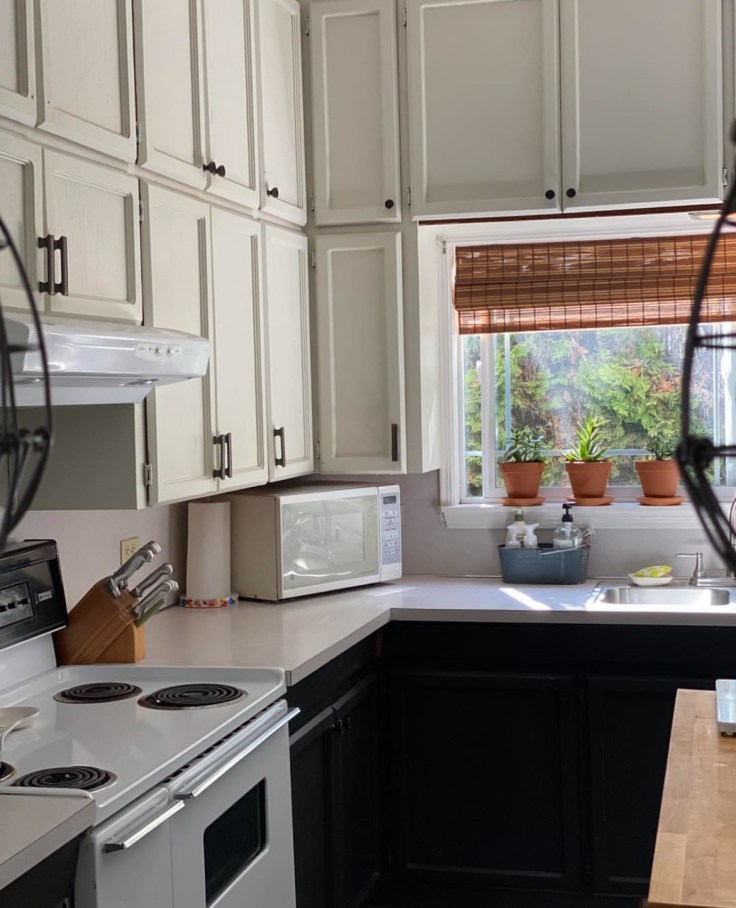
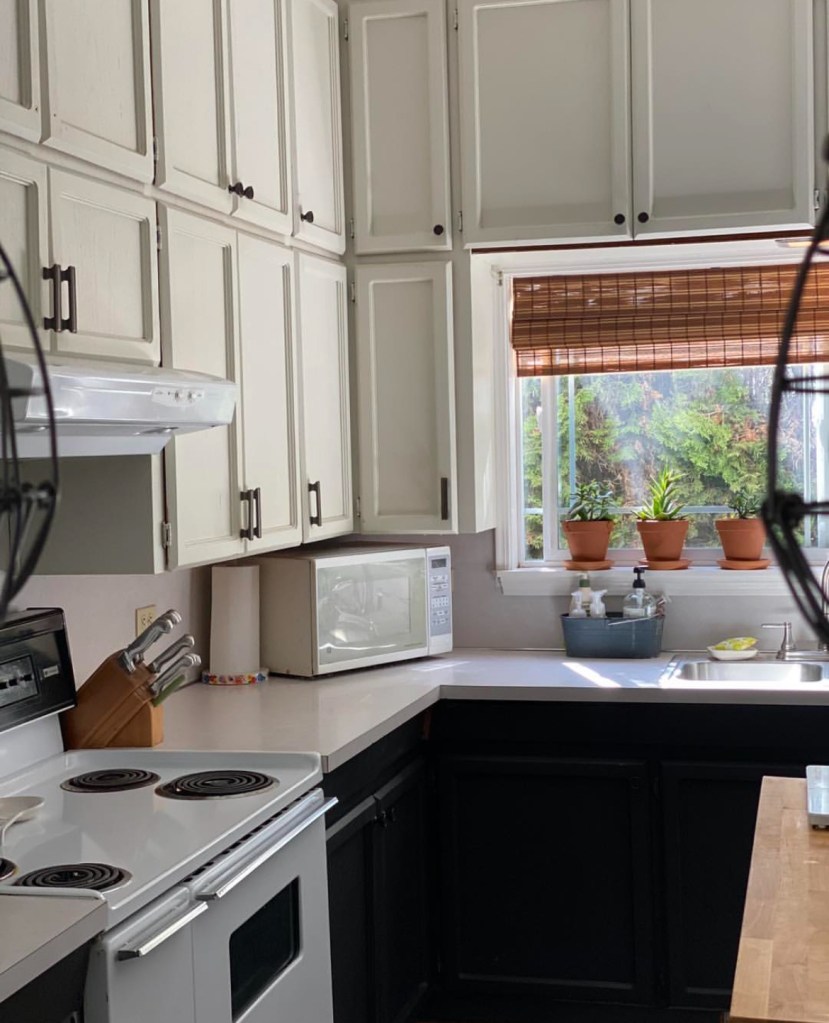
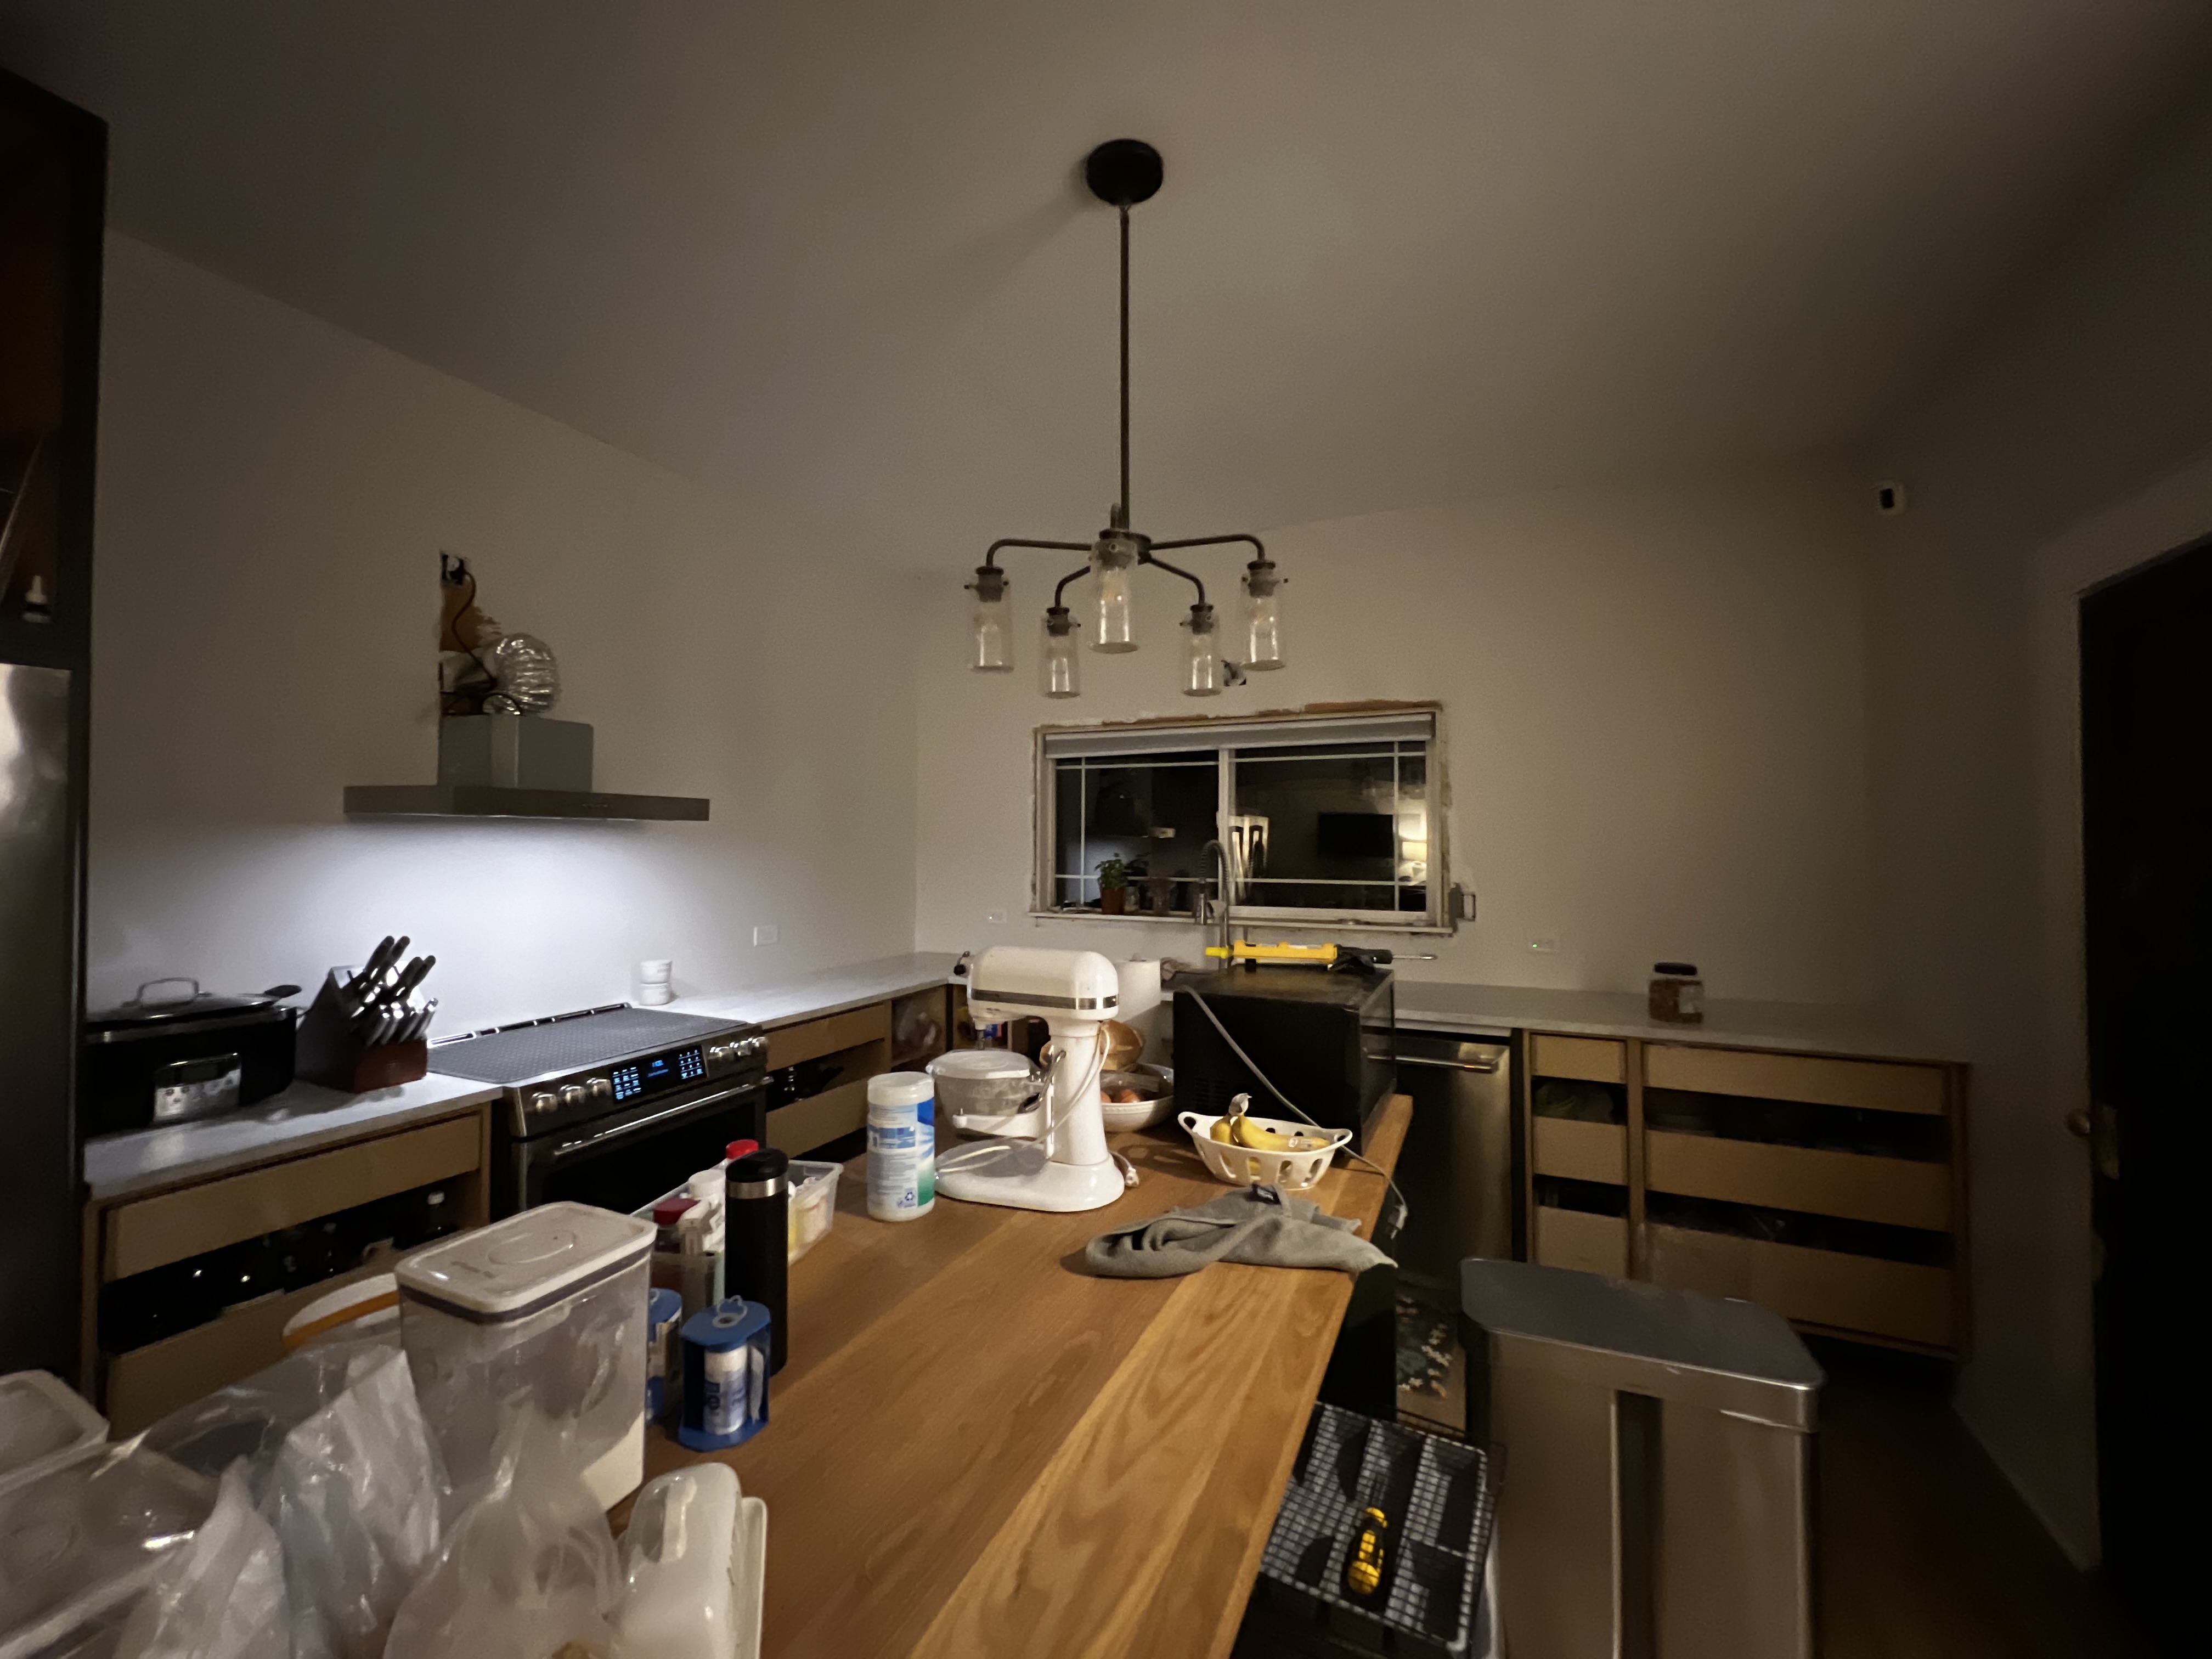
After we got back from Disneyland in July, we started emptying the kitchen. As you can see we had plenty of storage in here with the upper cabinets. It was nice for some small appliances, but you couldn’t fit anything tall in there. If you look closely you can see the remaining piece of flooring under the stove. Backstory there is, we were afraid to unplug the stove. It was so old and at the time a new stove wasn’t in the budget. The other thing was it was a wide stove and to buy one that size again would’ve been WAY out of our budget. That poor piece of flooring just got uglier as the years went by due to mopping and traffic. We never did plug the stove back in to see if it worked.
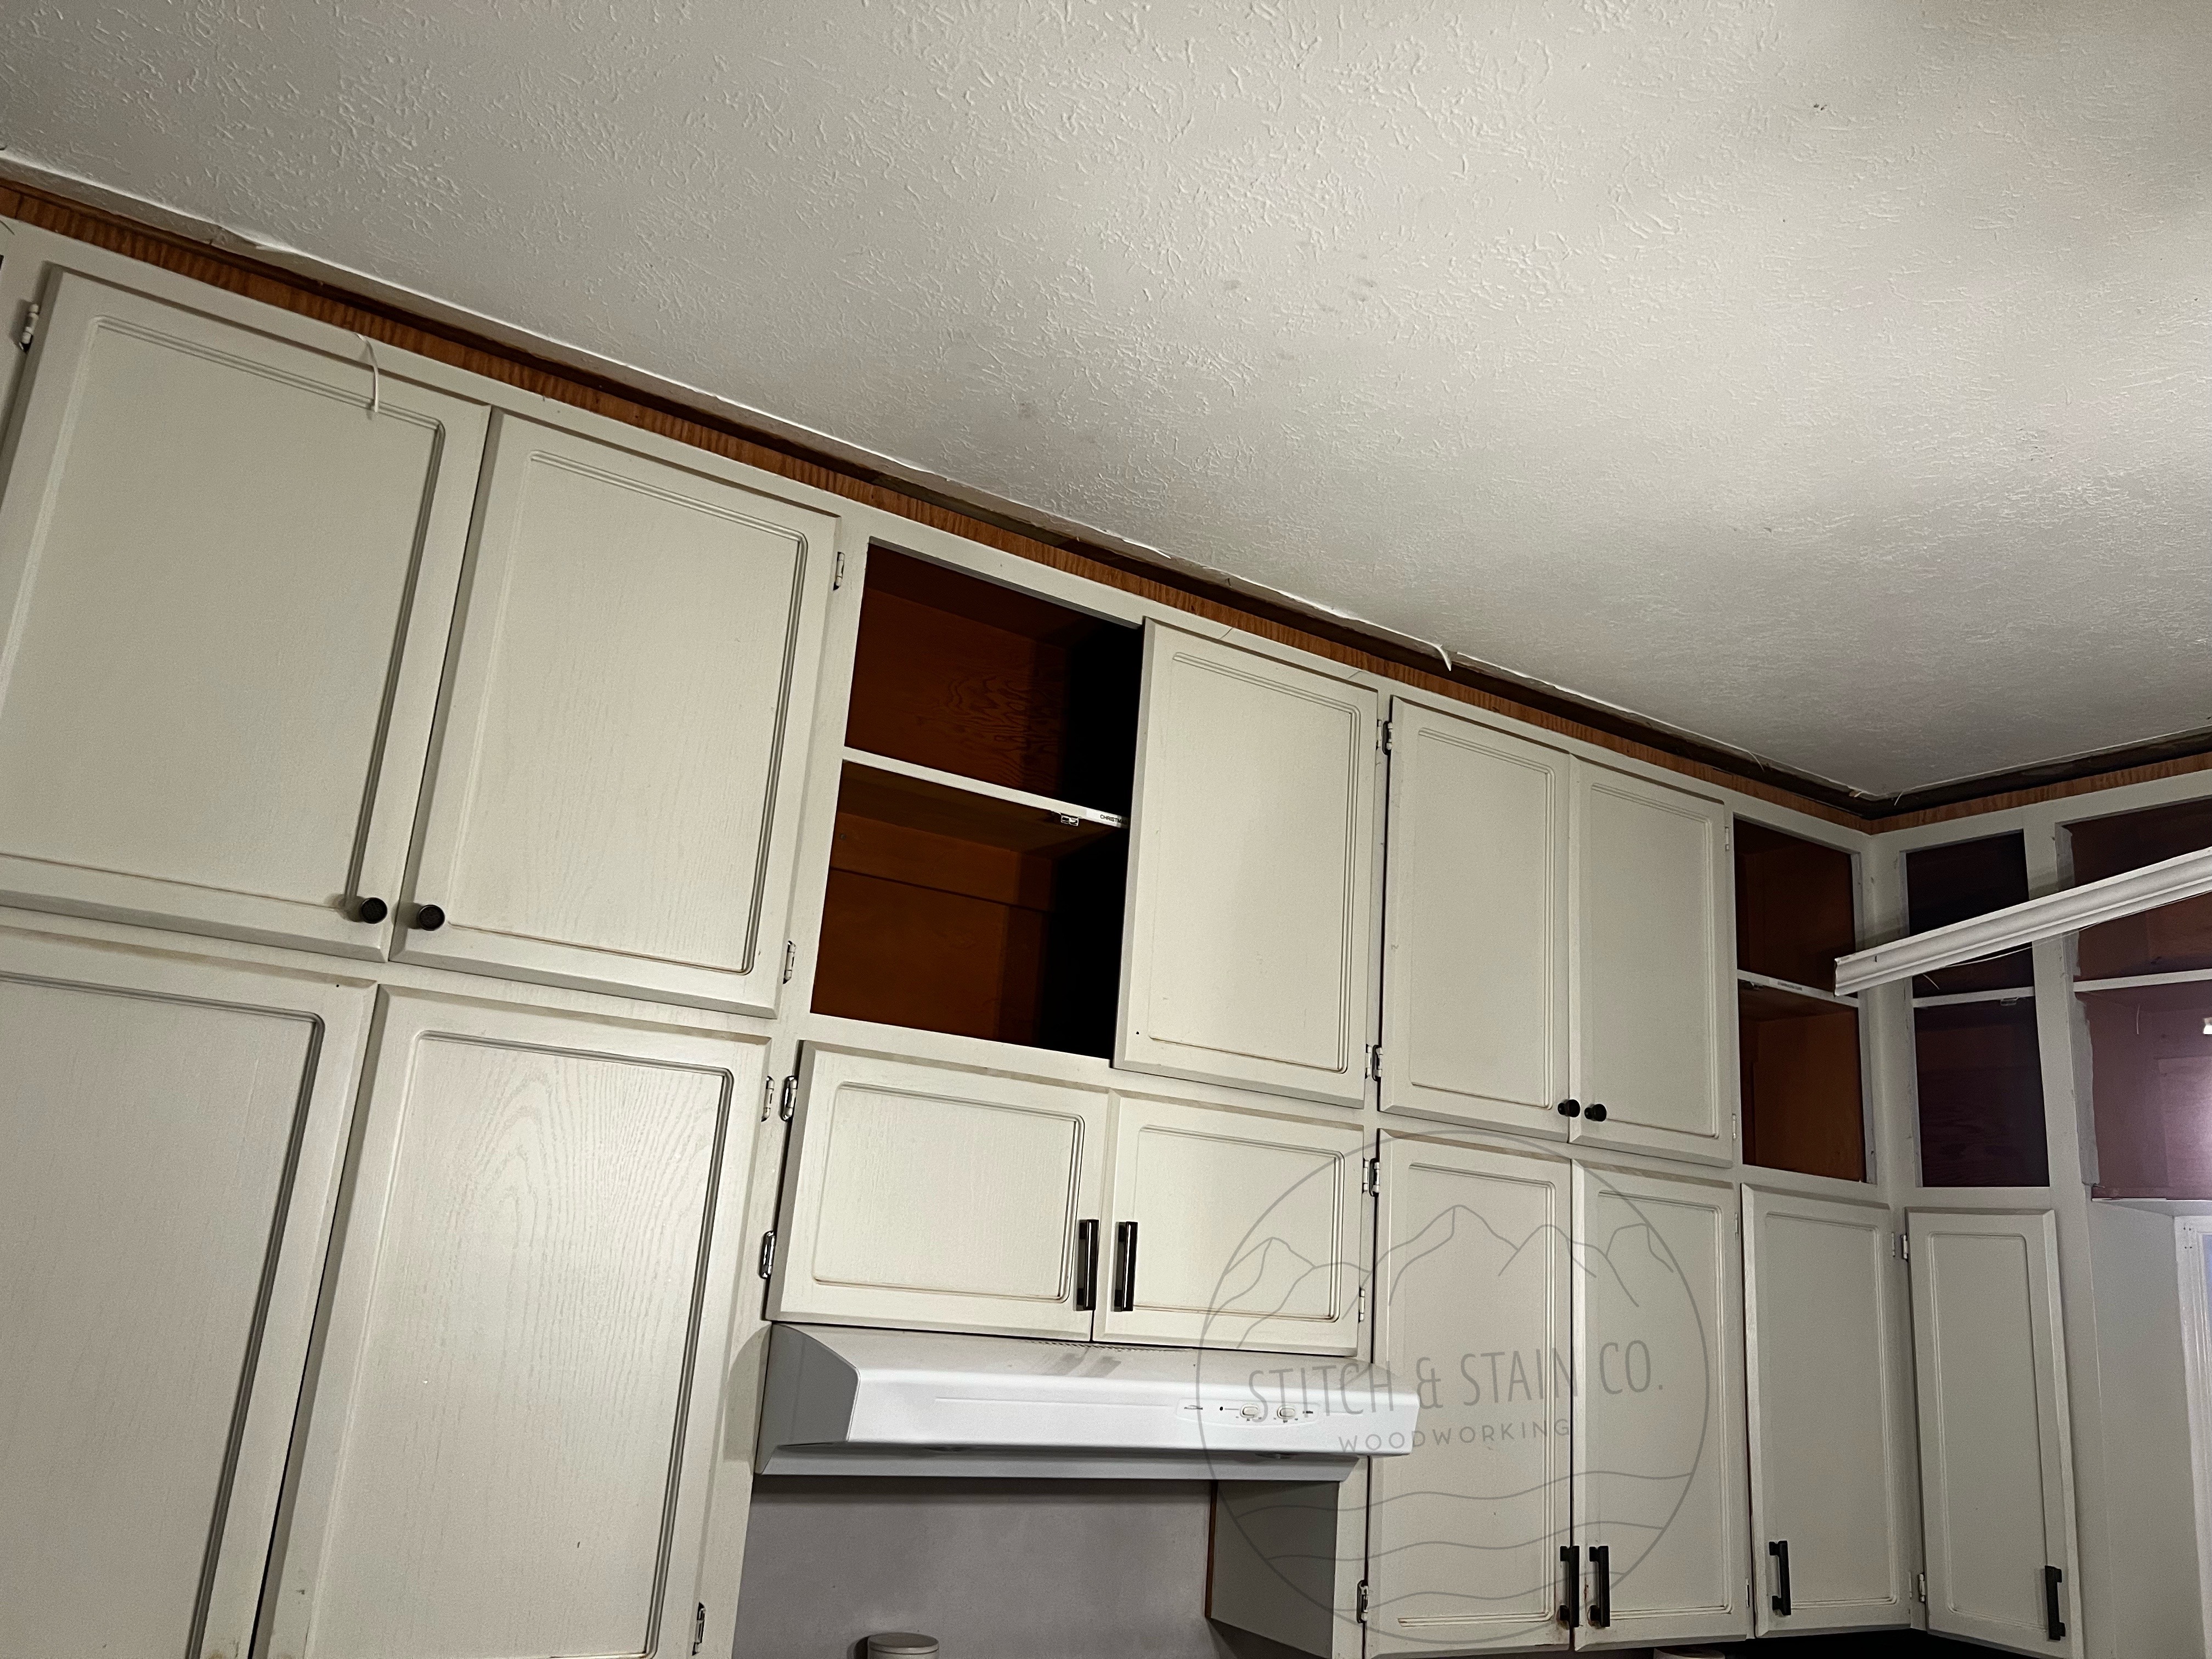
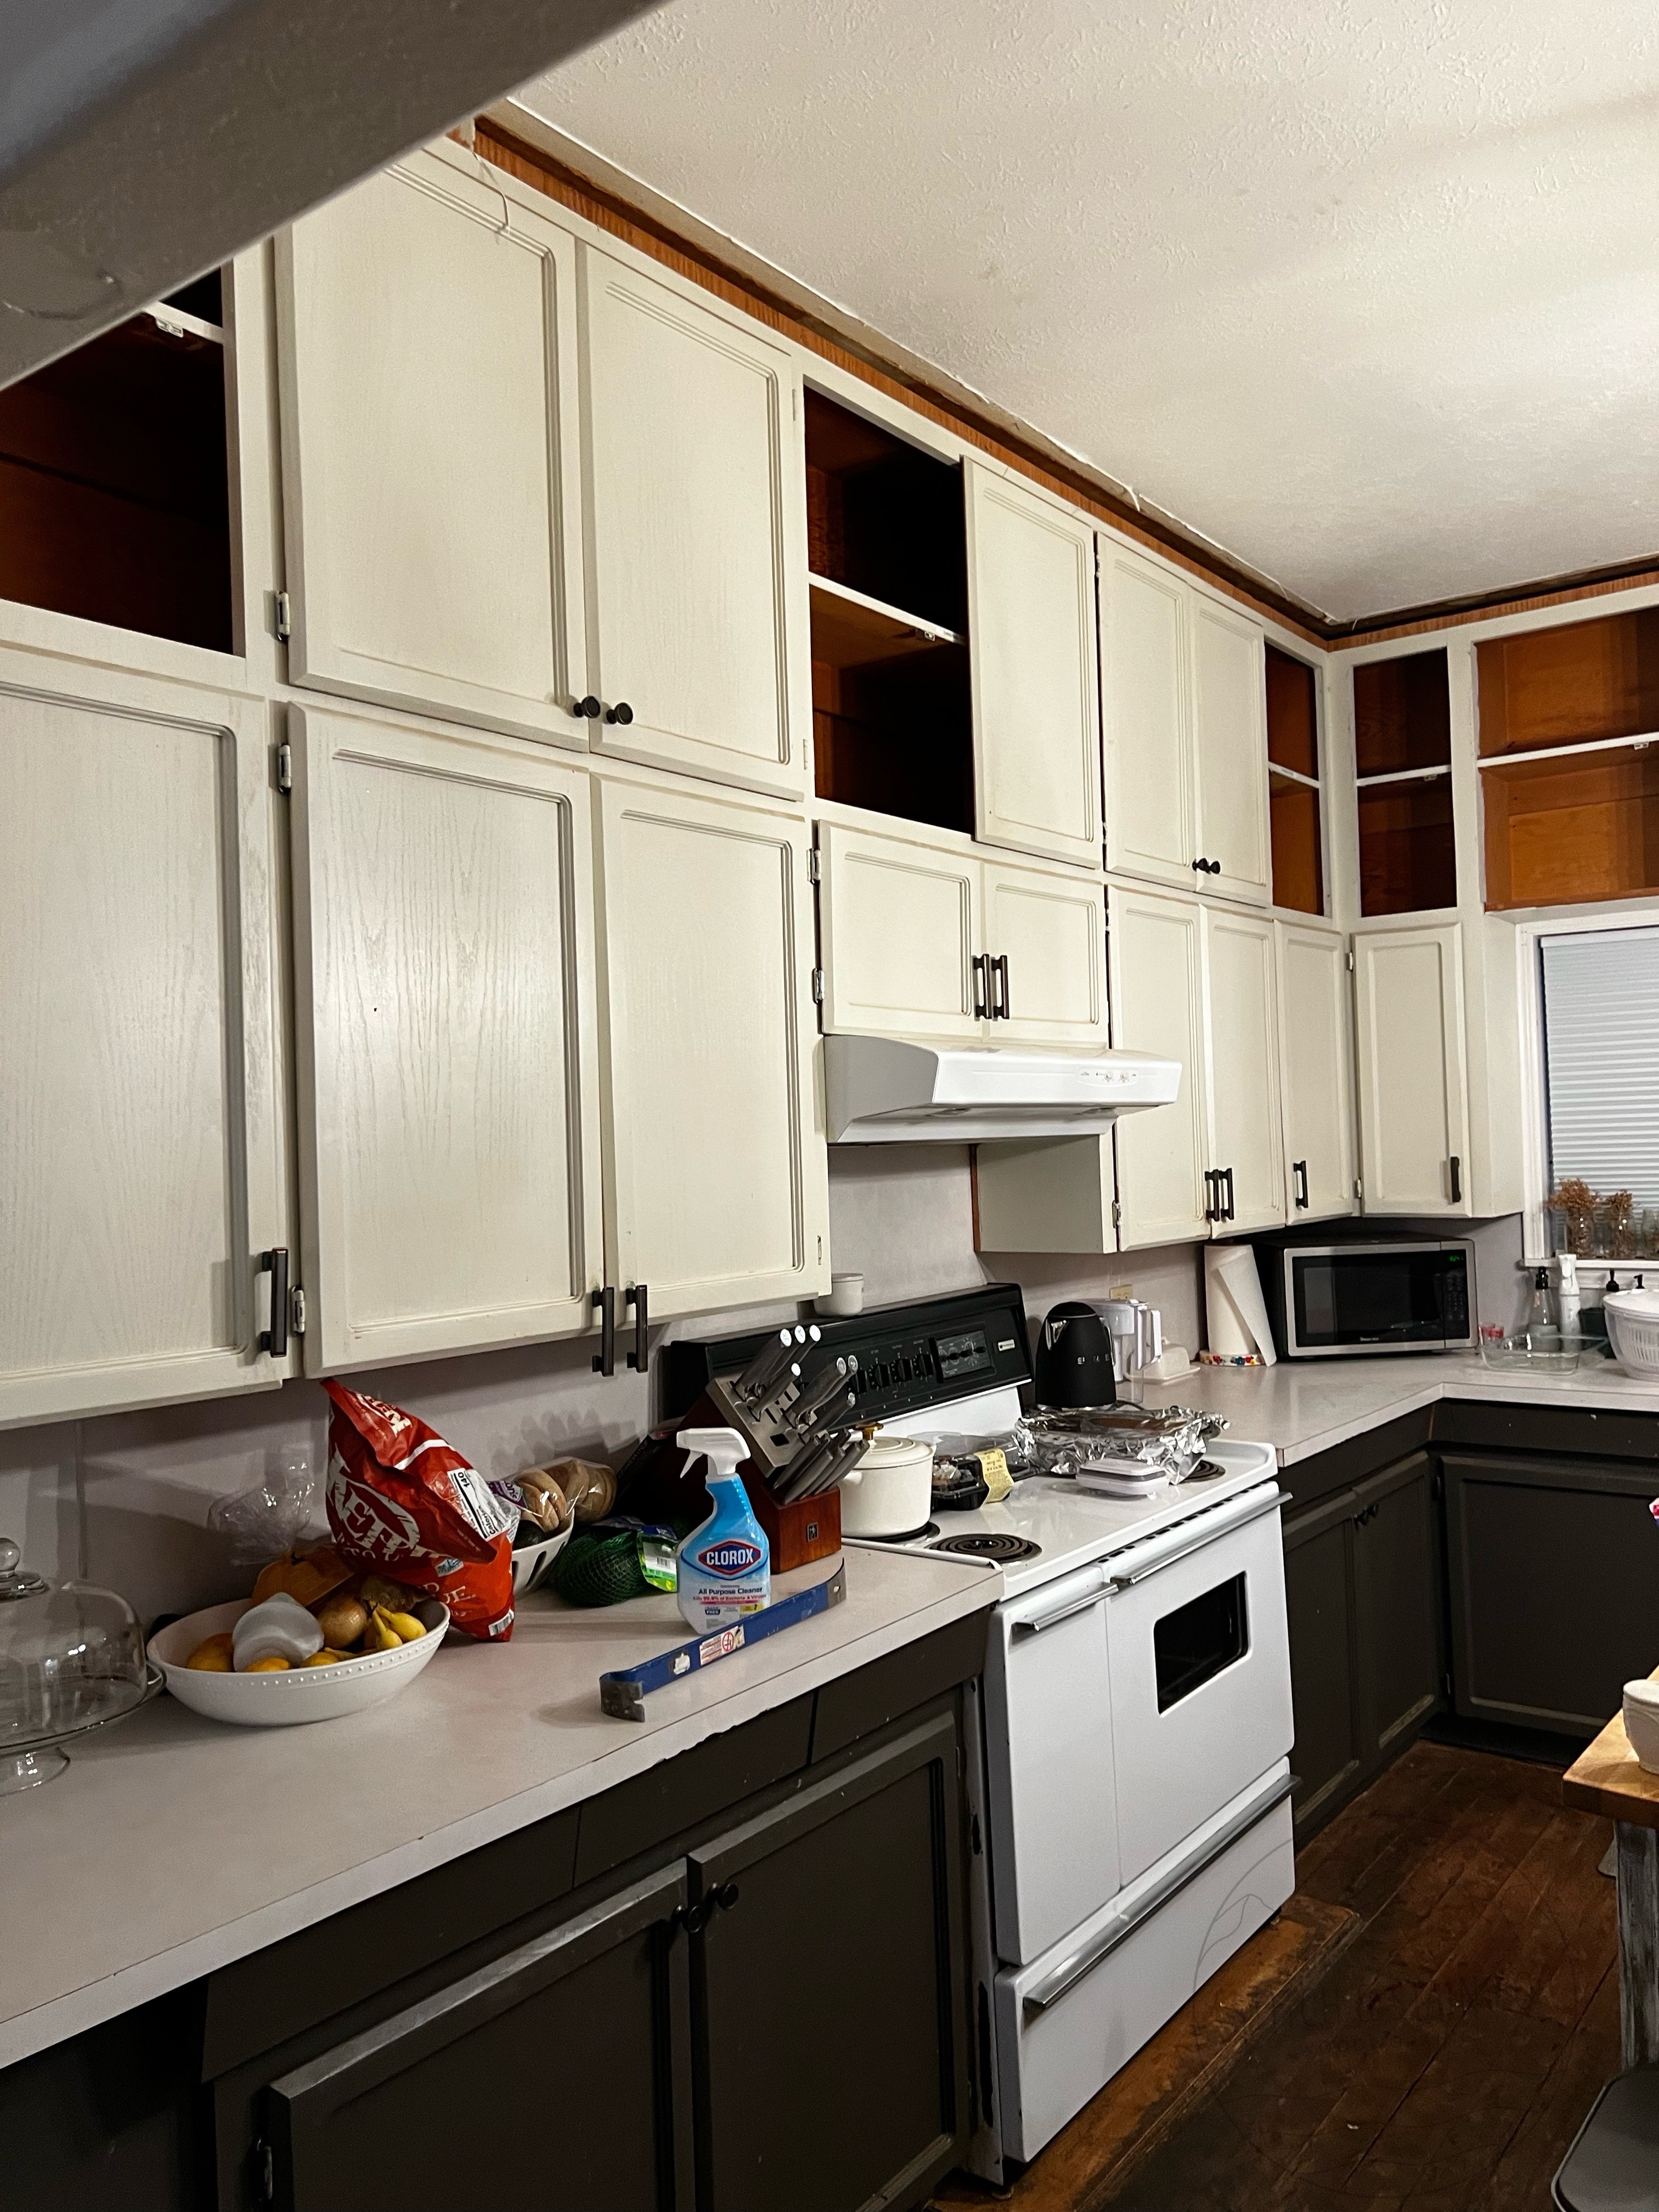
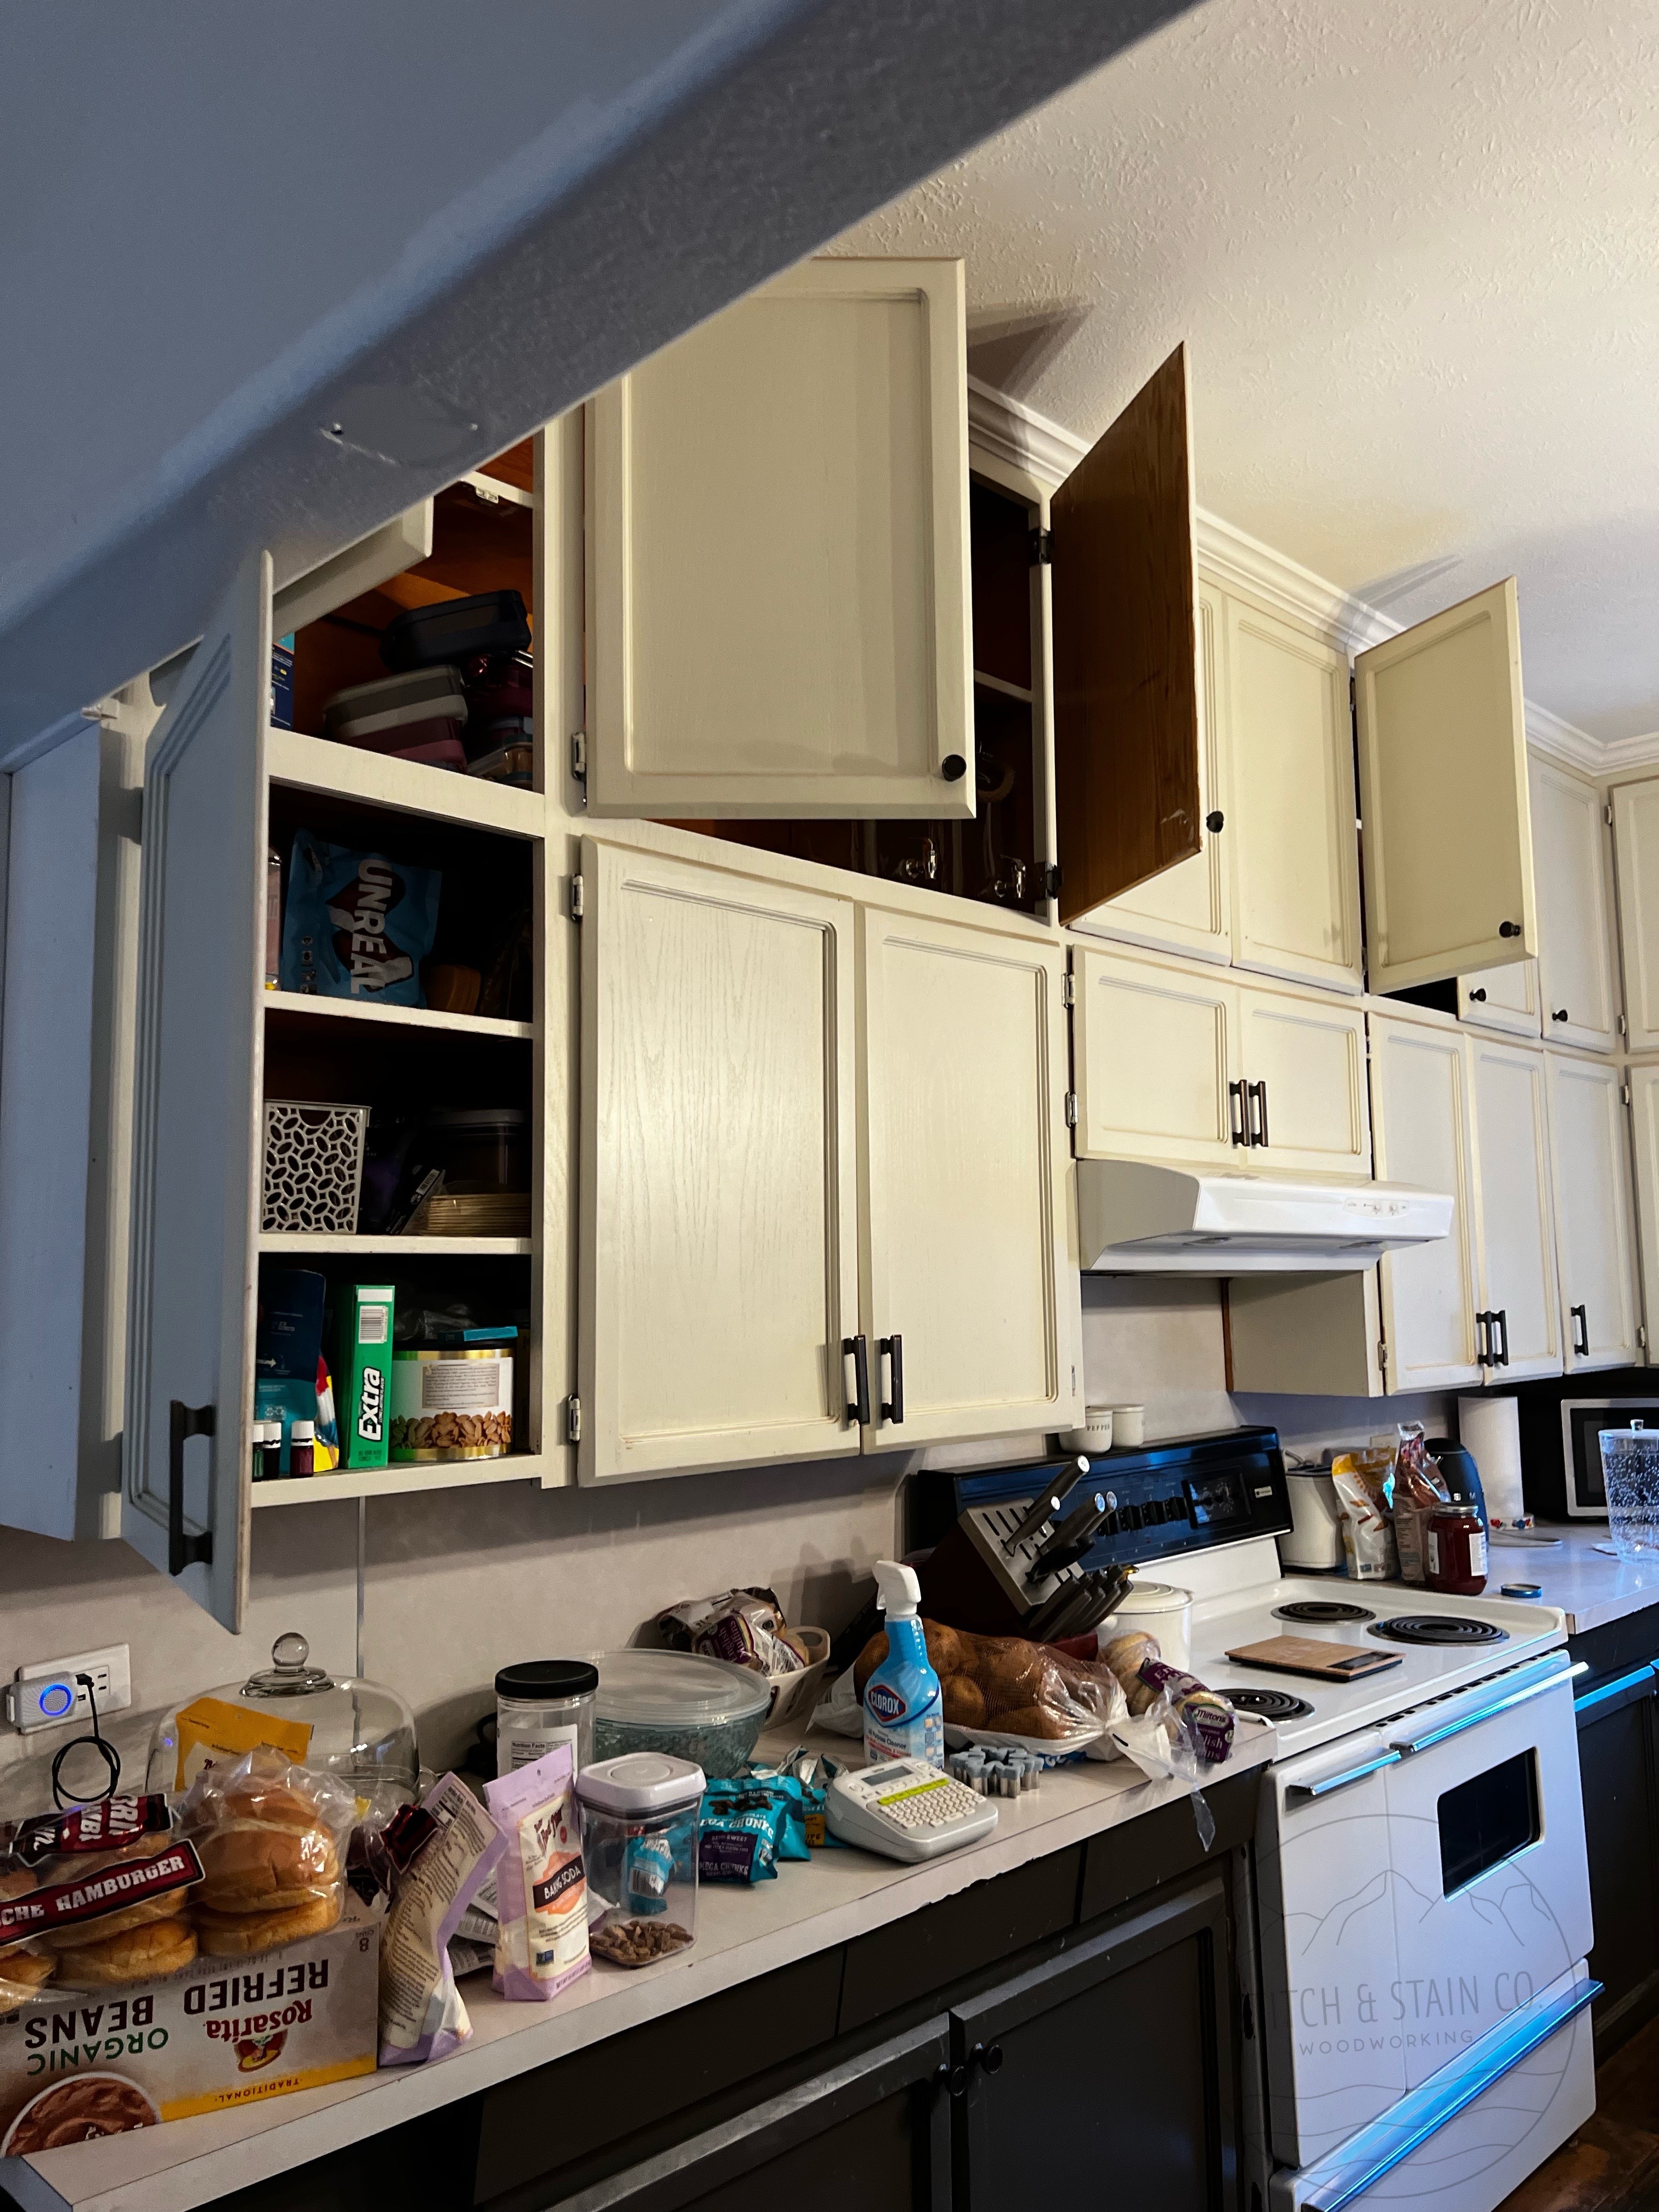
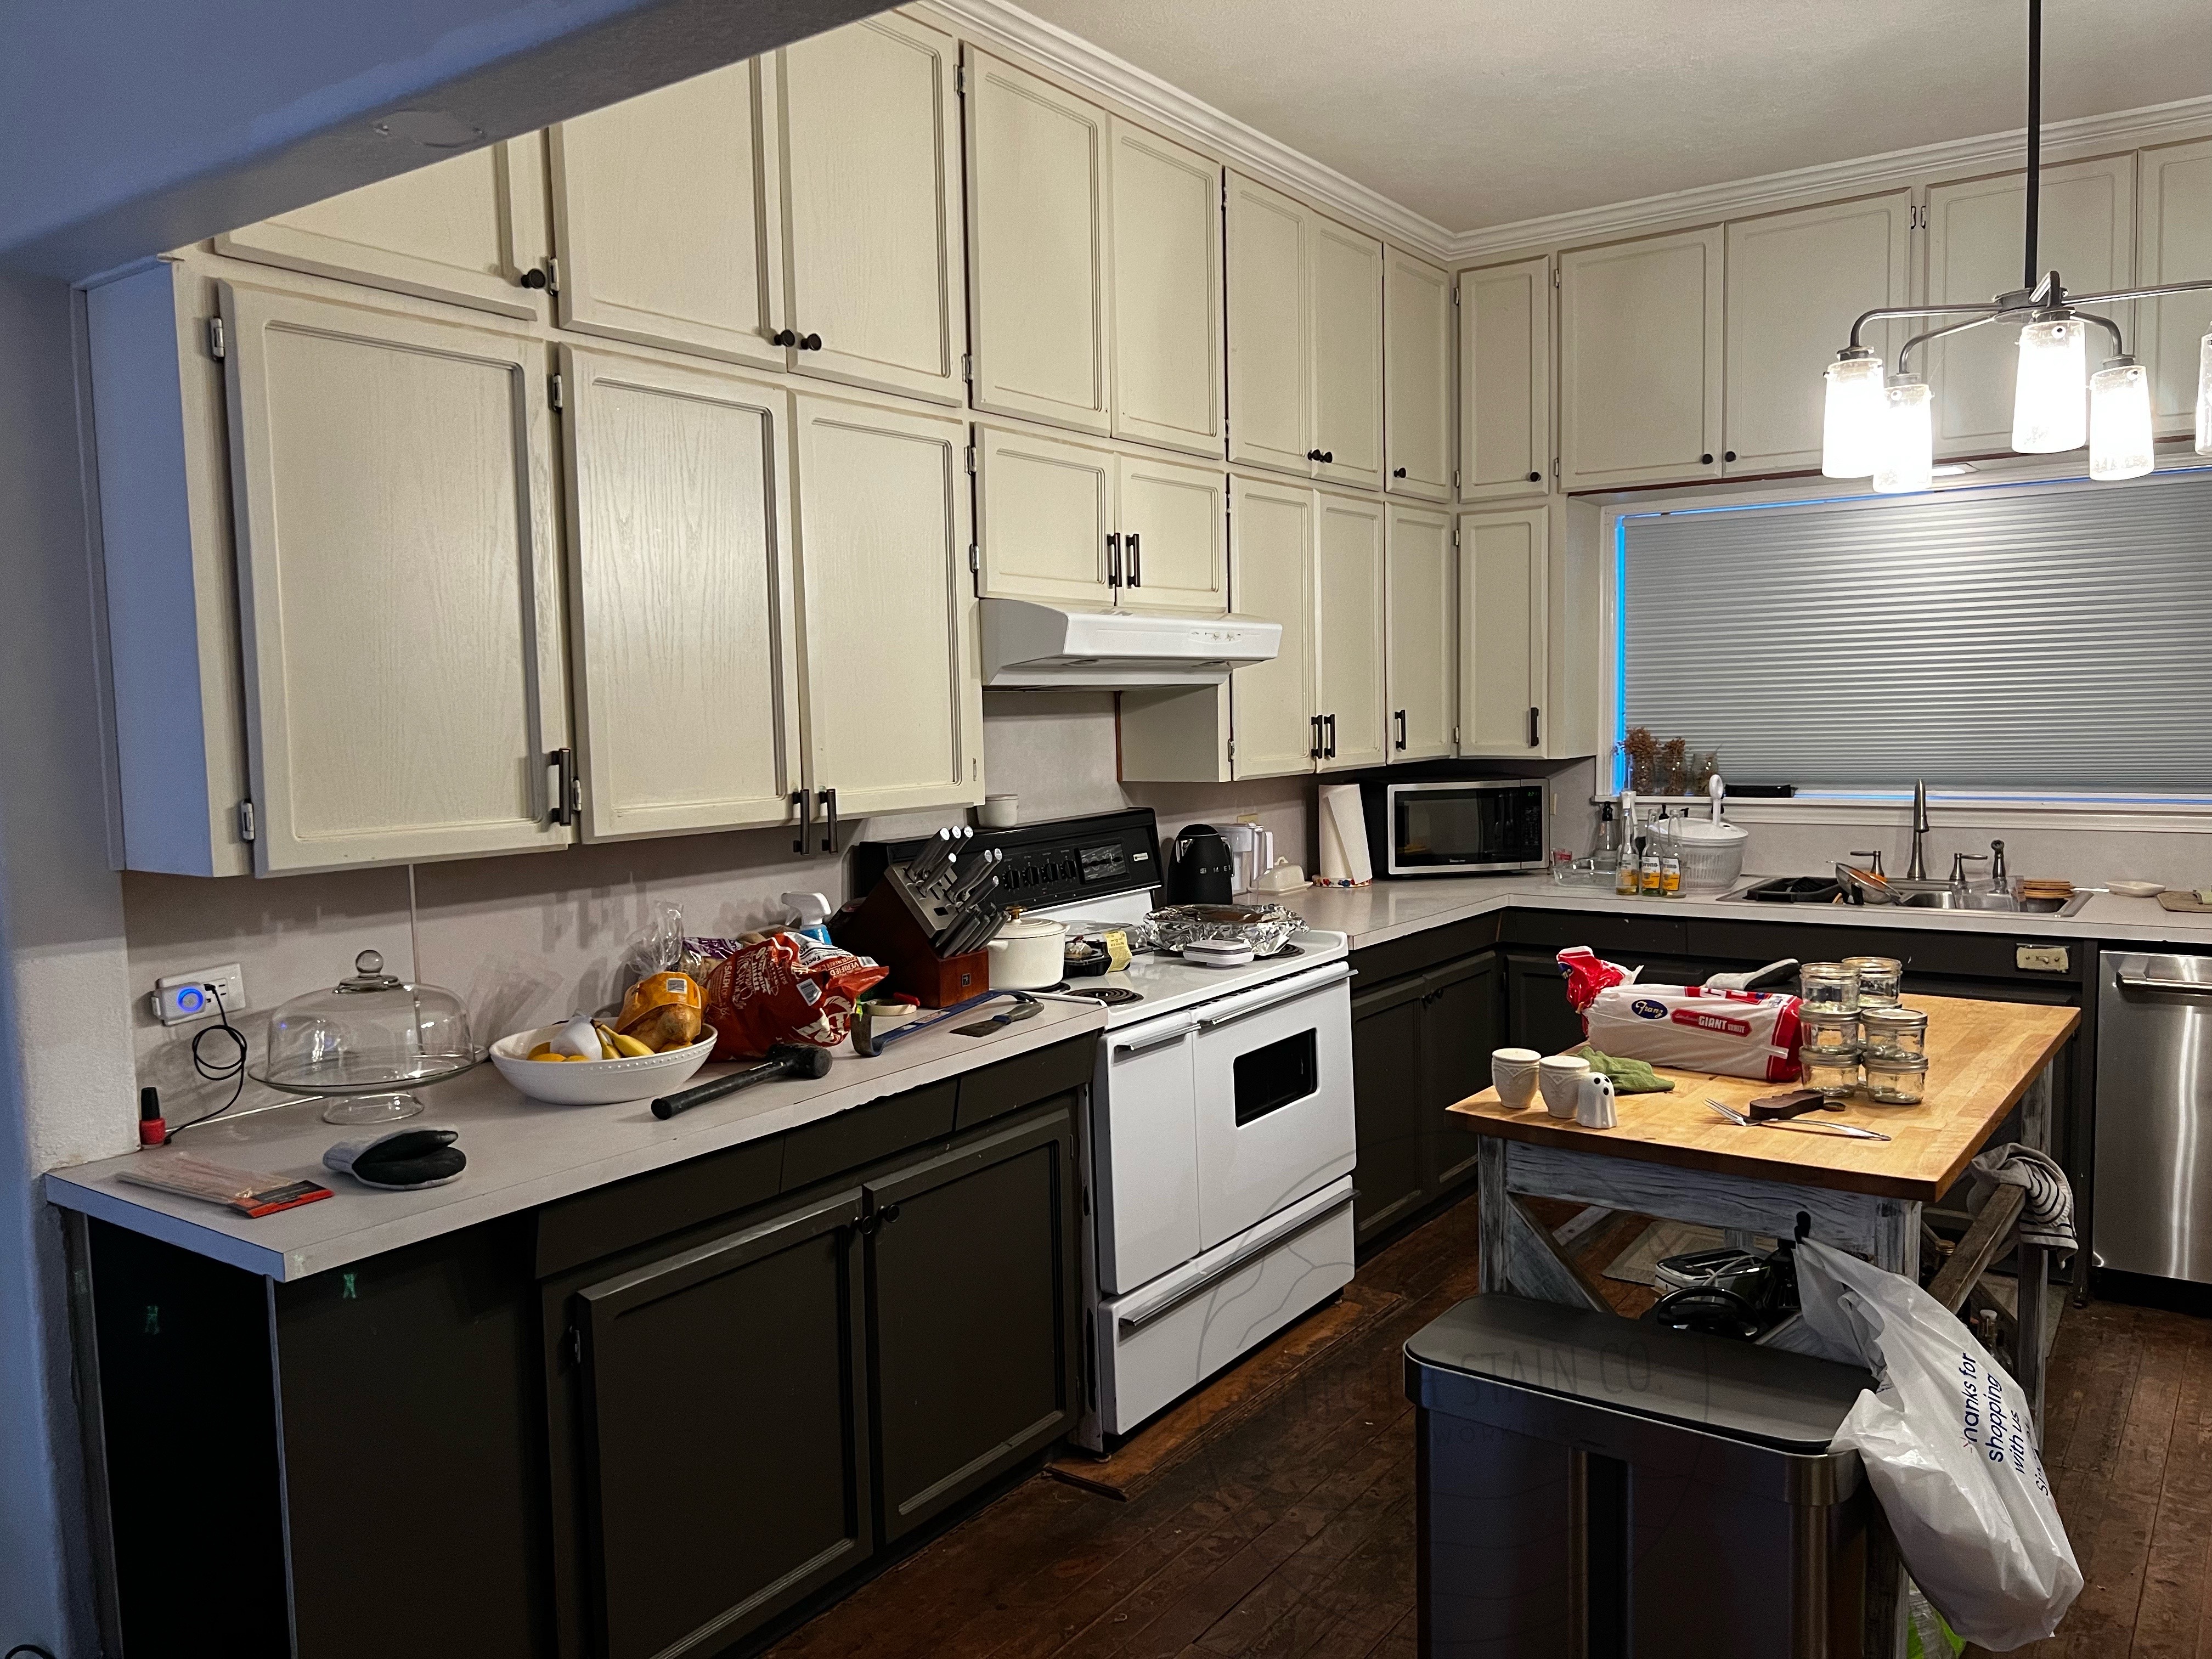
After everything was emptied we started taking down all 29 cabinet doors. We took all the doors and trim down and it looked like this. I forgot to mention we still had to use the kitchen while doing this, so you’ll see some random house items on the counter. After everything was out though, we only used an Instant pot and the Traeger until we got our appliances.
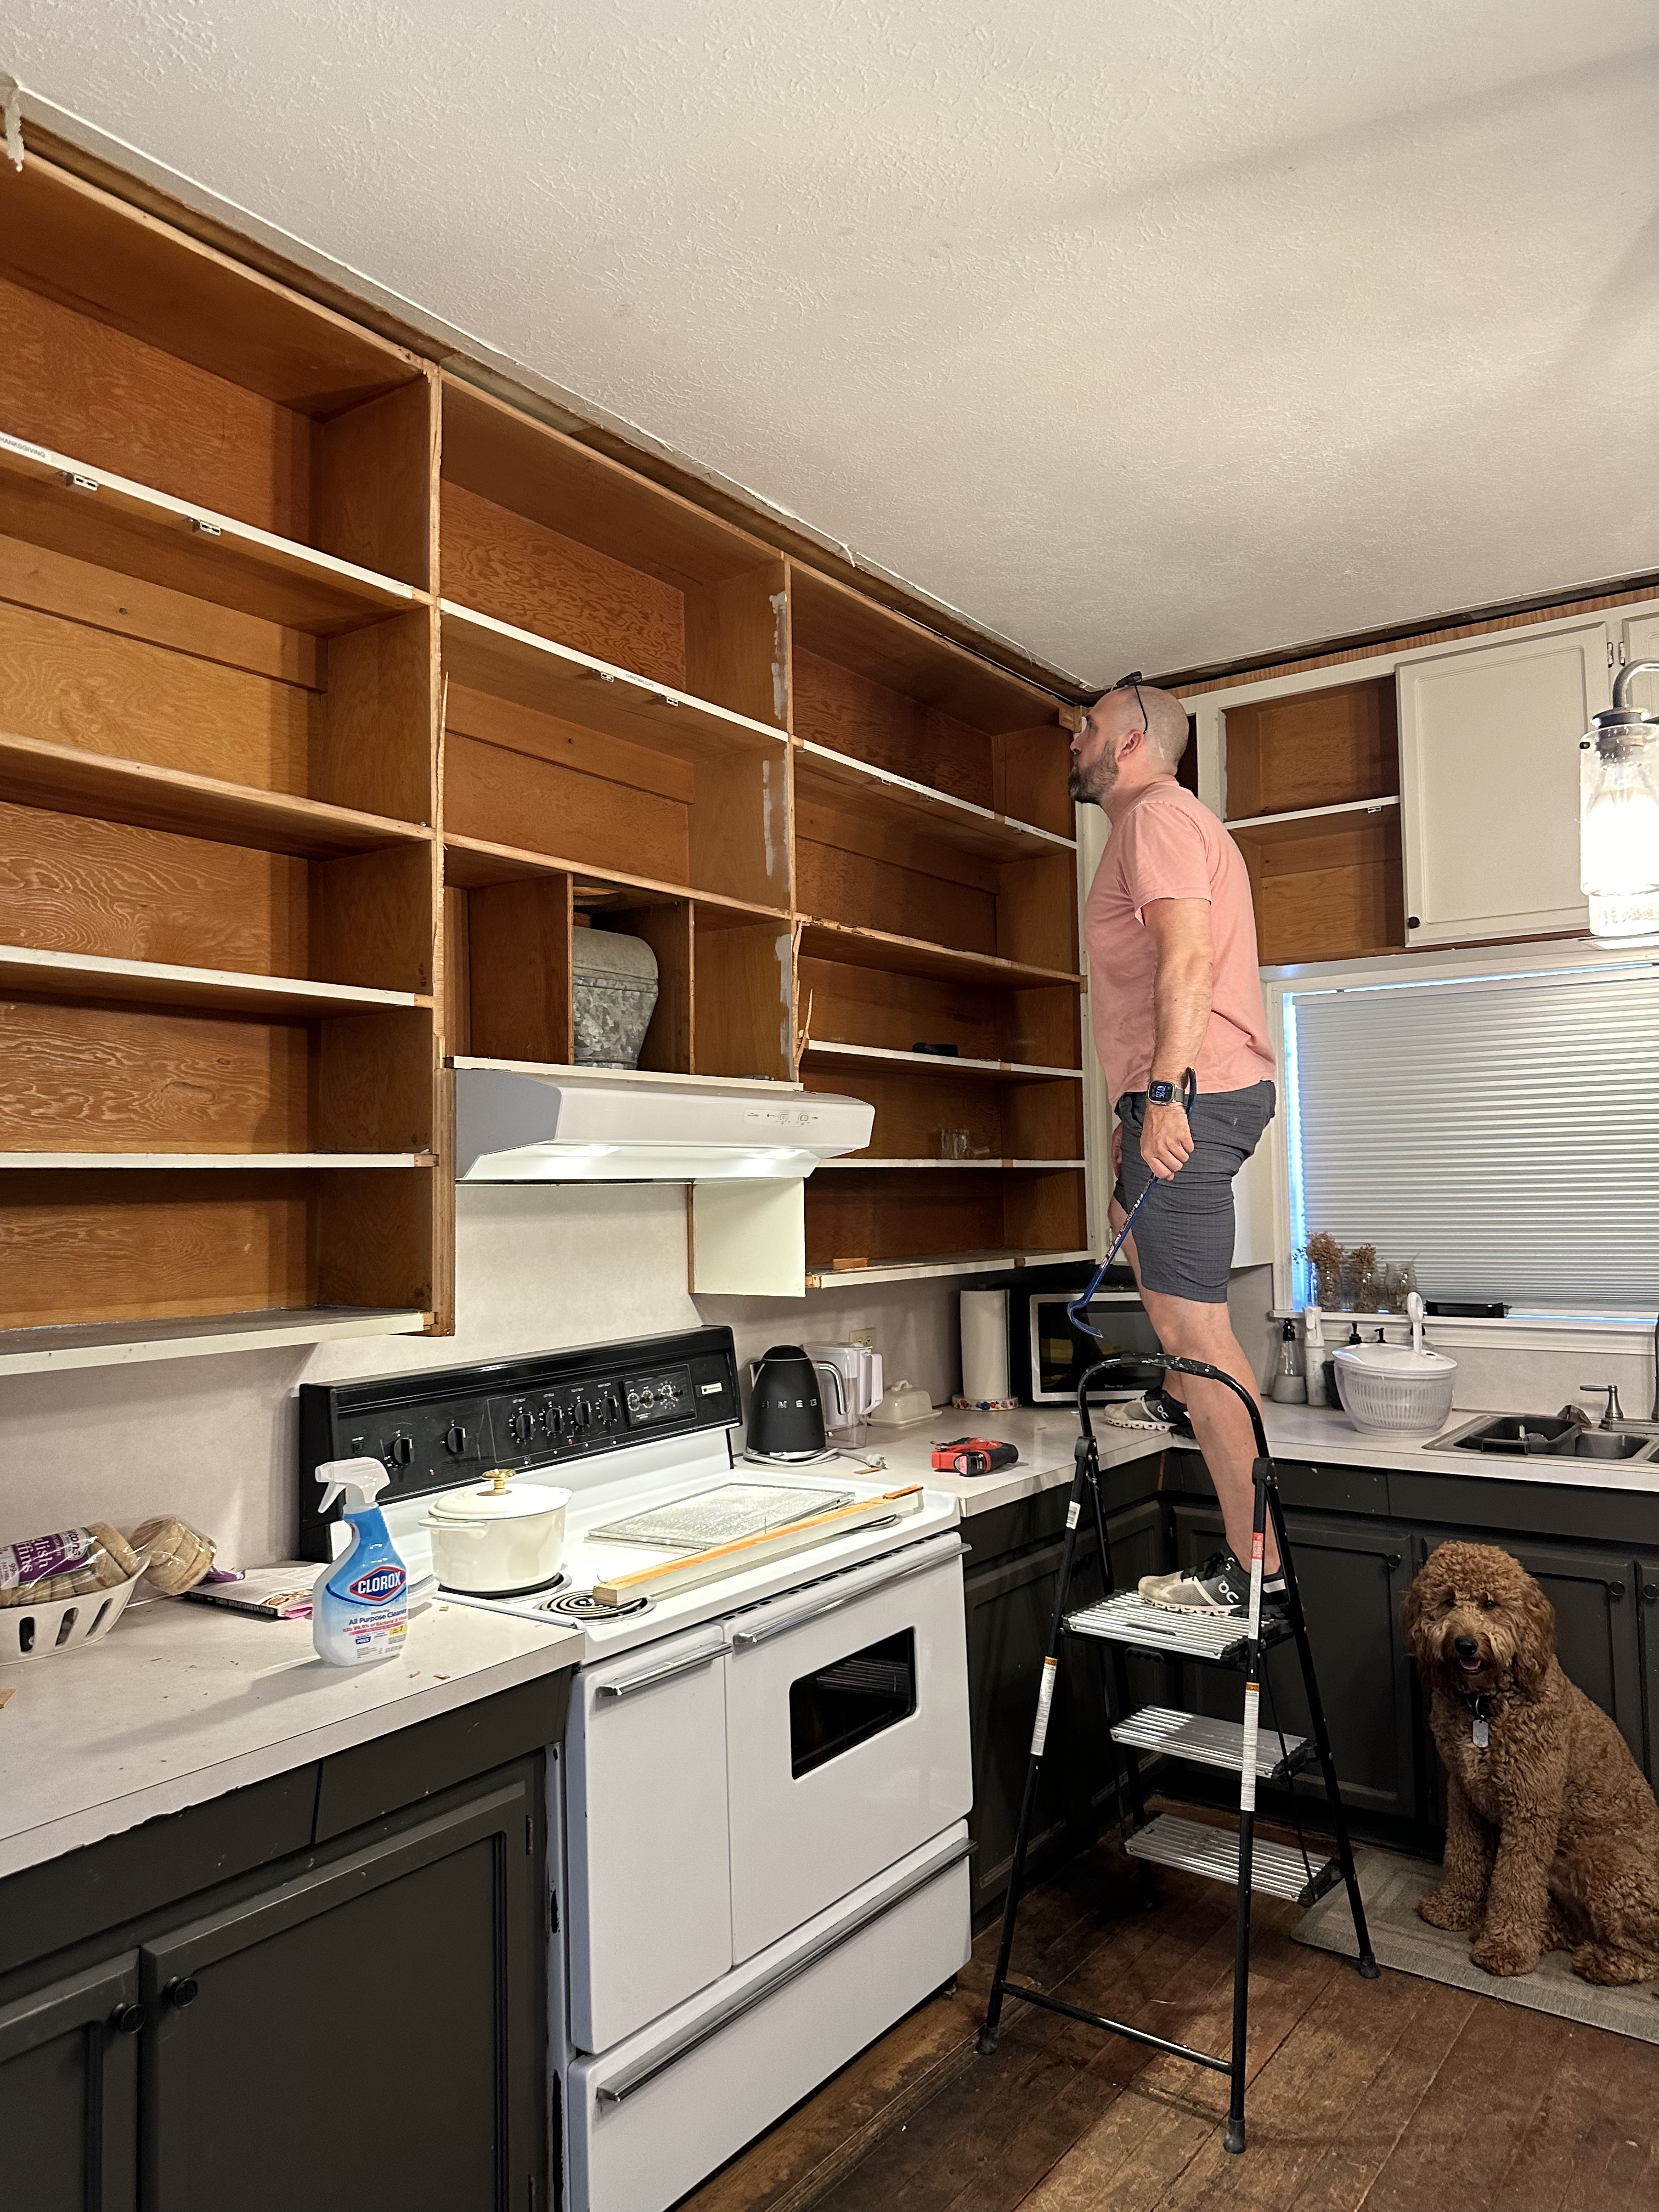
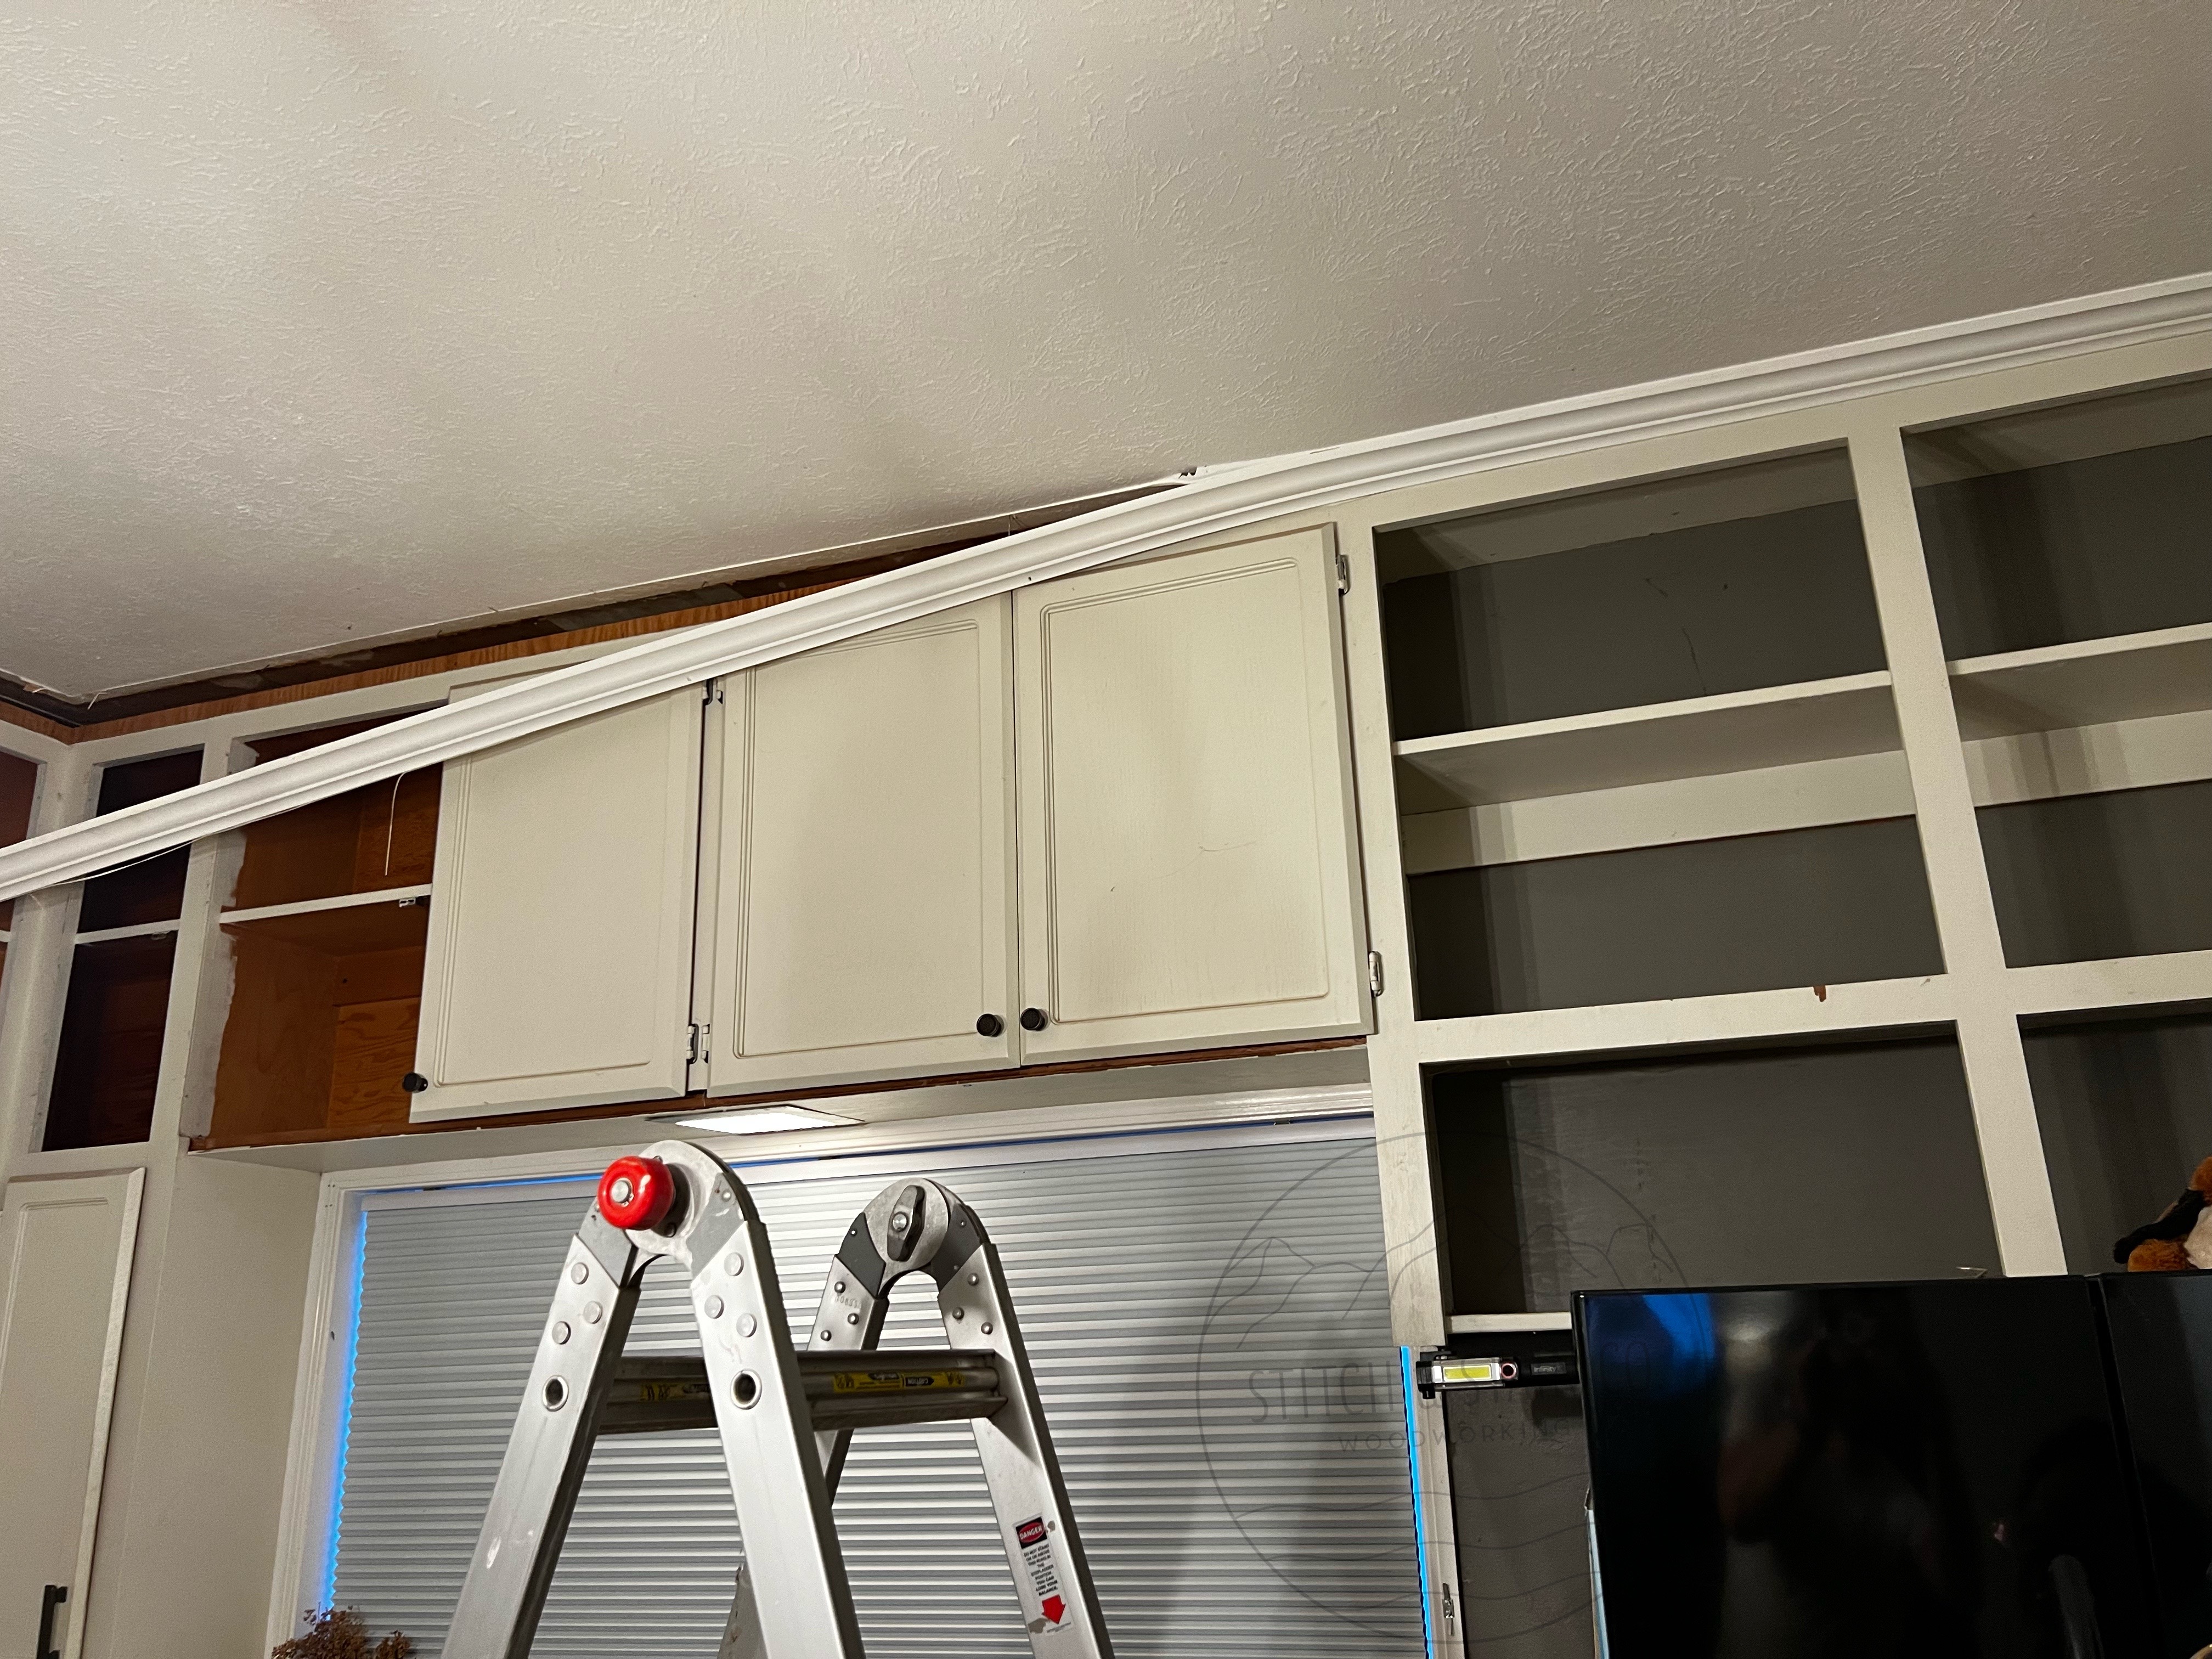
Hank was supervising. It was time to pull out the crowbars and find all the nails holding them up. We were shocked to see that there weren’t many nails holding them up. We used some 2×4’s and cut them to fit under the cabinets while we pulled the nails out. Once the nails were all take out, we pulled them off the wall. Both of us pulled this whole stretch of cabinets off the wall and the other above the sink in one piece. The one above the window was 12ft and the other was 14ft. I wish I recorded it. This was also the time we realized we aren’t as young as we think. We rested for a few days.


We took no pictures of us taking out the lower cabinets. The amount of nails, screws and crazy joinery was insane!!! Lots of words were said when taking them out. You can see the flooring we had to take off that was underneath the cabinets. I said “Does this bring back memories?” We had to do this on the whole lower level of the house years ago. It was Laminate, padding, plywood, vinyl and sticky tiles. The best tools are a flat shovel, crow bar, kneed pads and ibuprofen.


After the kitchen was taken apart we started on the flooring. We only covered the original flooring because 10 years from now we’d like to refinish them. The brand we used was PERGO Outlast in Vienna oak. We had to do the flooring first since it was going all through the house, so we started in family room, kitchen and entryway( where Lola is standing) and finished right up to the doorways into the living and dining room. We moved furniture into the entryway (middle pic w/stairs) and the bigger pieces we slid left to right as we did the floors.
In August we had some electrical and drywall work done on the ceiling where the cabinets were. Since the floors were done we had the appliances delivered. Thank You Flomer! We moved our make shift kitchen into the family room and started adding cabinets.

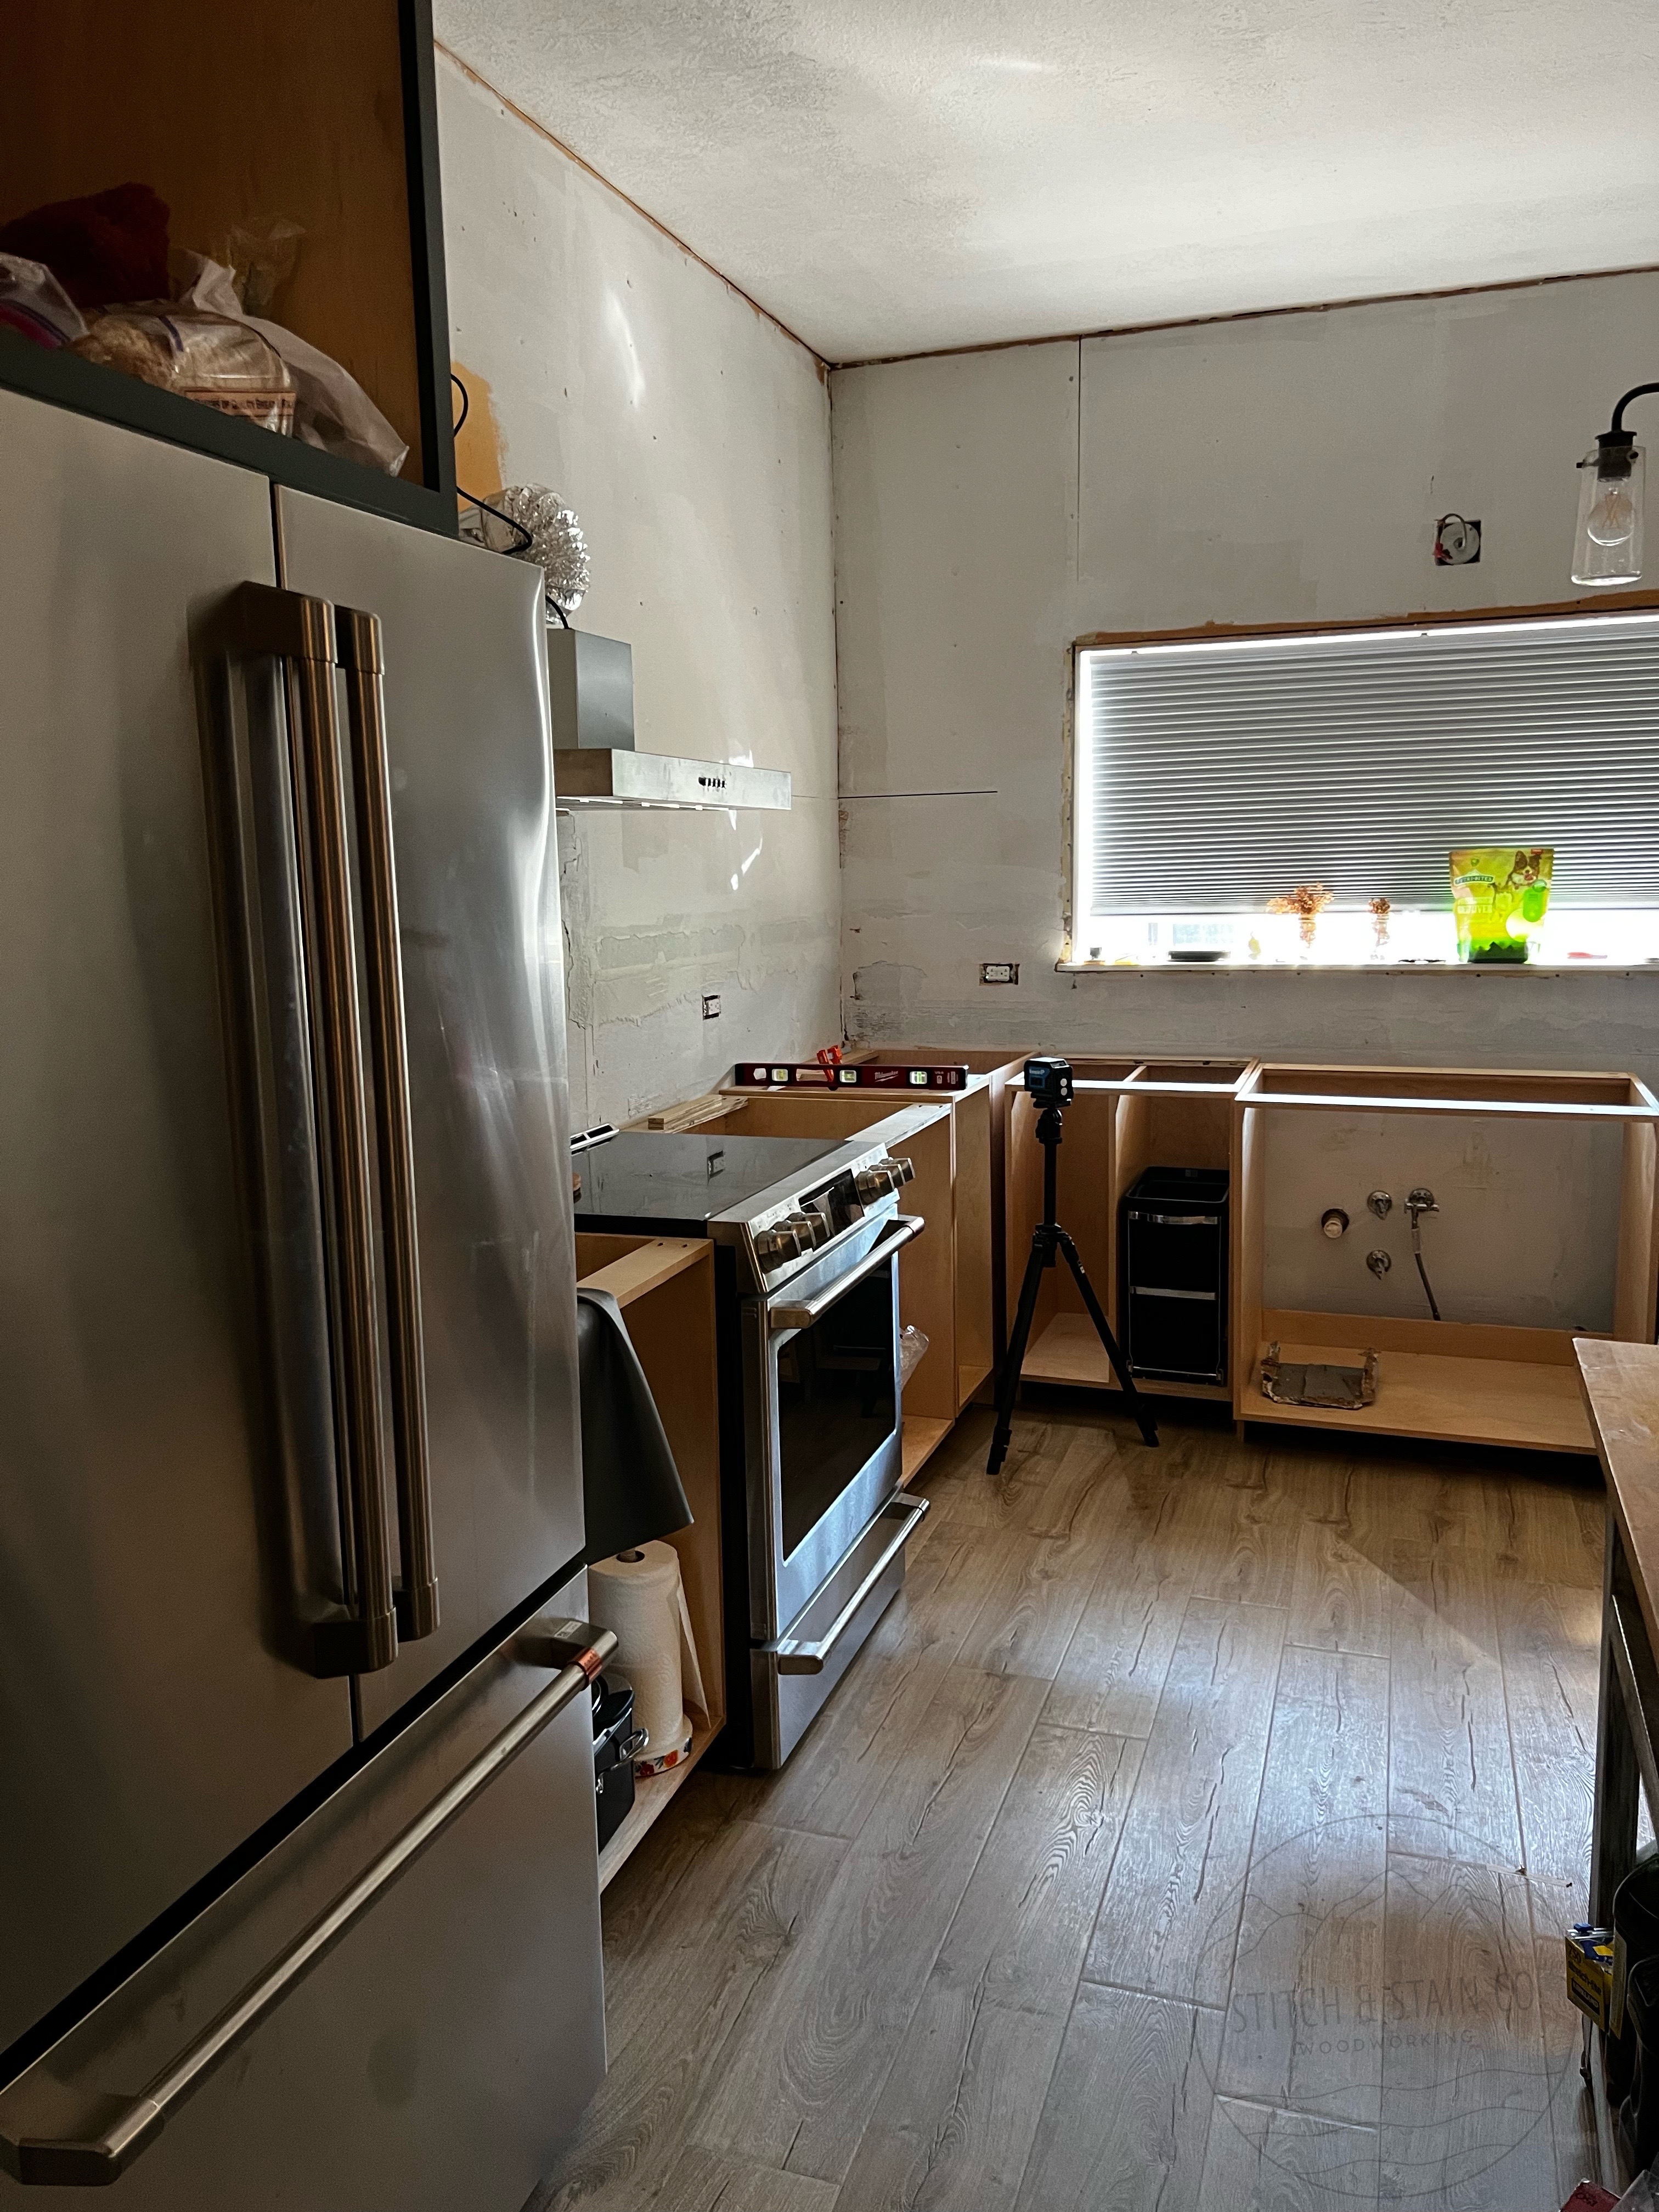

In September most of the lower cabinets were installed, just not the doors. One thing about old houses is the floors are not level. The floor where the window is are higher than the floor where the refrigerator is. After some googling and buying a really nice laser level we installed the lower cabinets along with the counter tops.


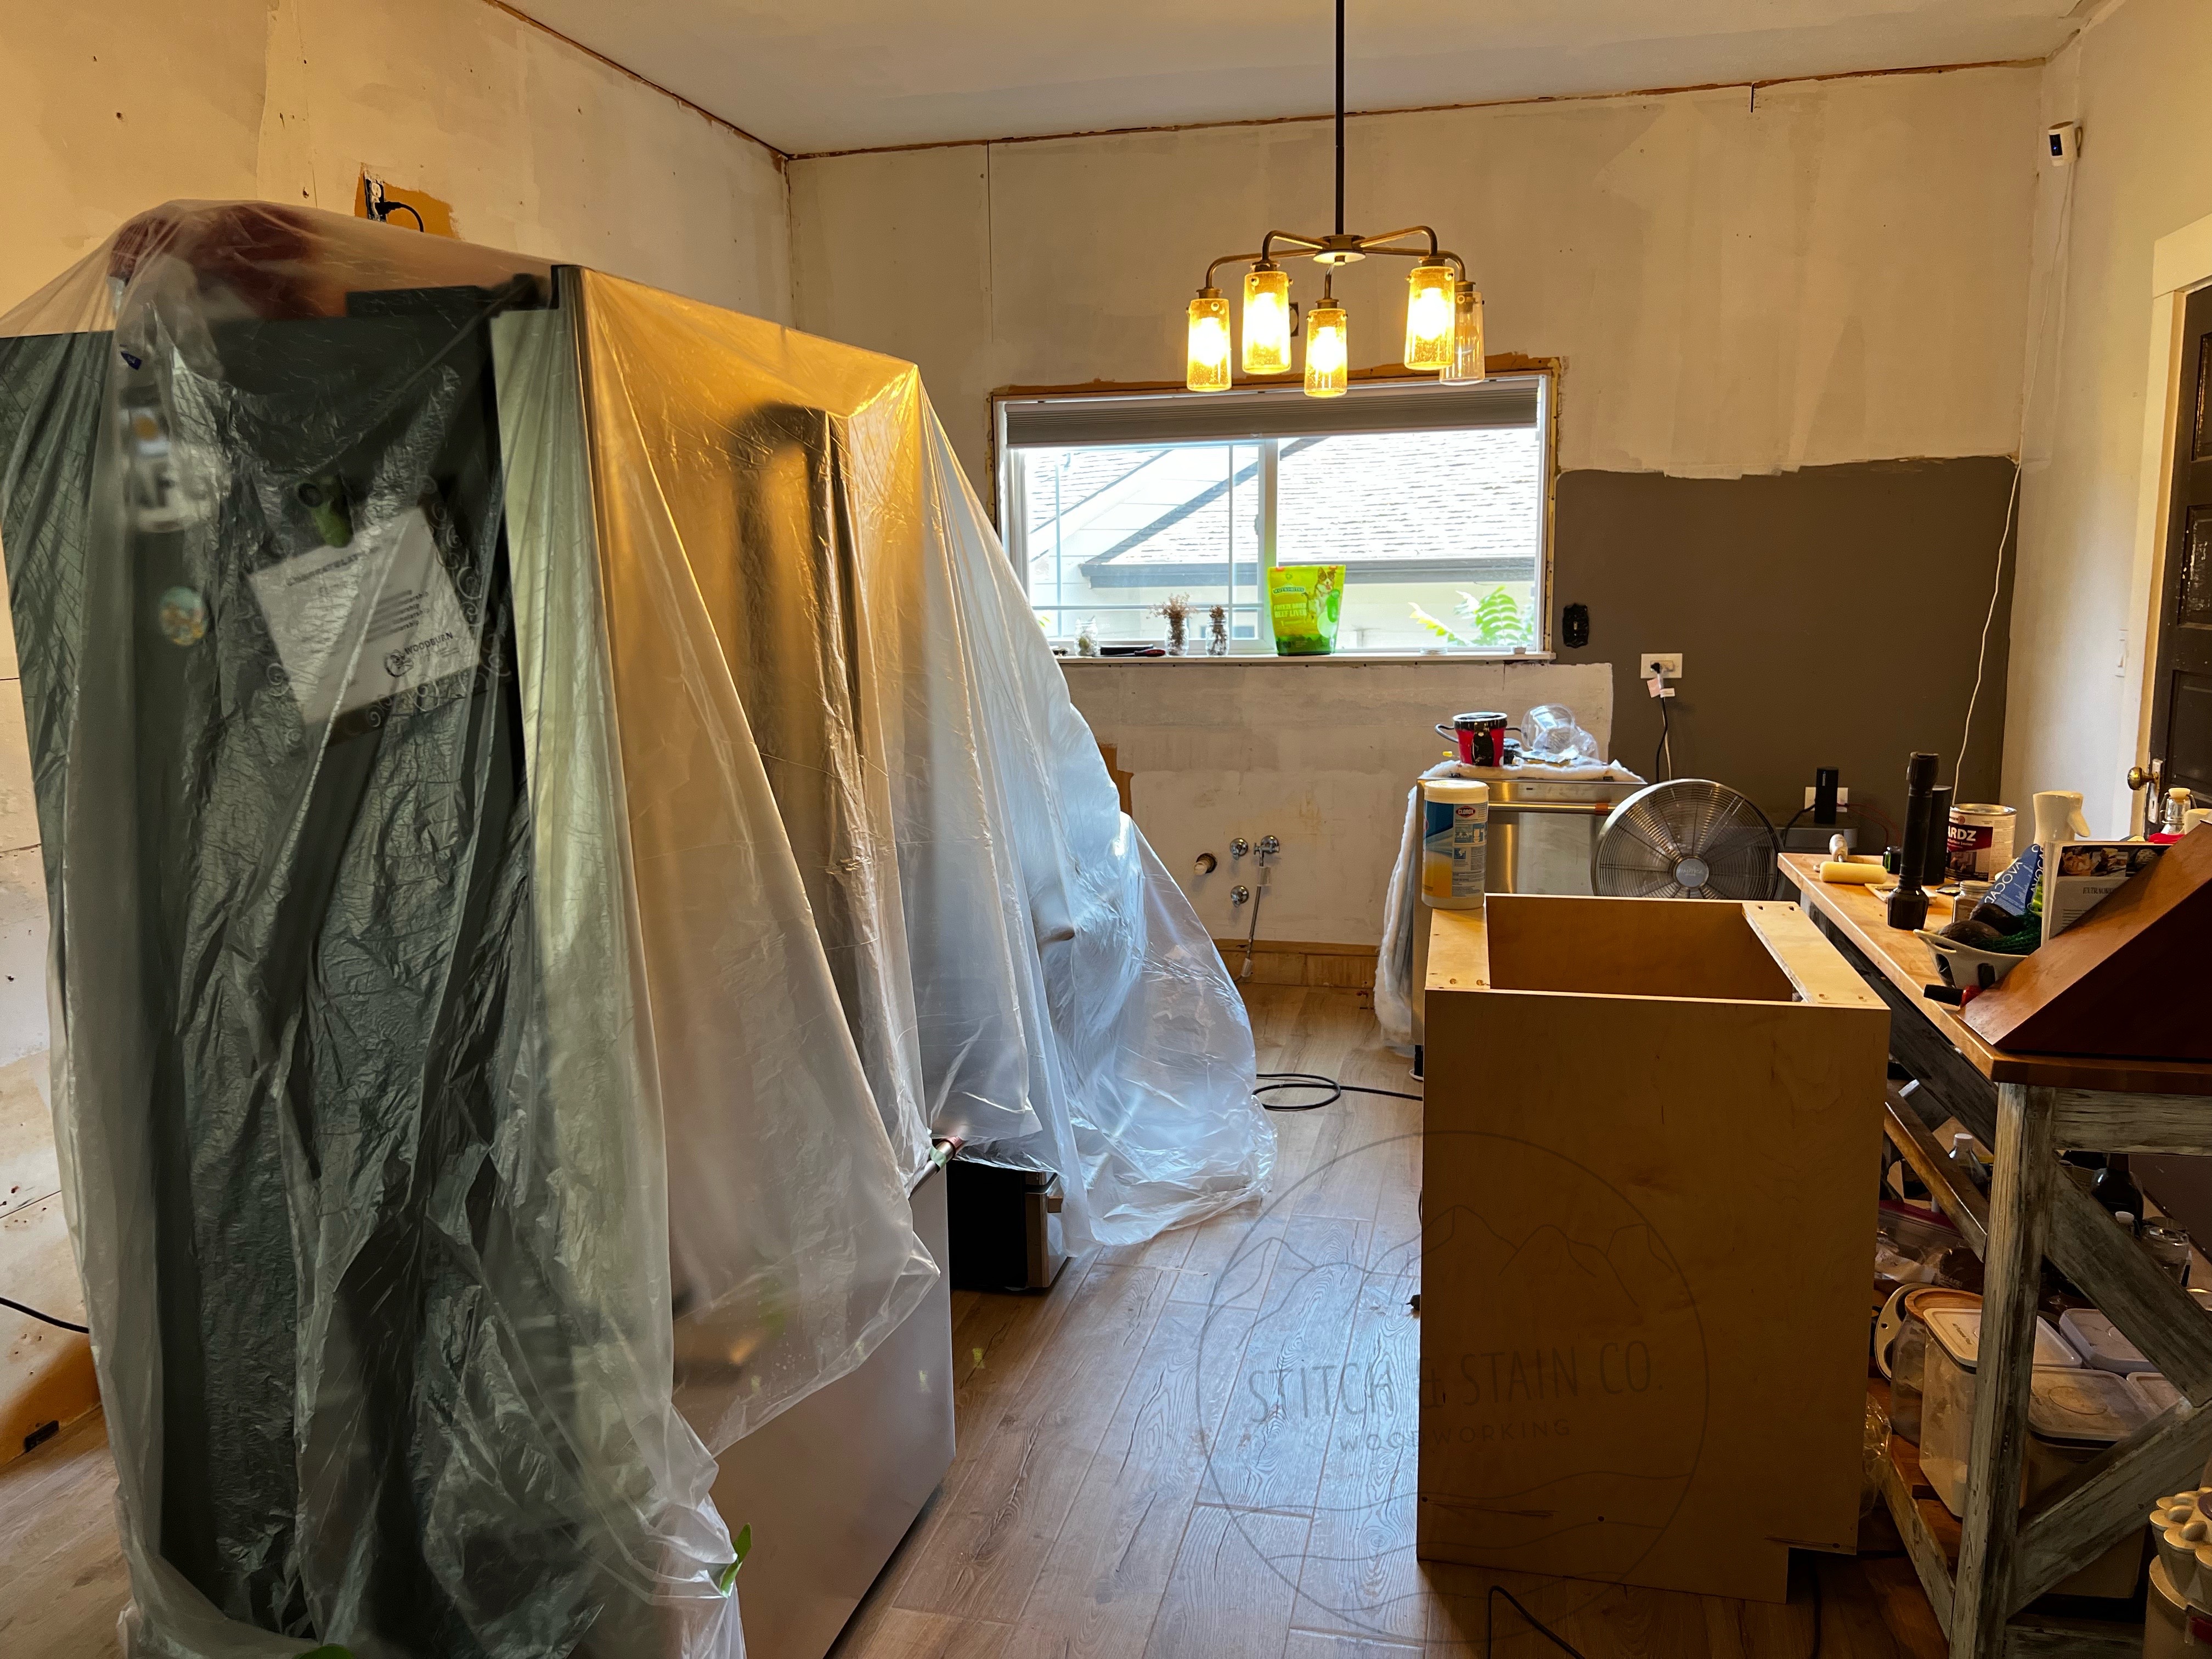
In October we added the island. At this point I was so OVER the construction of the kitchen. We stored everything in those big black and yellow Costco bins (far right pic) and used a mobile kitchen island that I built years ago. I knew it was going to be hard because I’ve always said I don’t ever want to live in a house during a remodel. Well… when you’re the designer, builder and boss you have to live through it. We also host the holidays so I had 7 weeks to get this kitchen done before everyone came over for Thanksgiving.
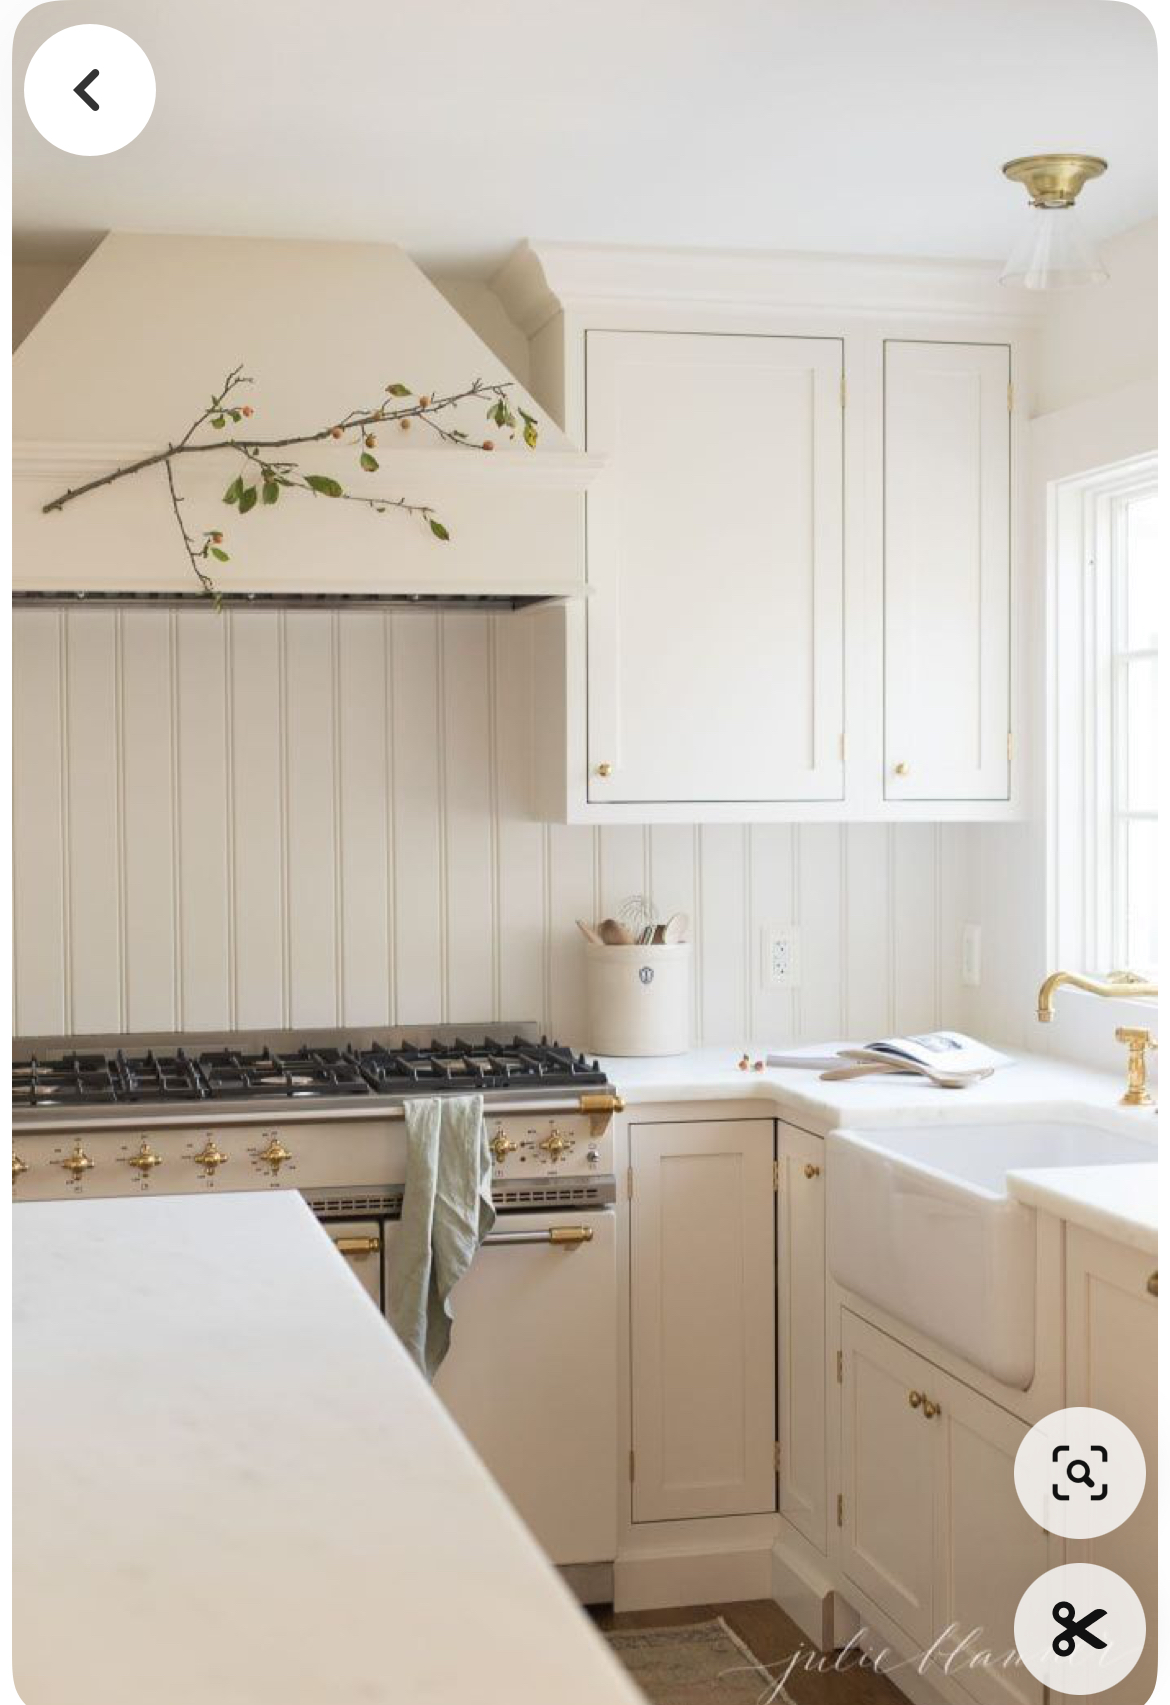
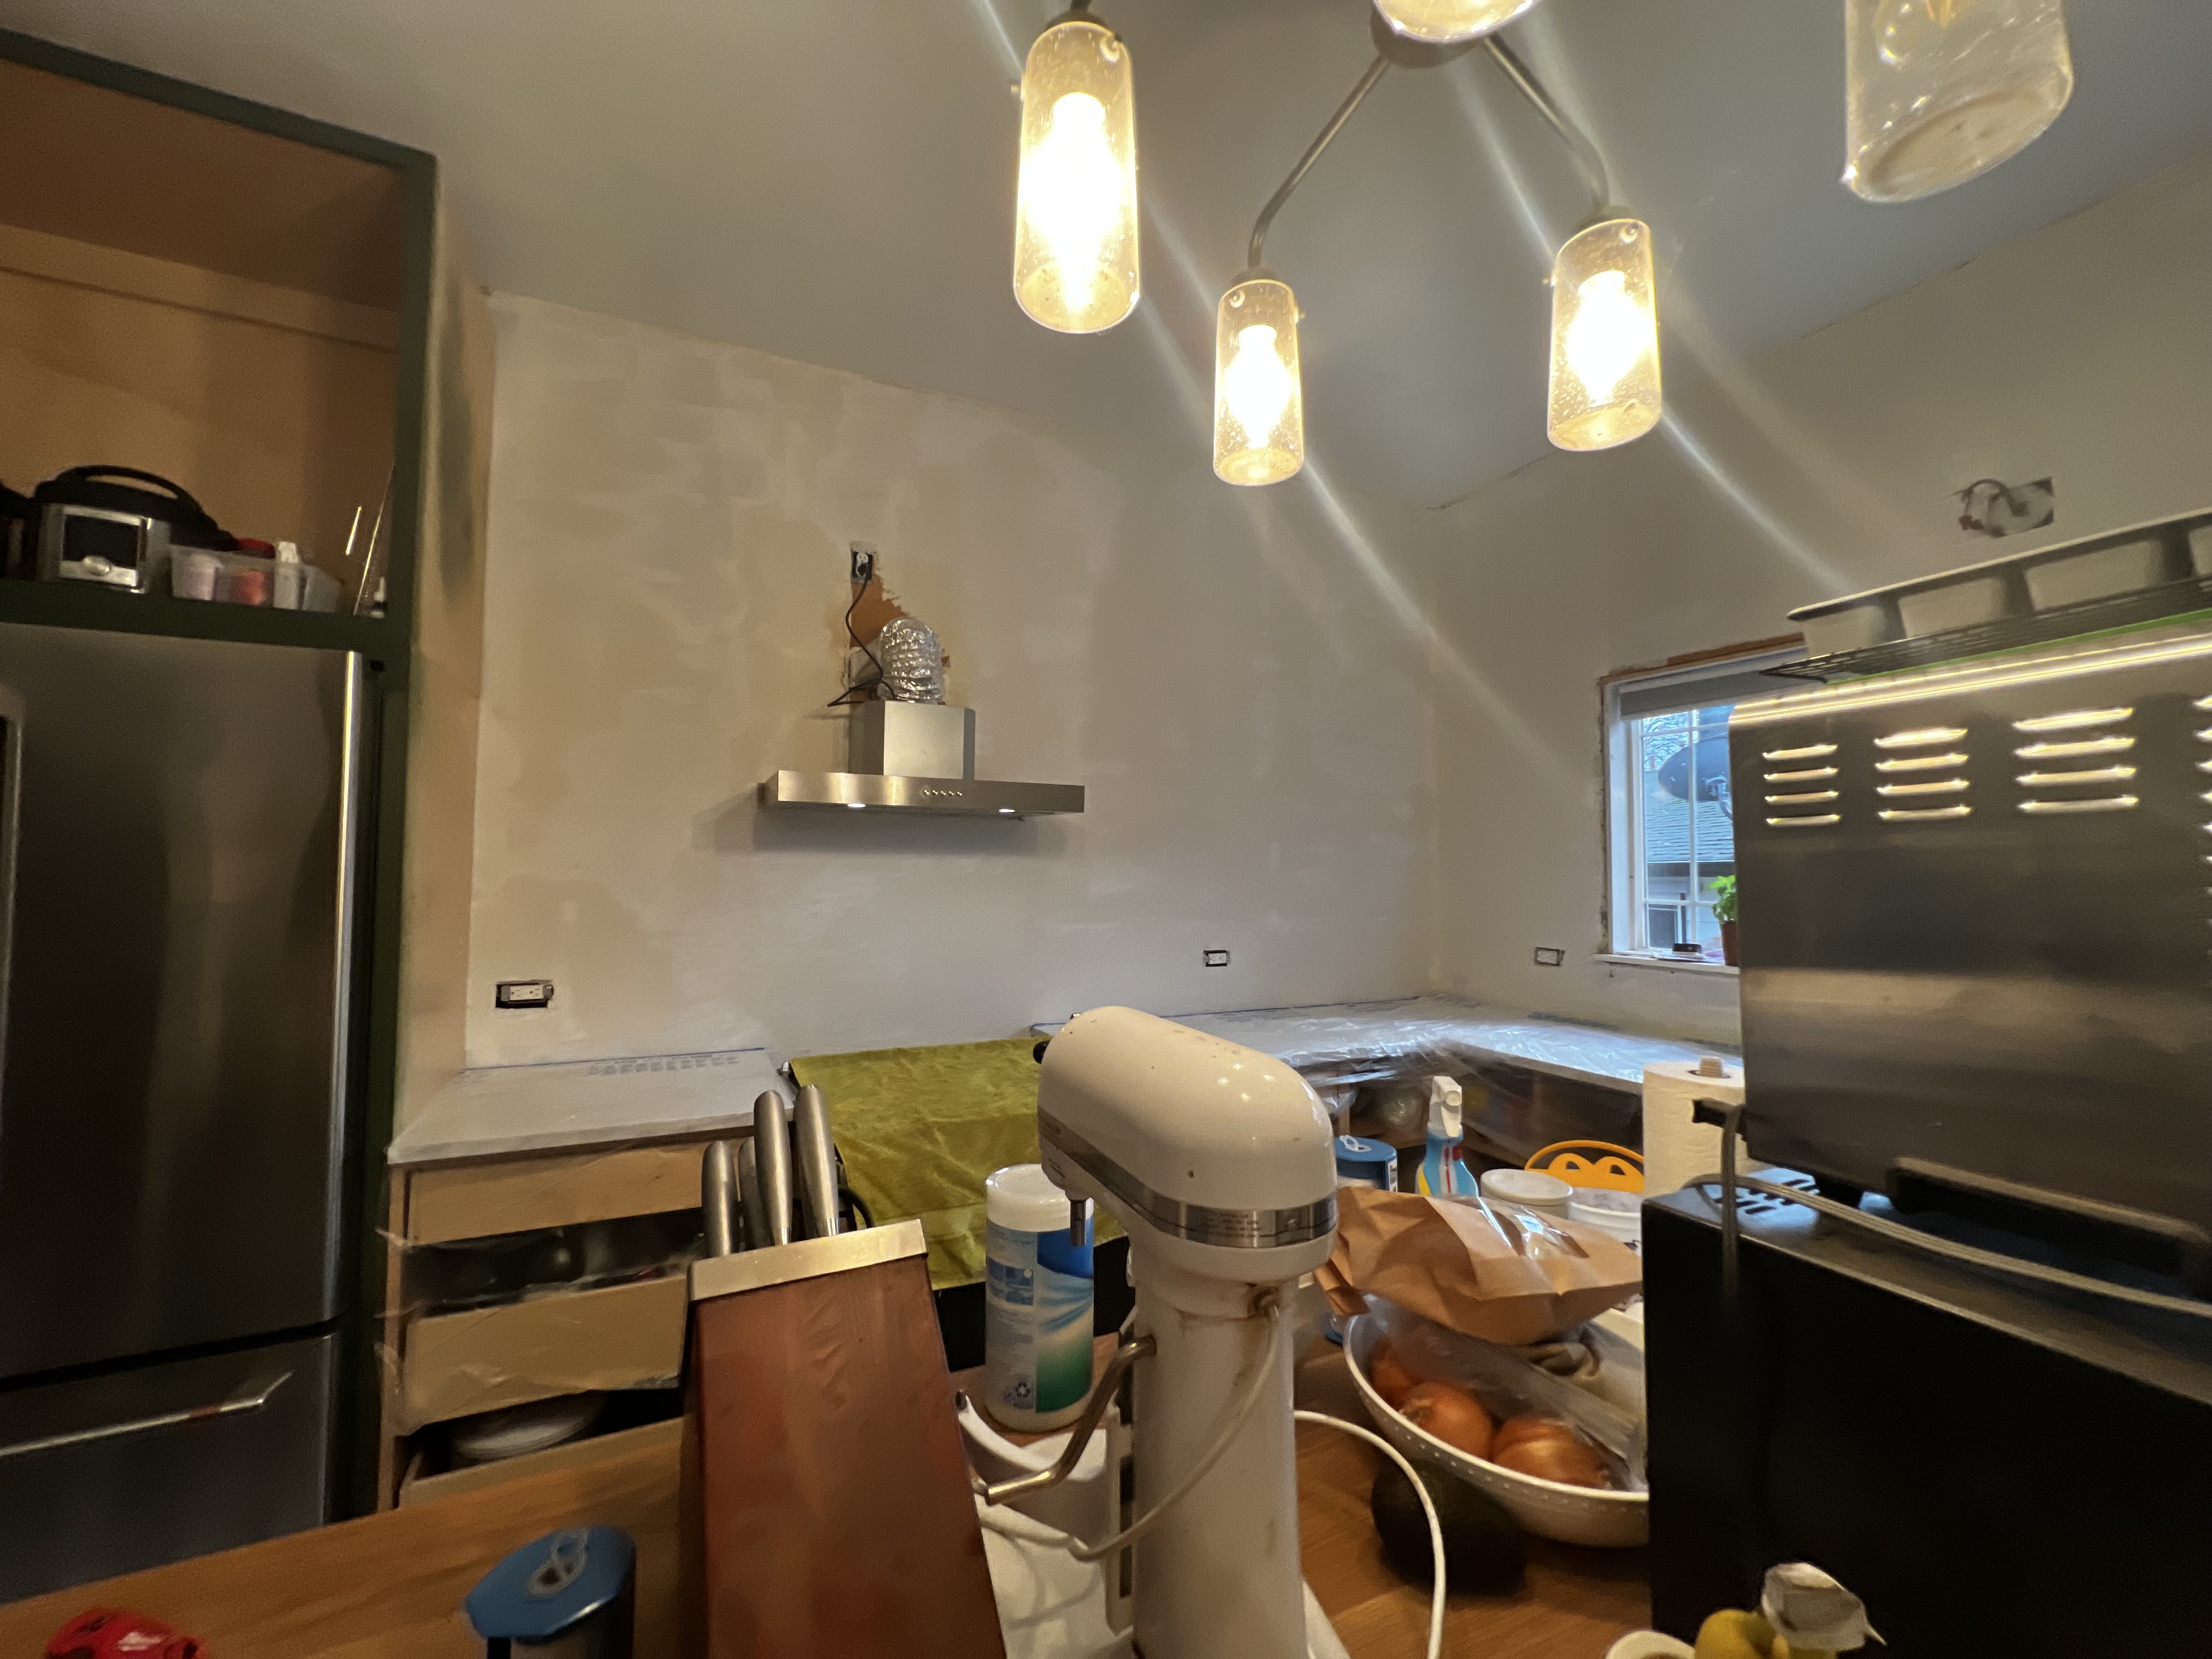
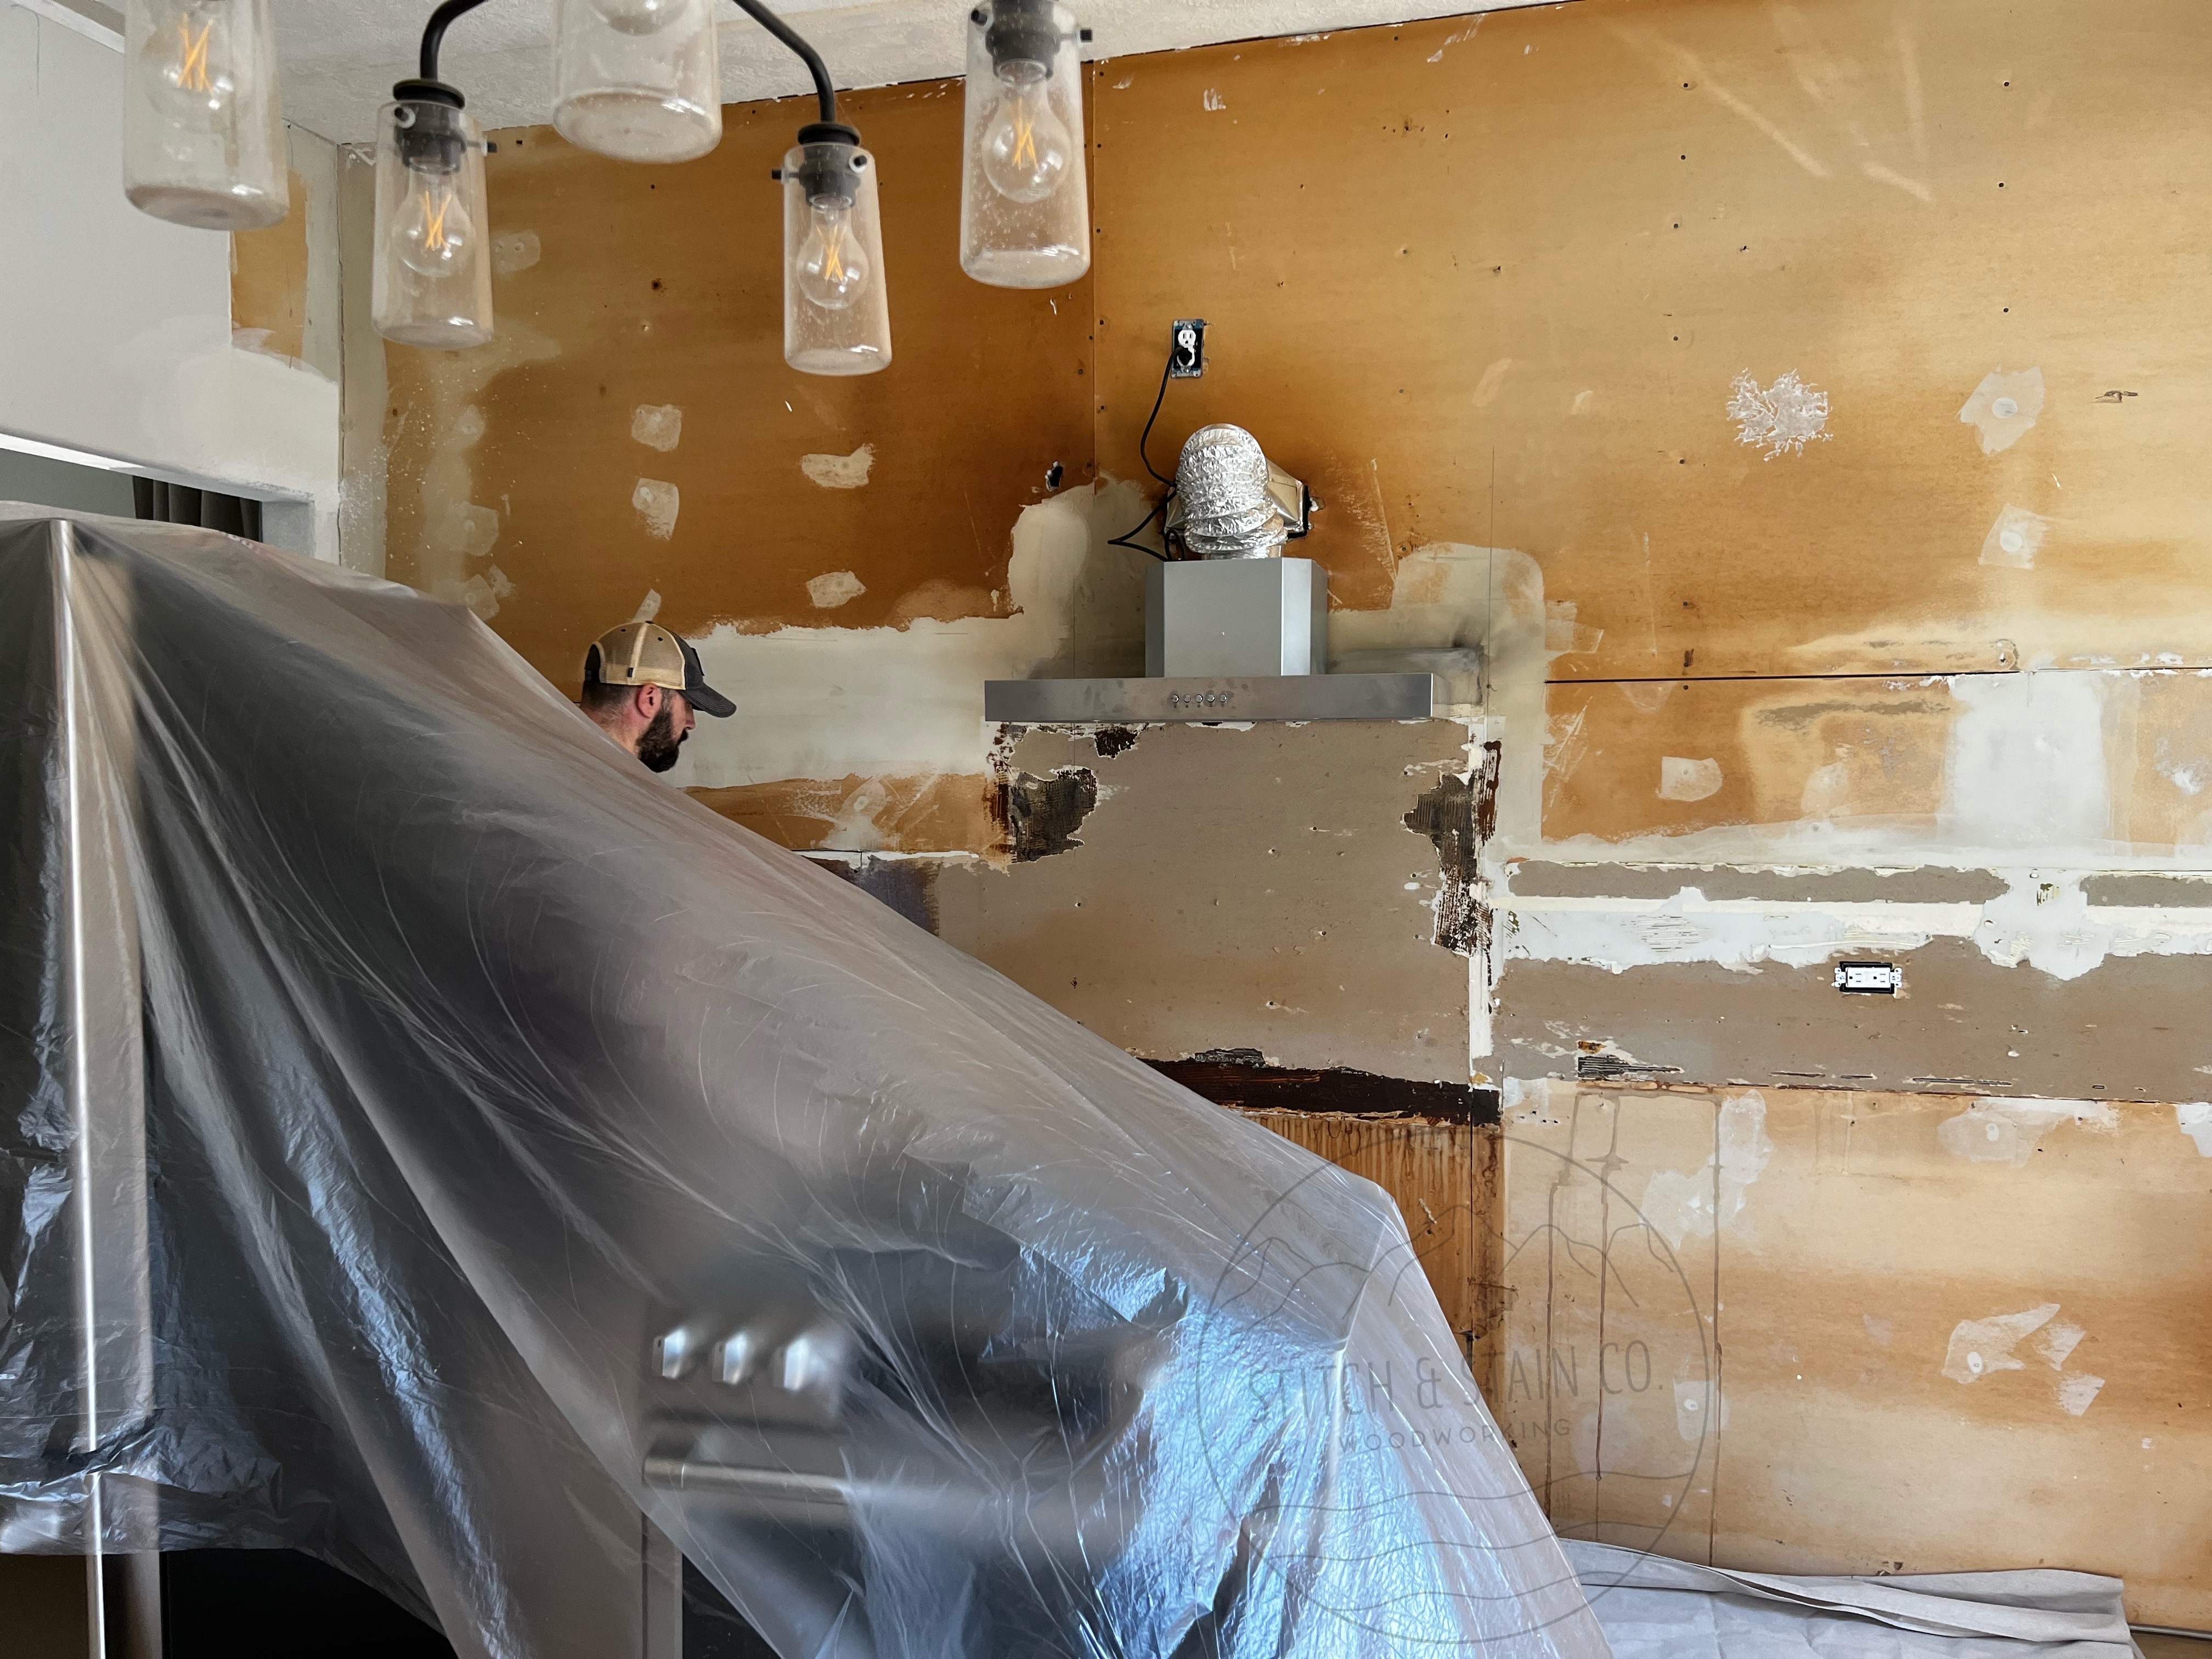
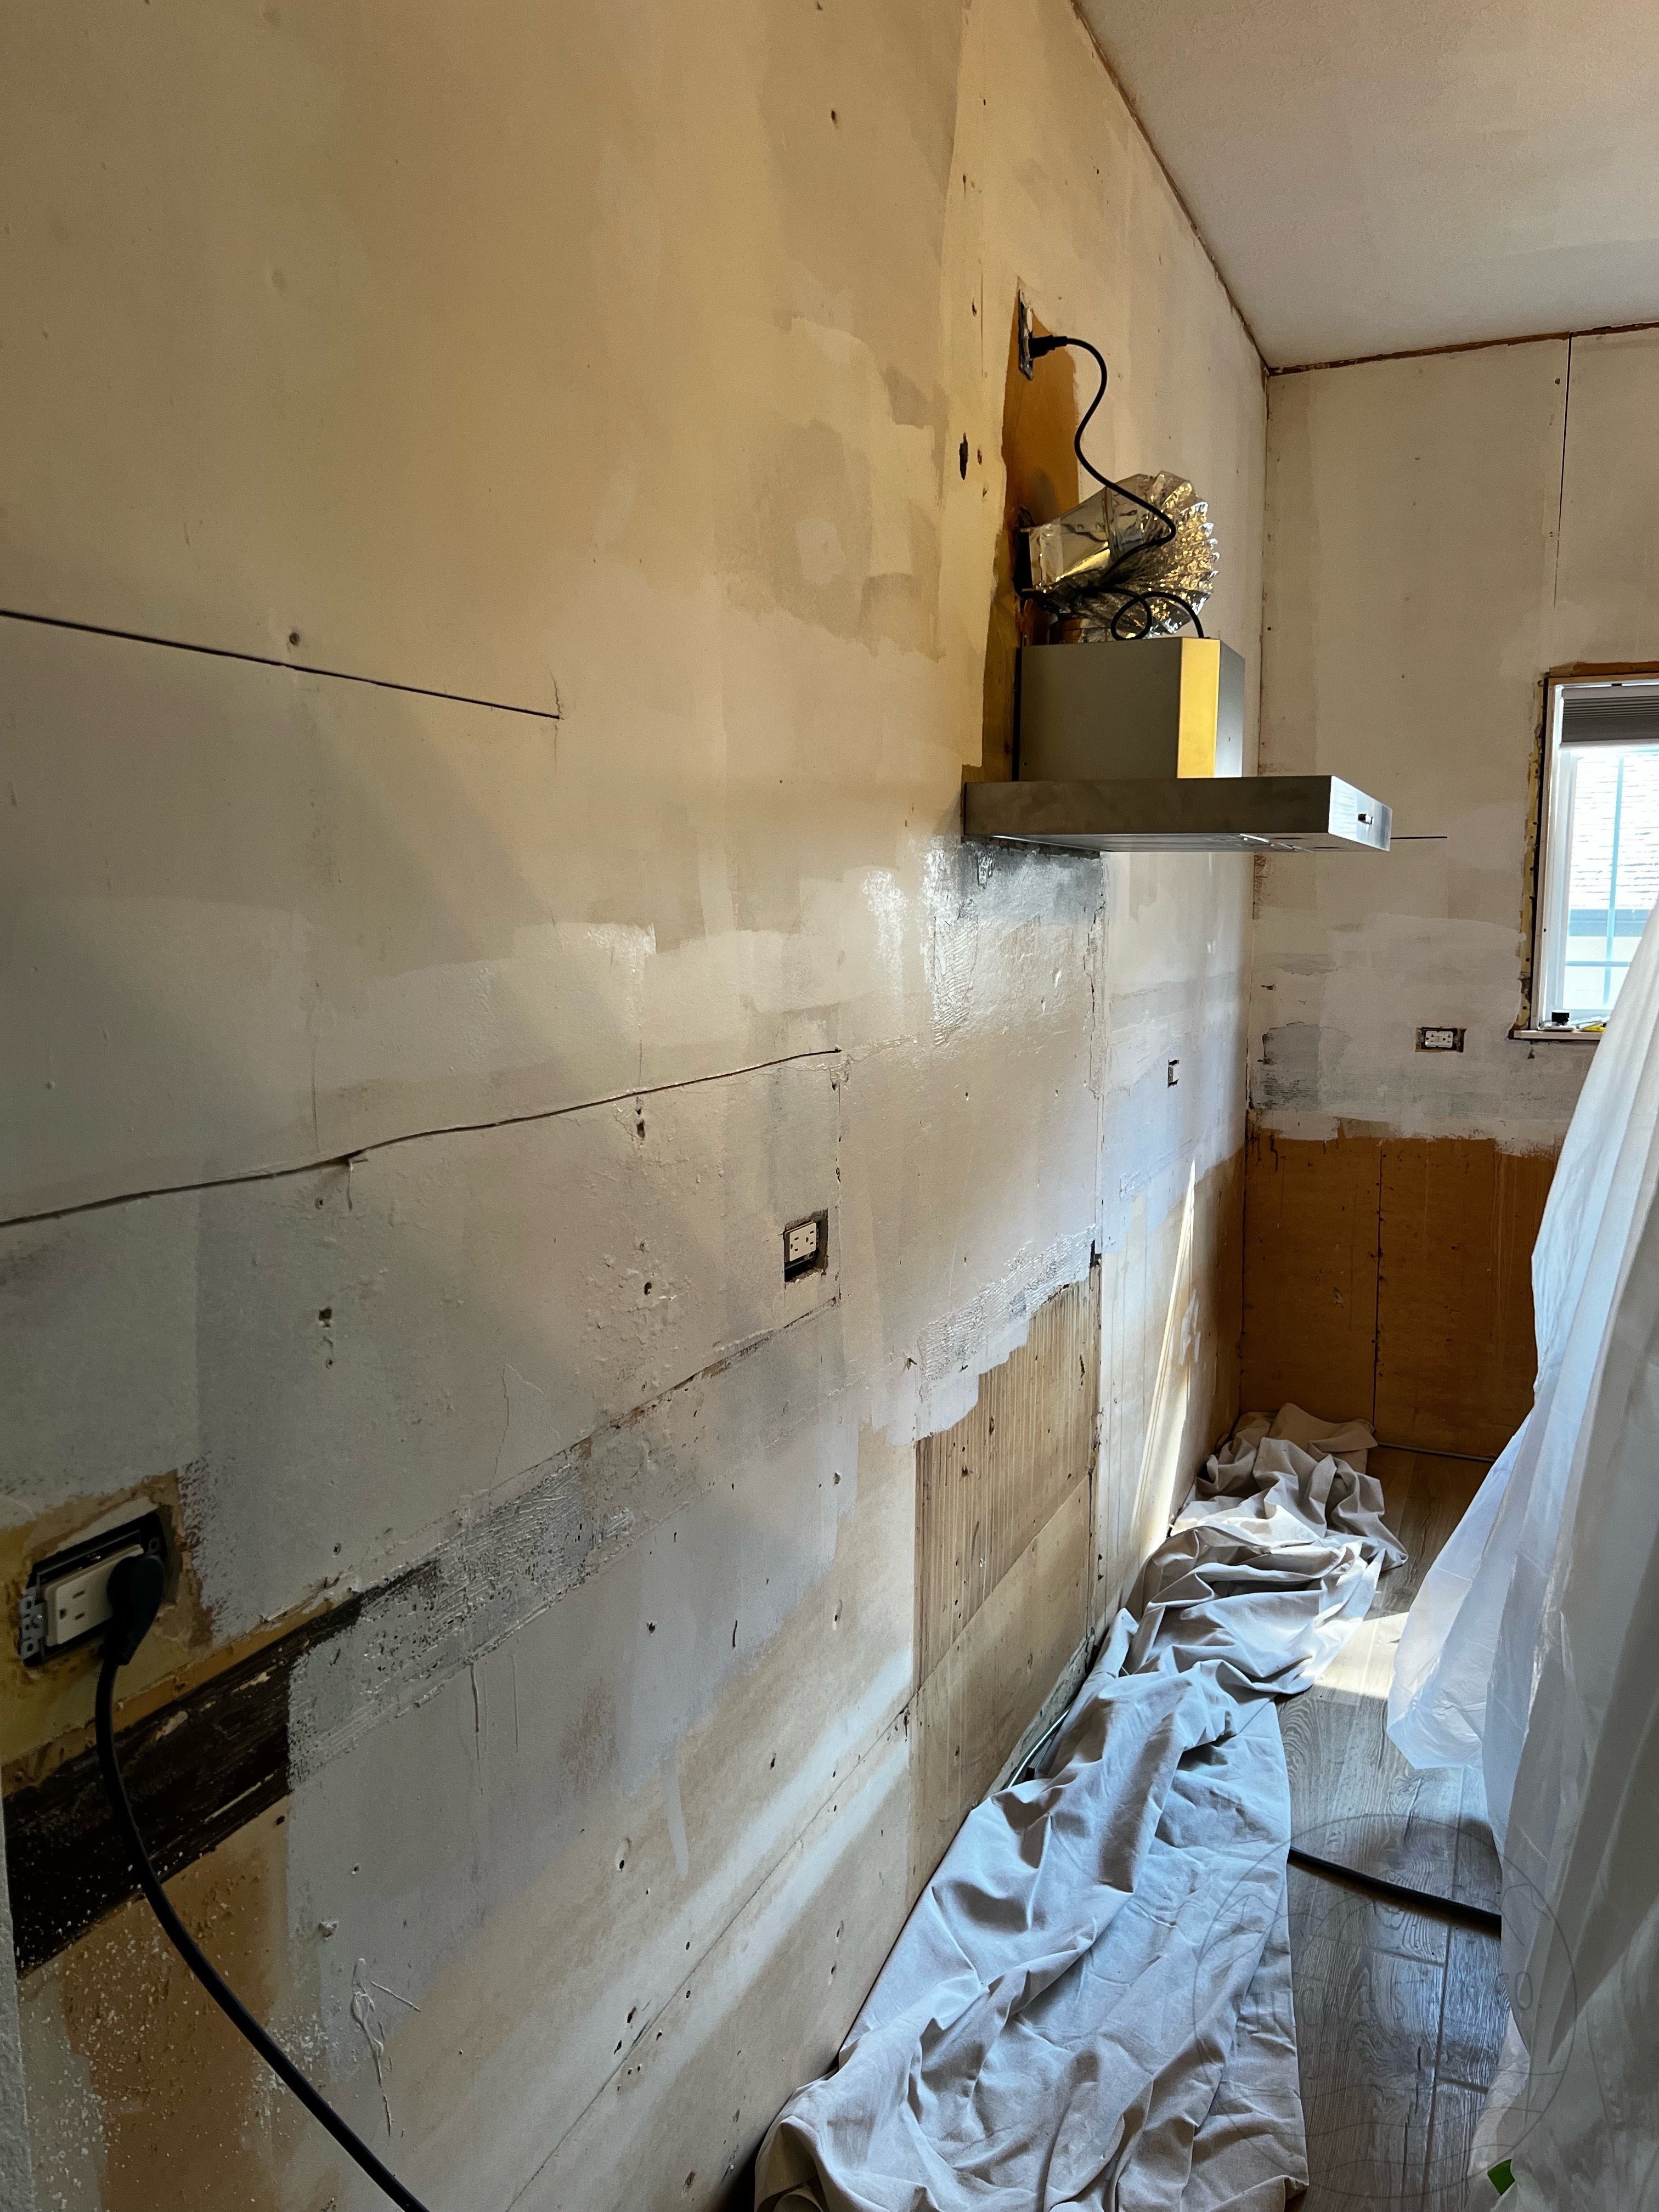
10 days before Thanksgiving. Originally we were going to add tile for the backsplash, but then I wanted something that was close to the character of our old home so I thought bead board (inspo pic- left side)would look great. Well, no one could deliver it before Thanksgiving, so plan B was skim coat the walls. We’ve never done any kind of skim coating, but the drywall we had needed to be taped before we got started. It was about $50- $75 to get all the things we needed.
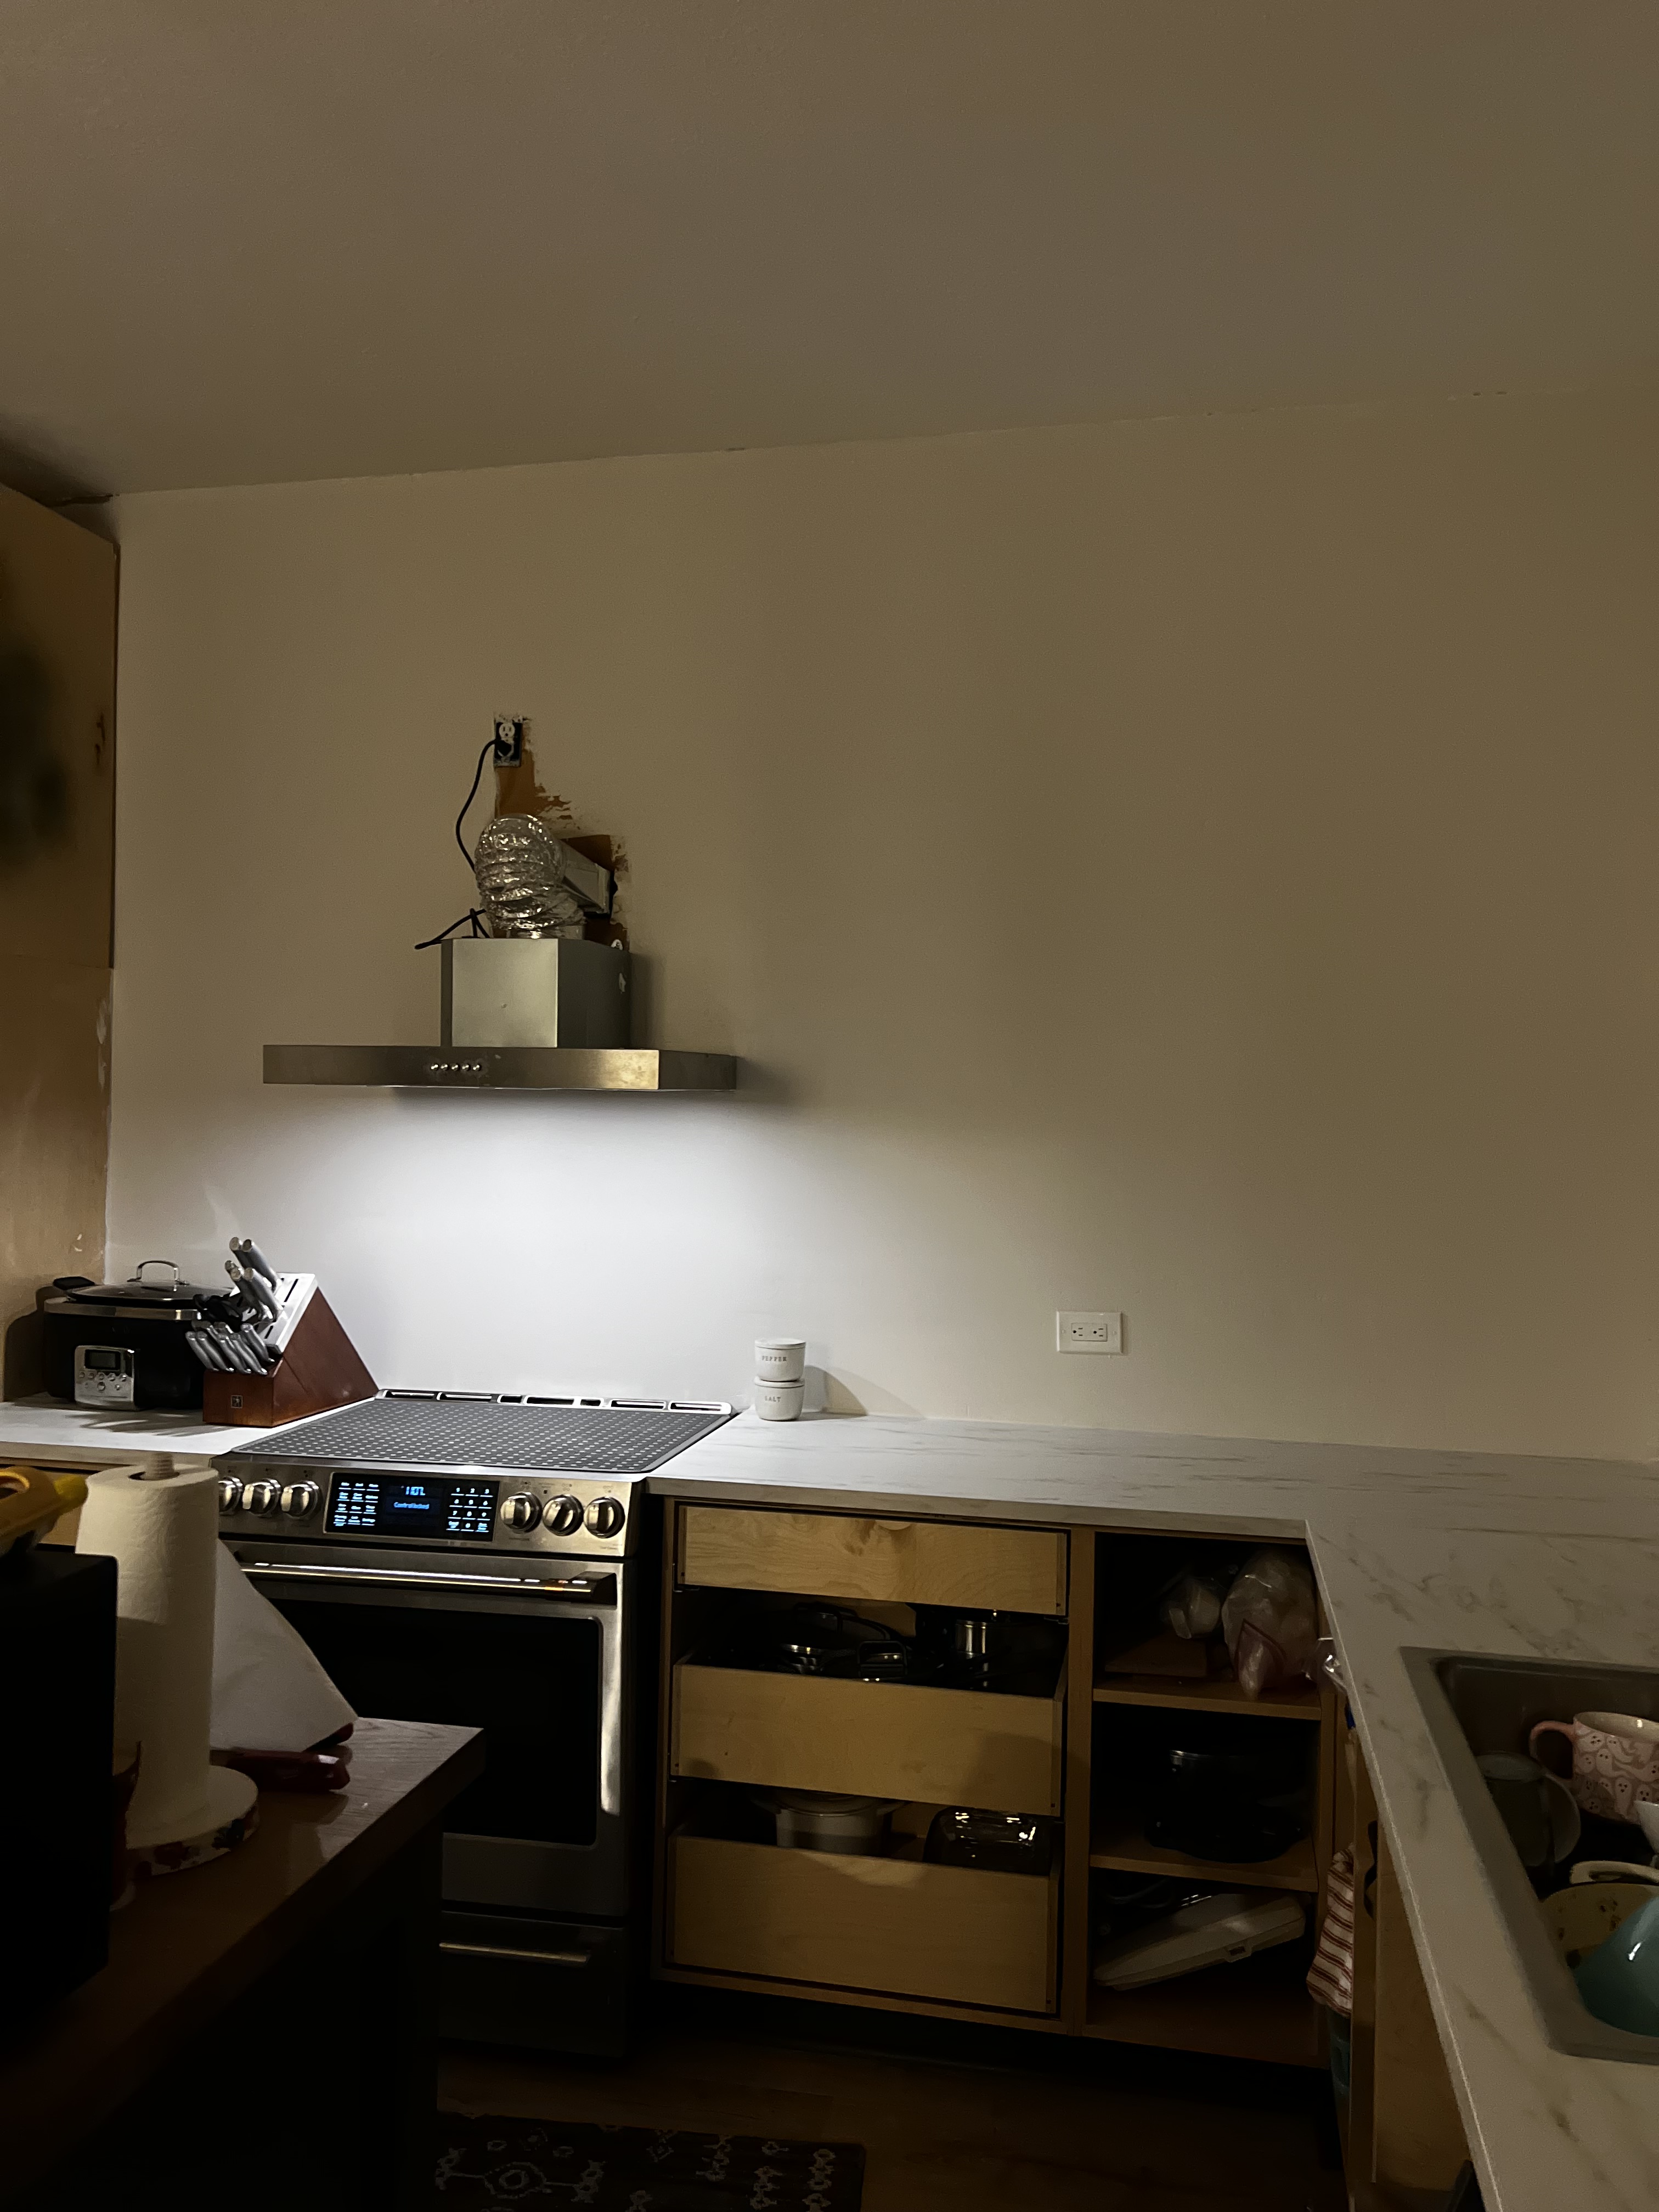
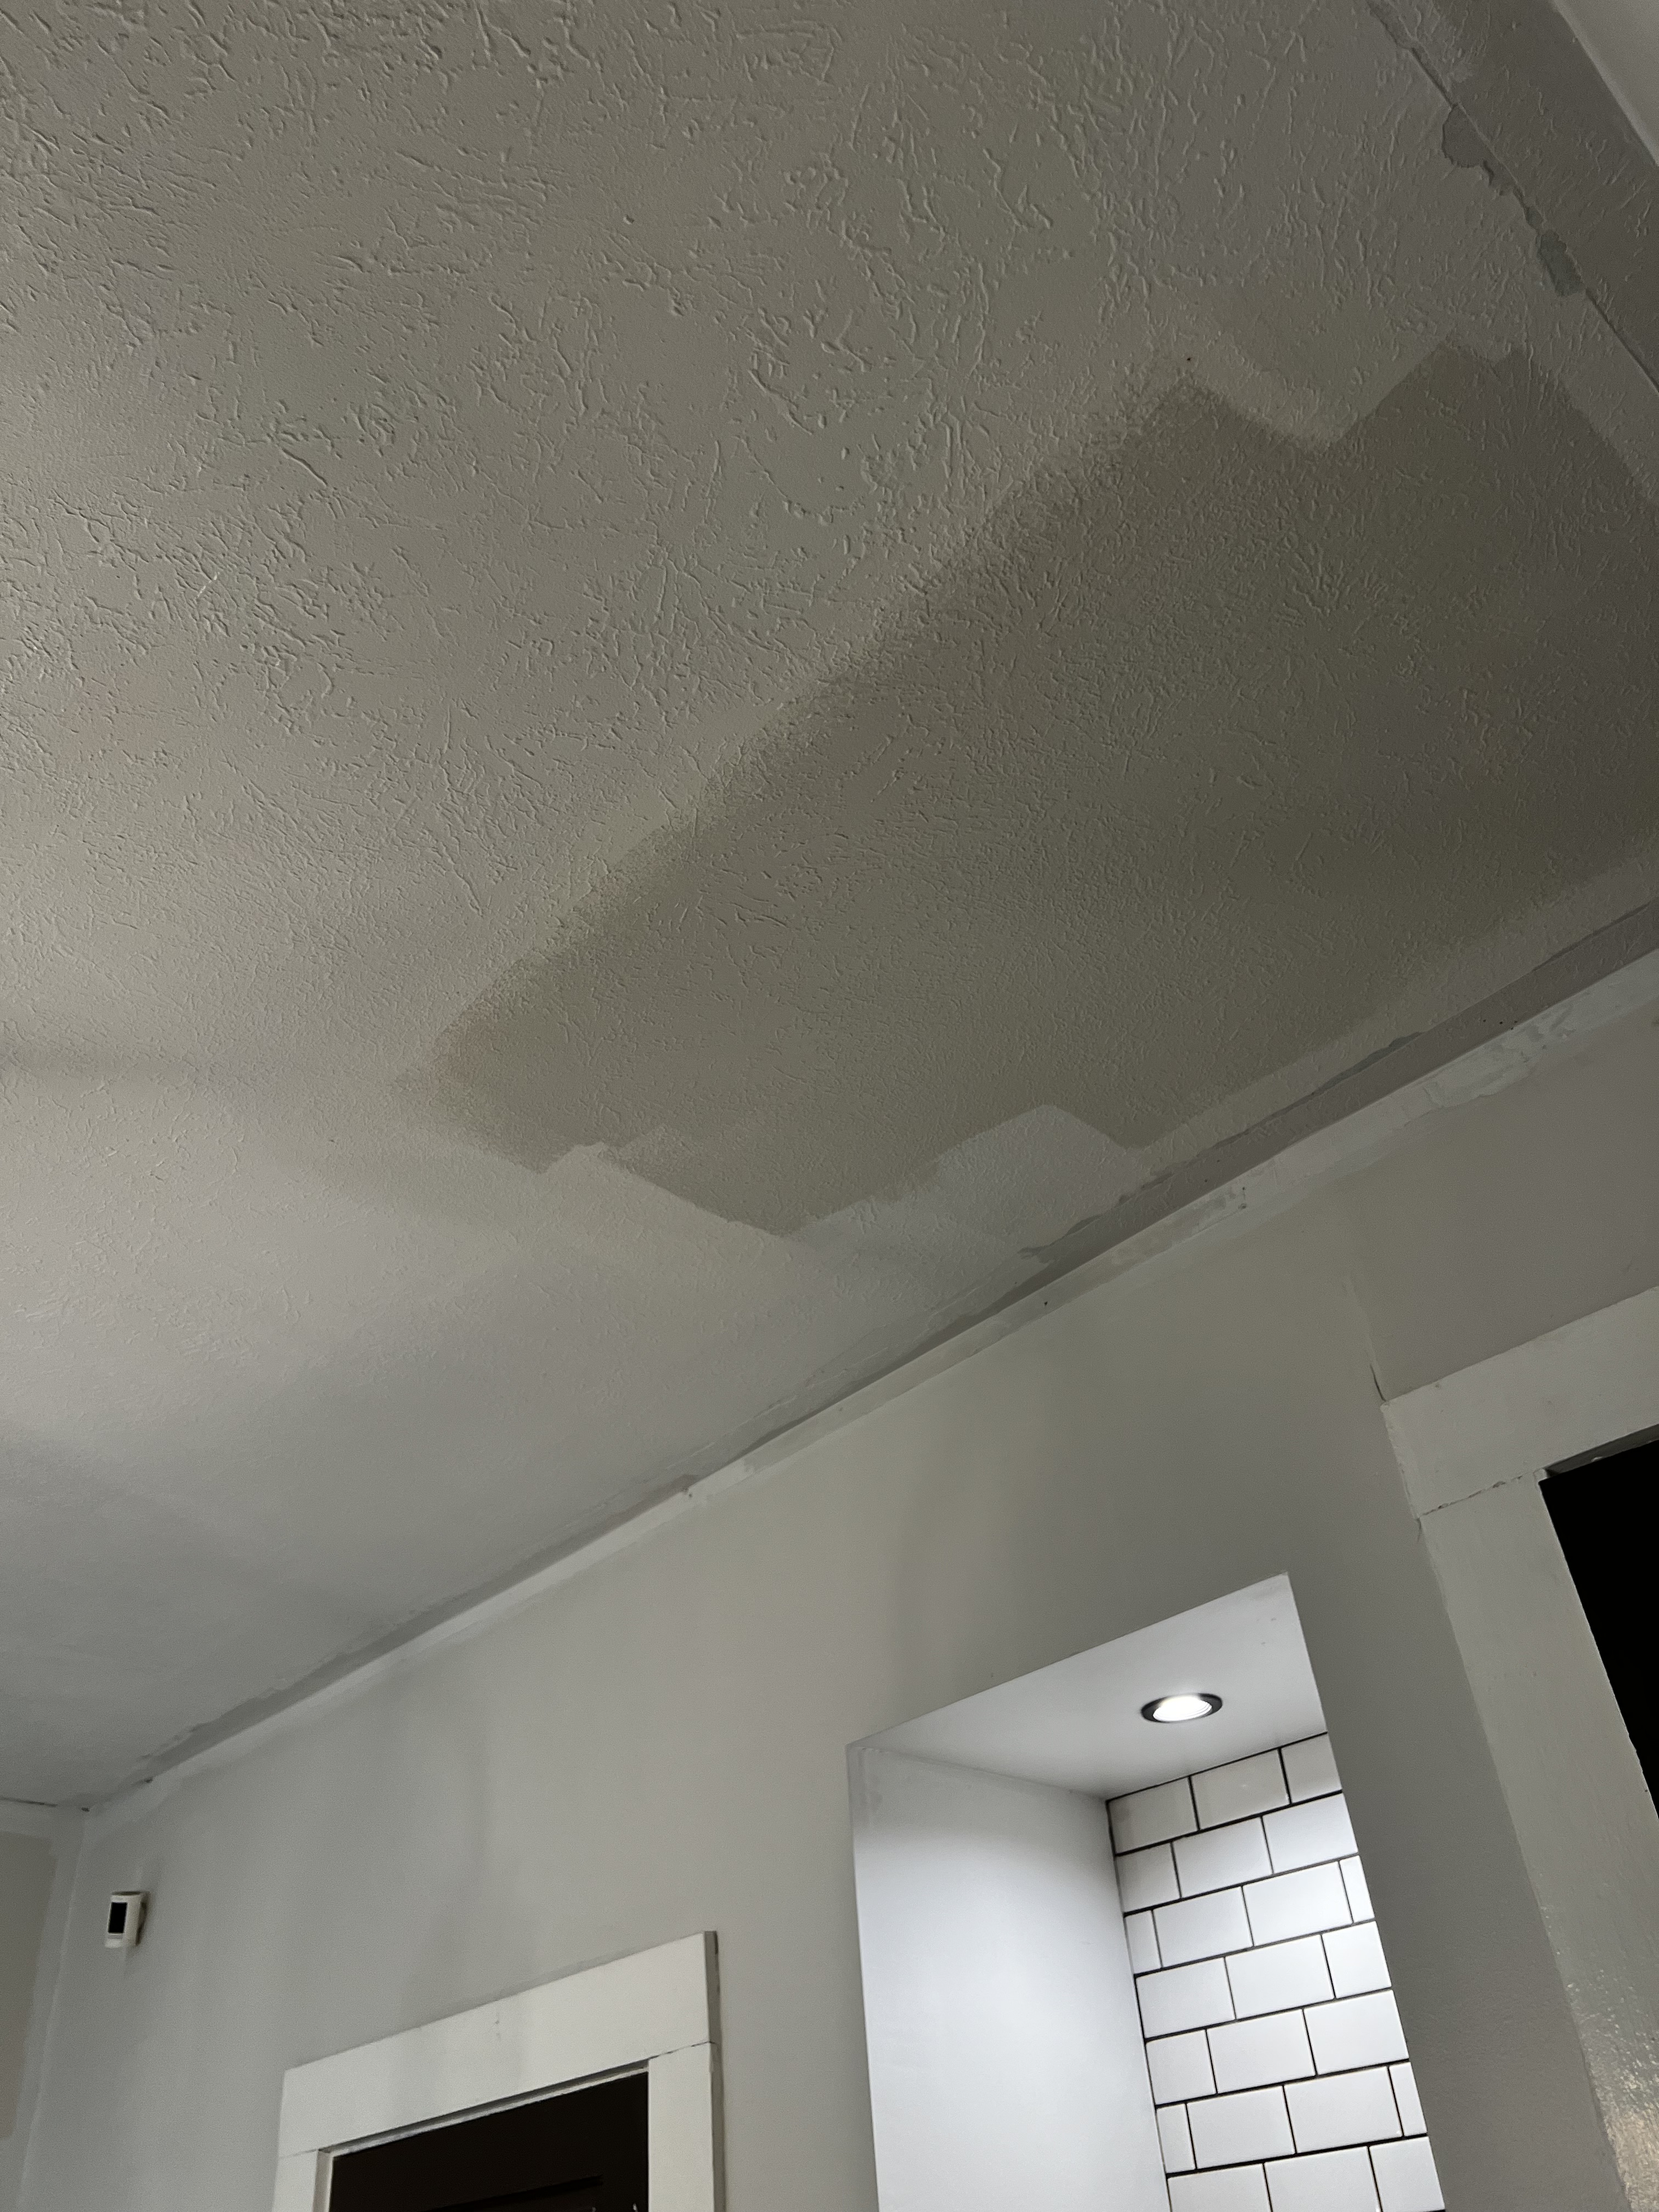
Once we did two coats, we sanding the high spots and then painted the walls and ceiling. Next up was the cabinet doors and drawer faces.

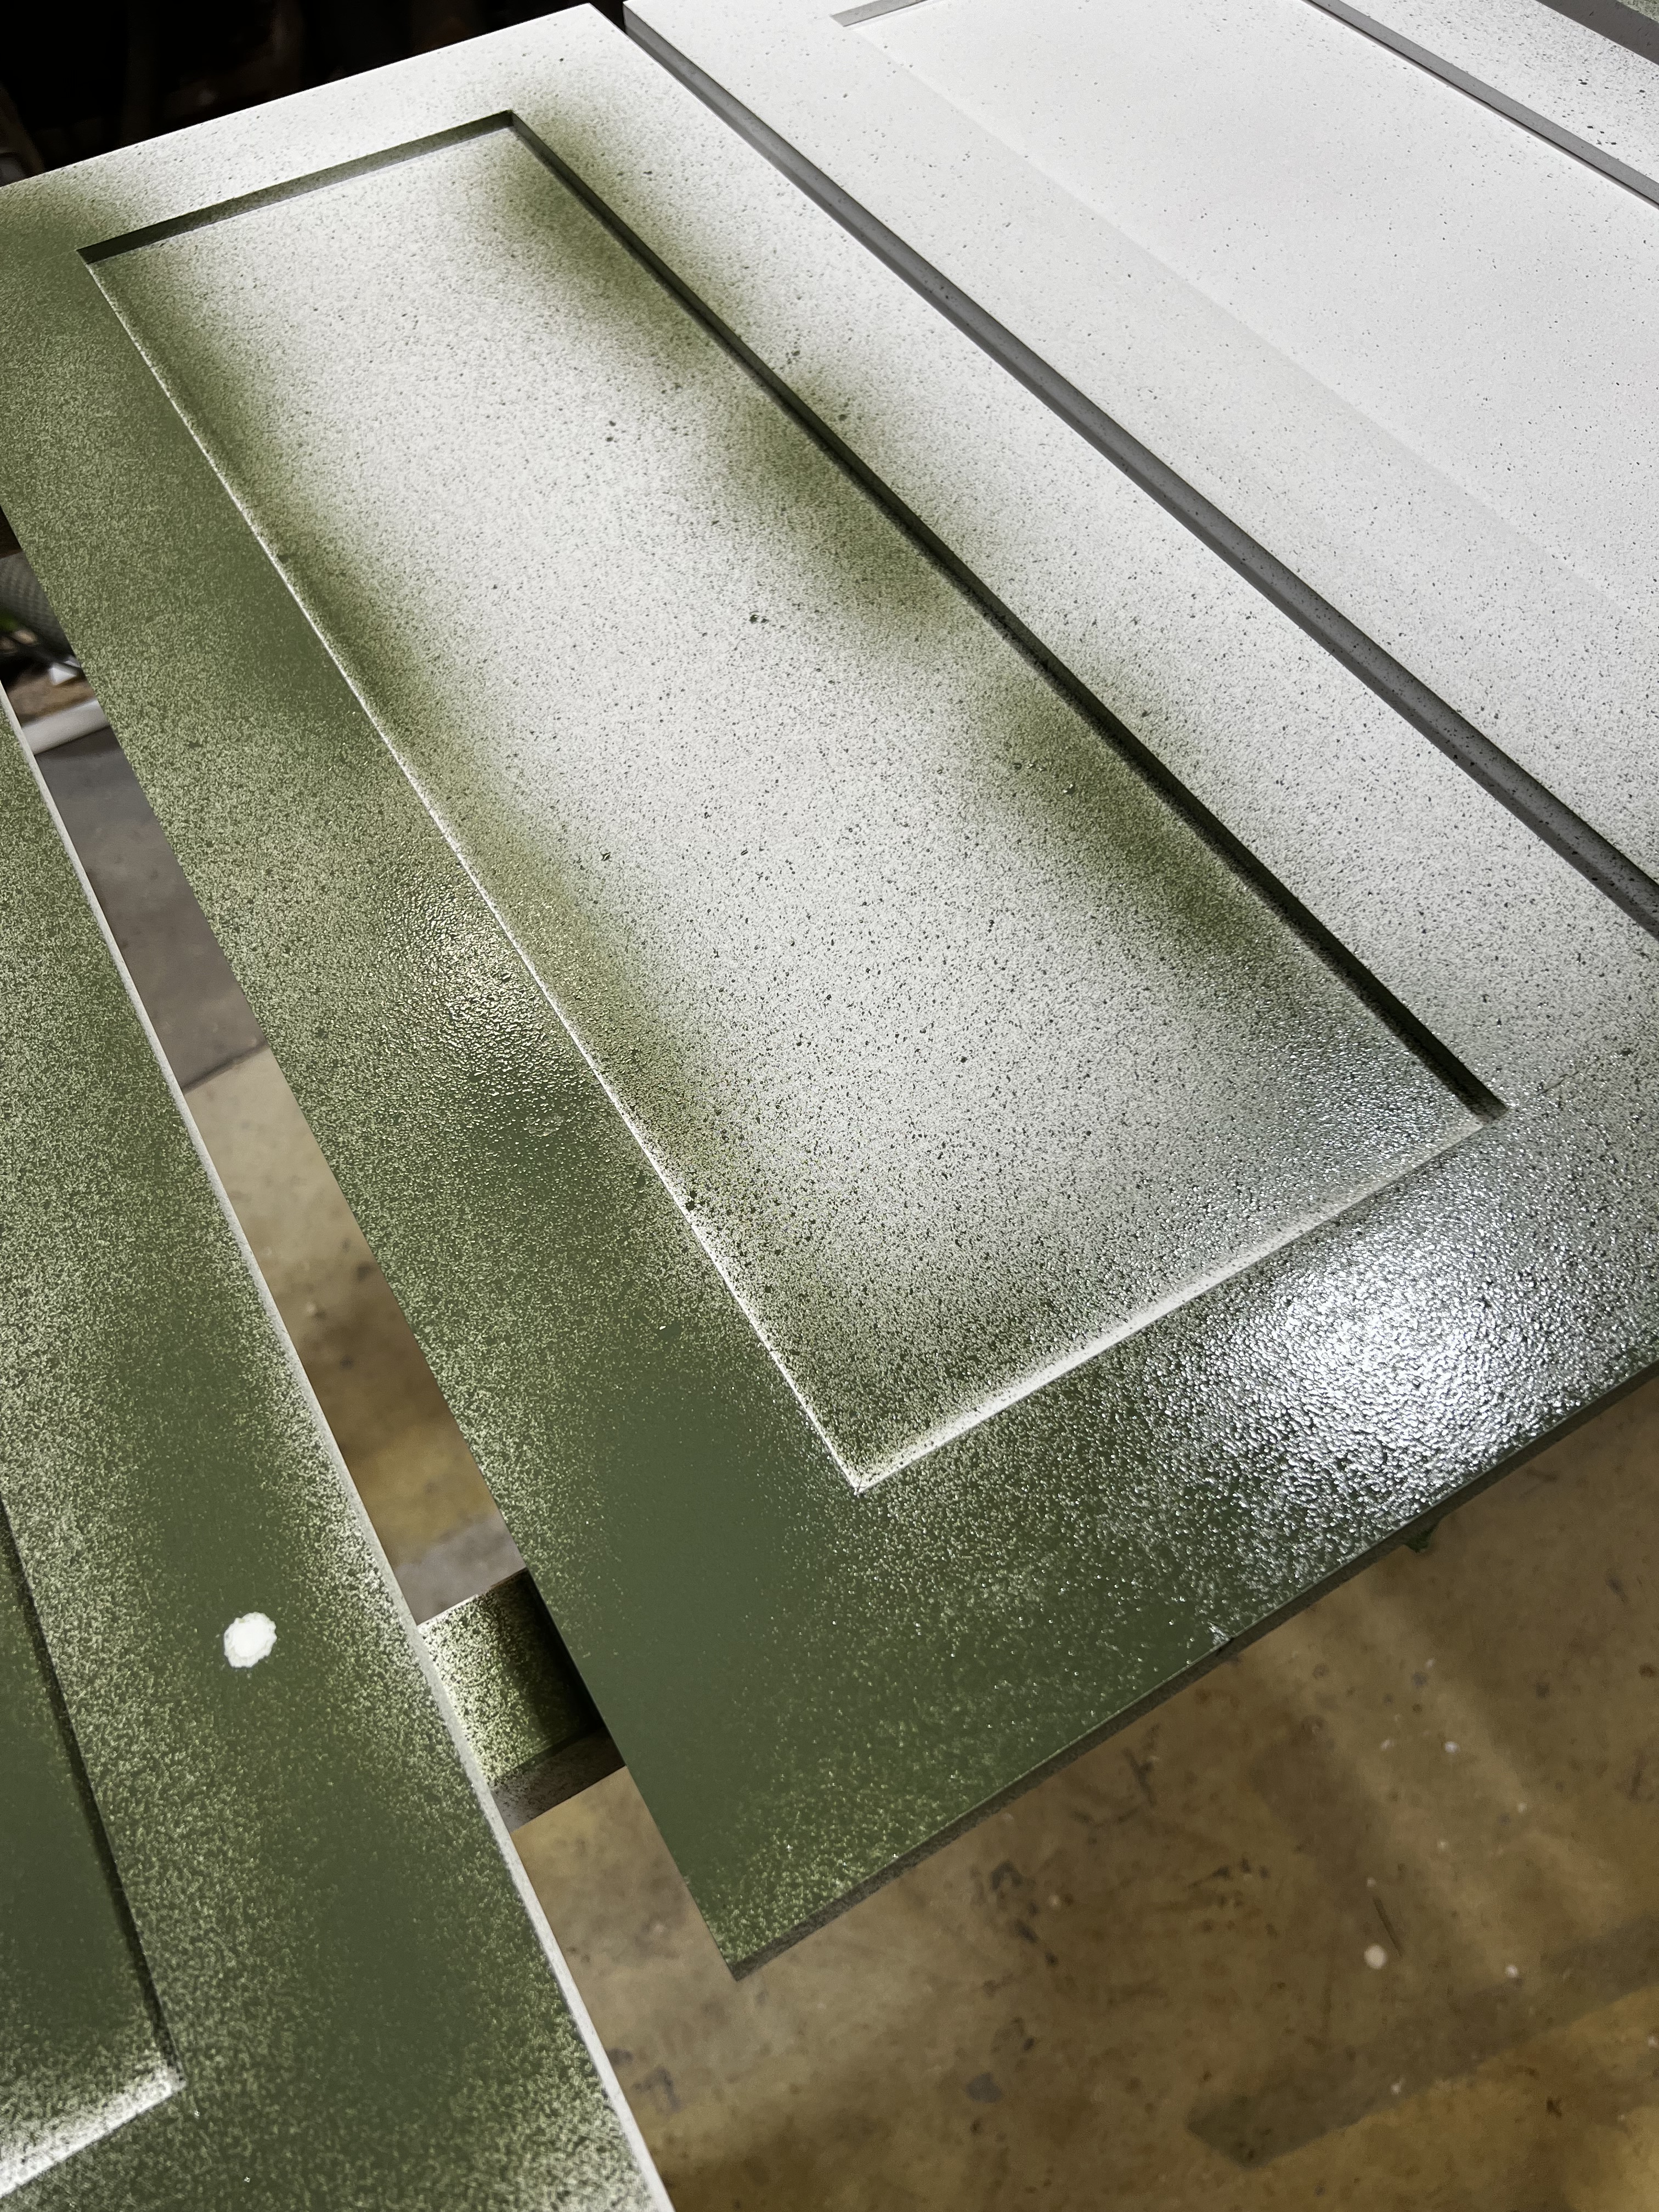
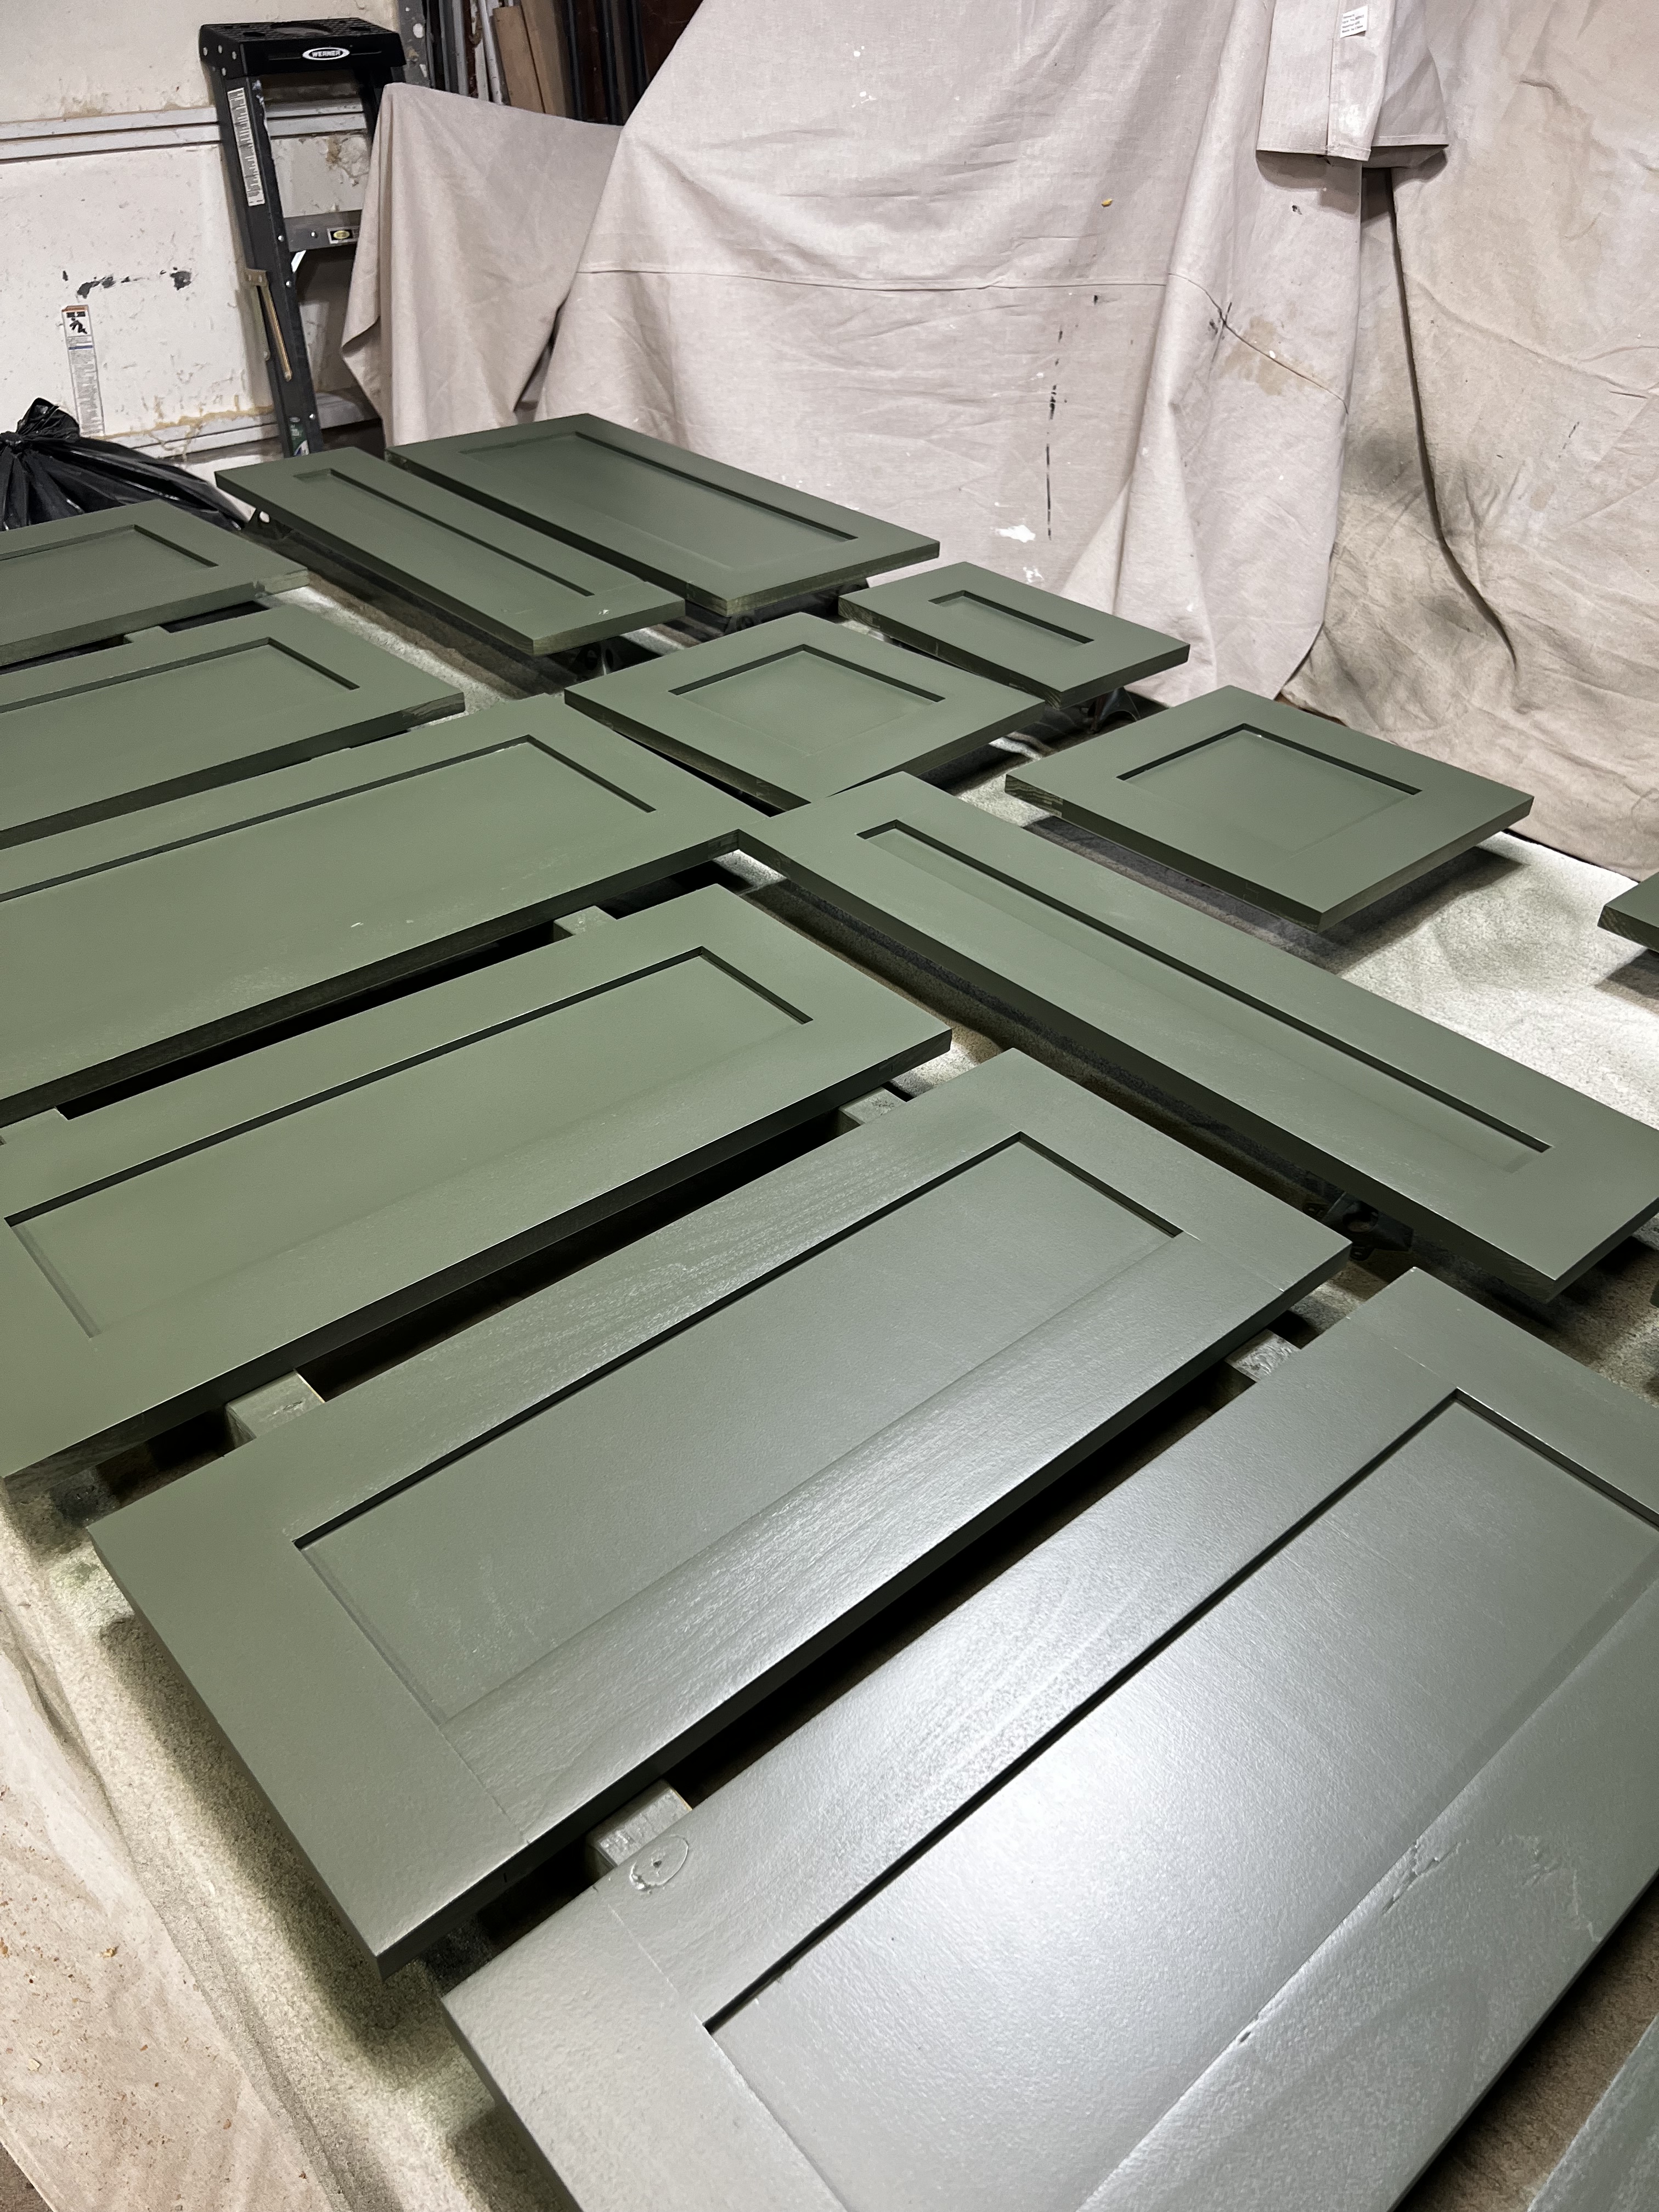

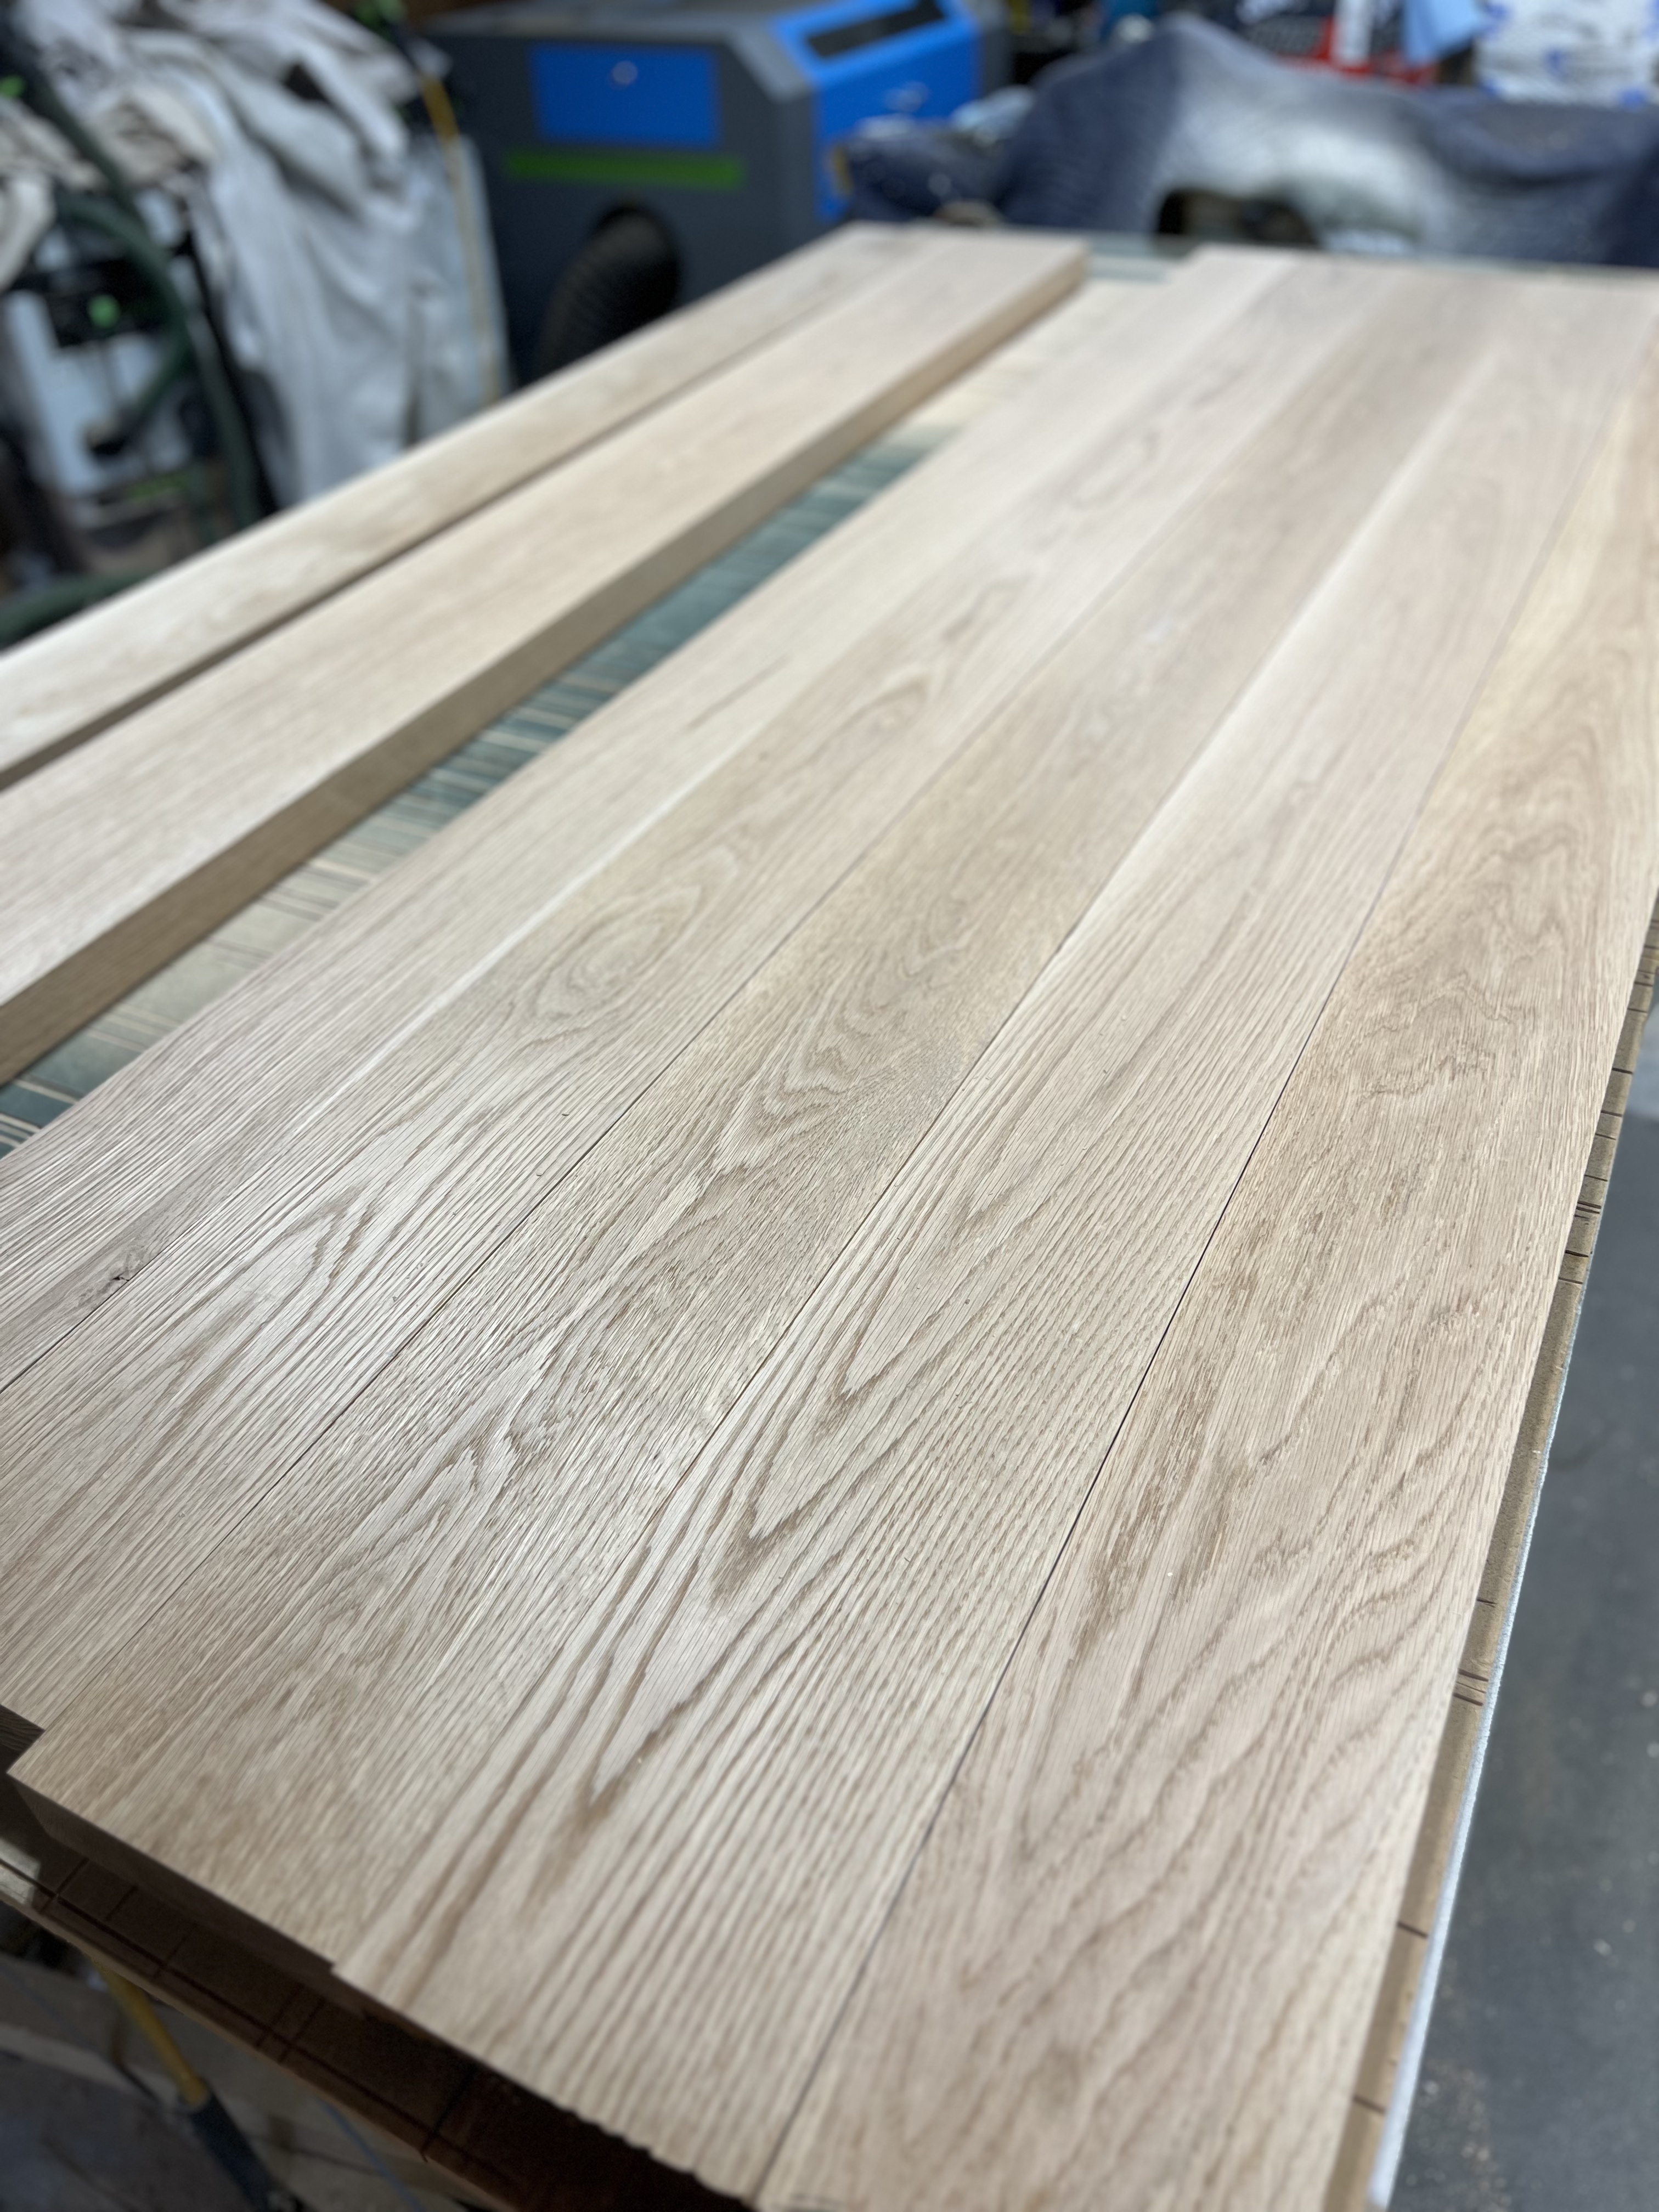
6 days until Thanksgiving. The style we chose for the kitchen doors was Shaker. Which made sense since thats what was originally in the home. It was crunch time and luckily we know how to make cabinet doors pretty quickly. The main thing was curing. Letting the paint dry after building these. The most annoying part was my paint sprayer. I don’t know what it’s issue was but it was spitting paint even after doing all the tricks. I had to let it all dry and start over, but luckily it was only a handful of doors this happened on. 2 days before Thanksgiving, we added the cabinet doors.


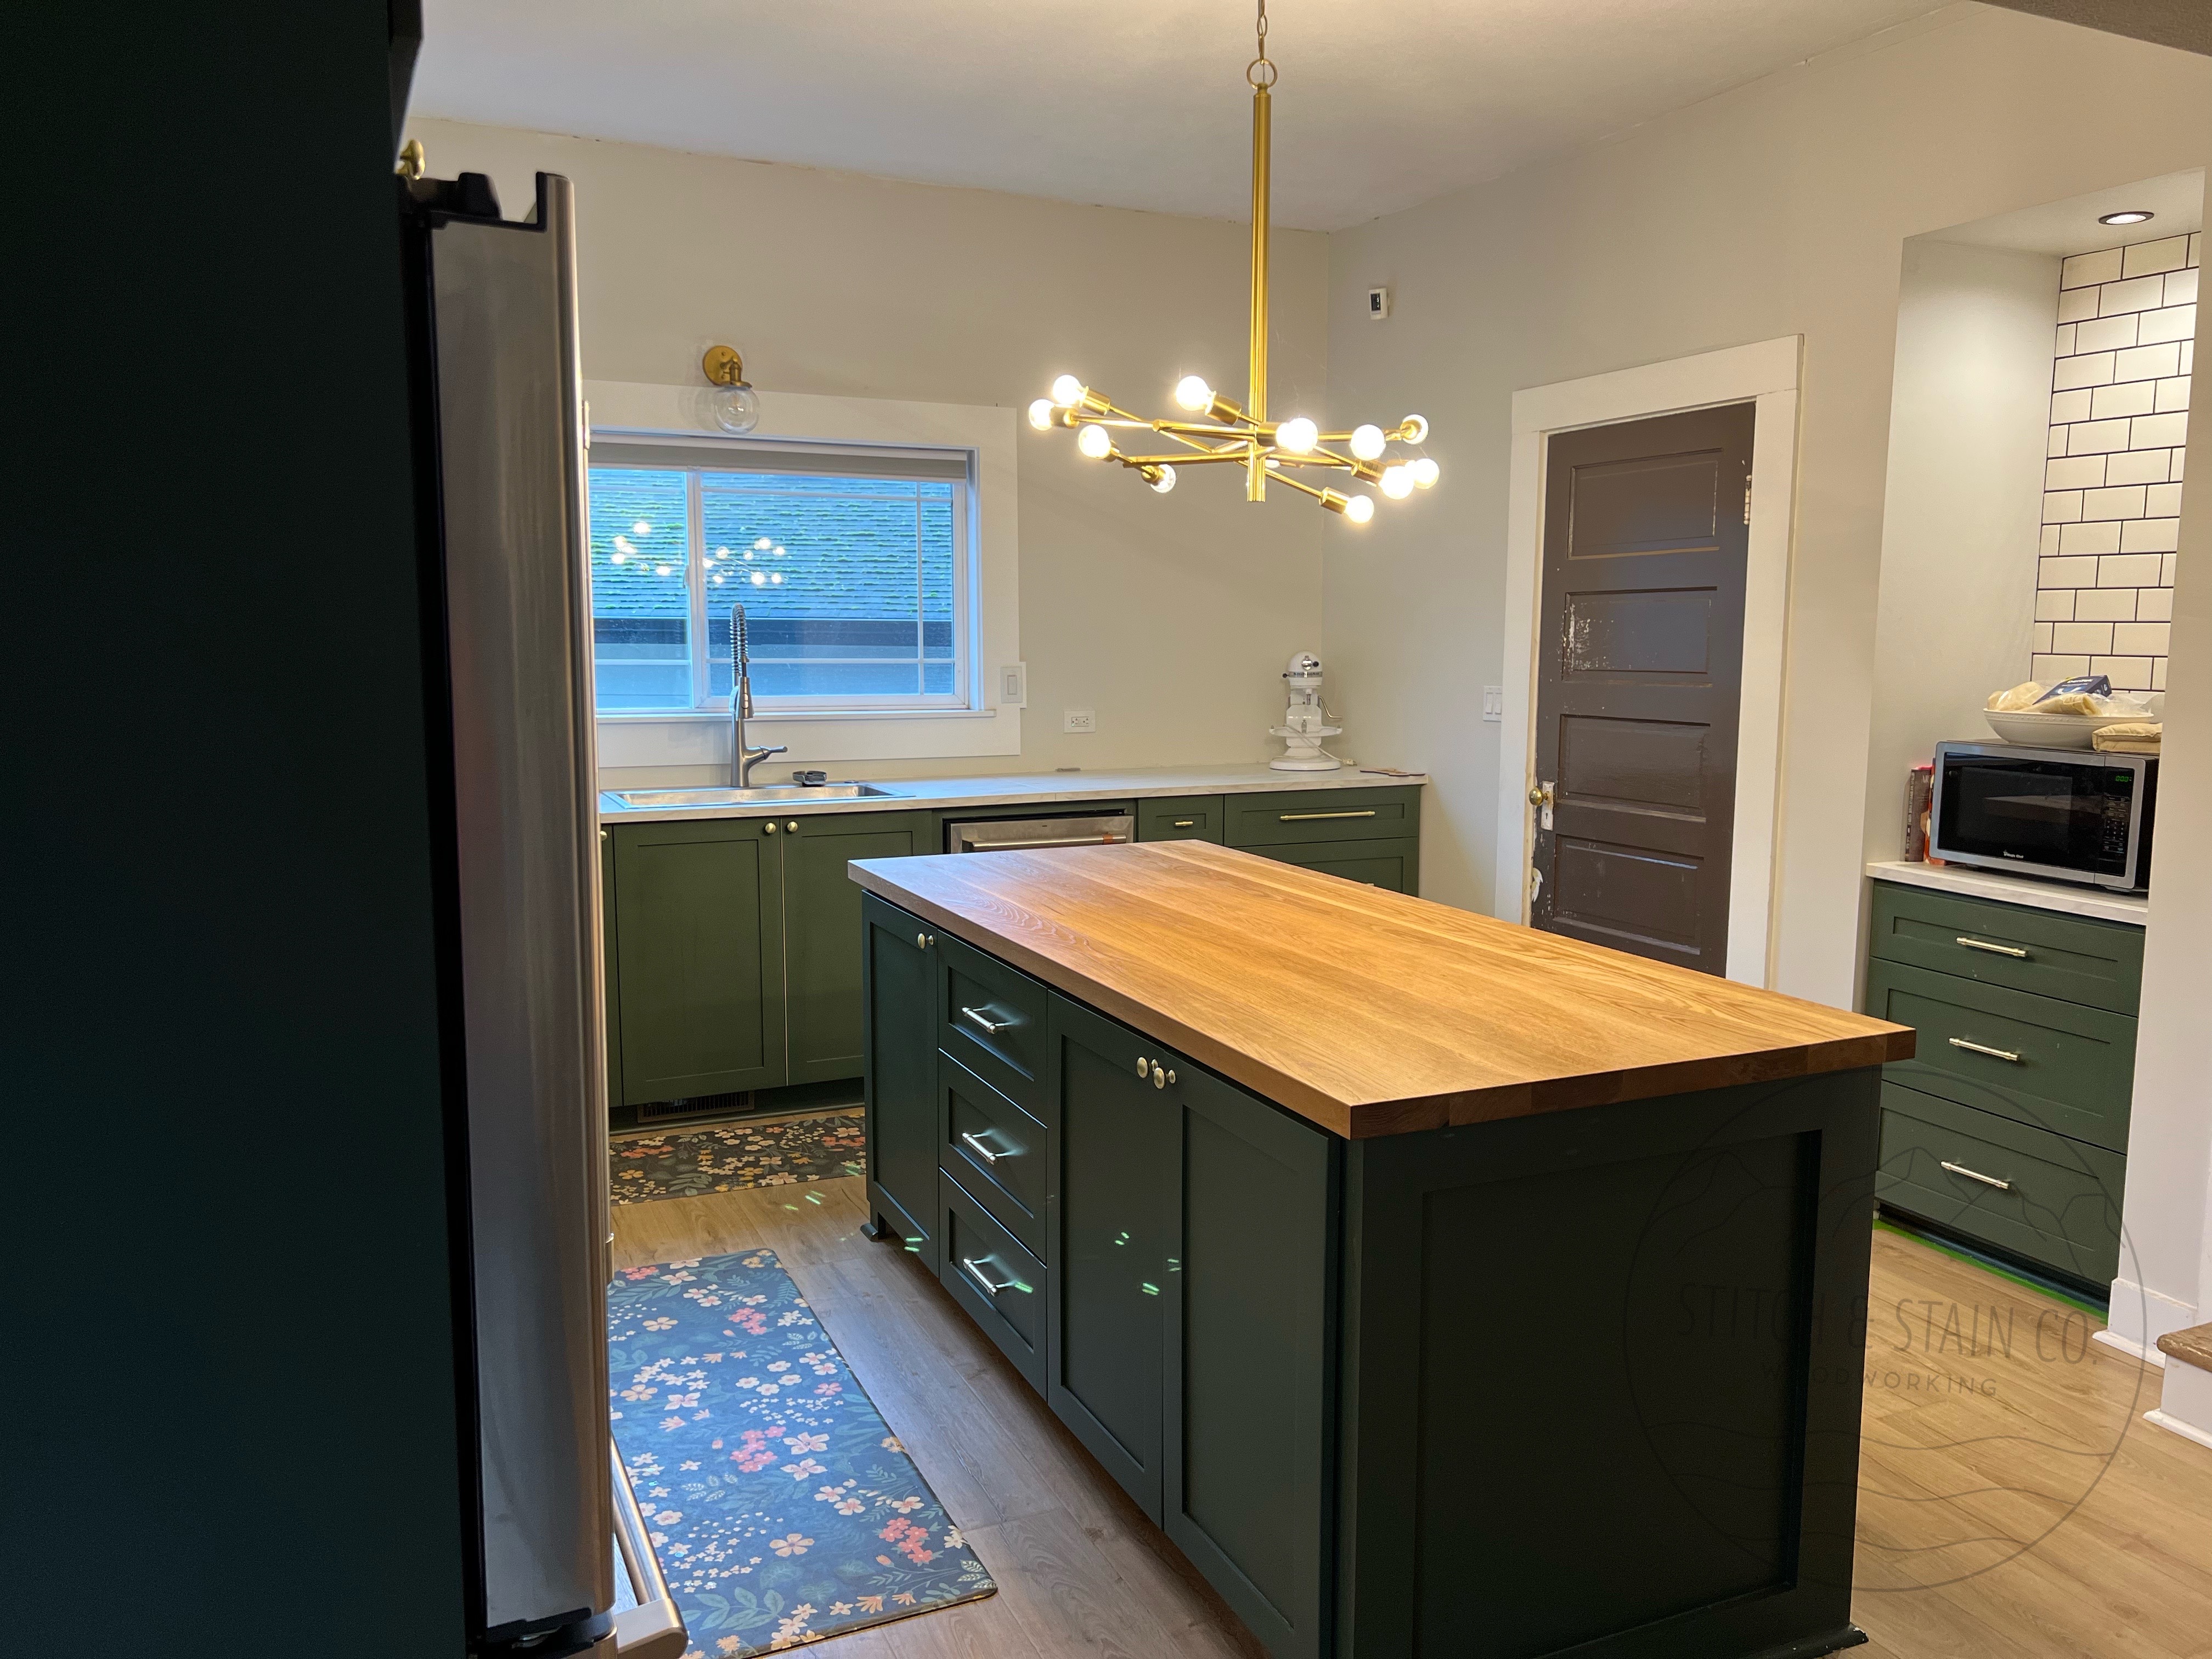
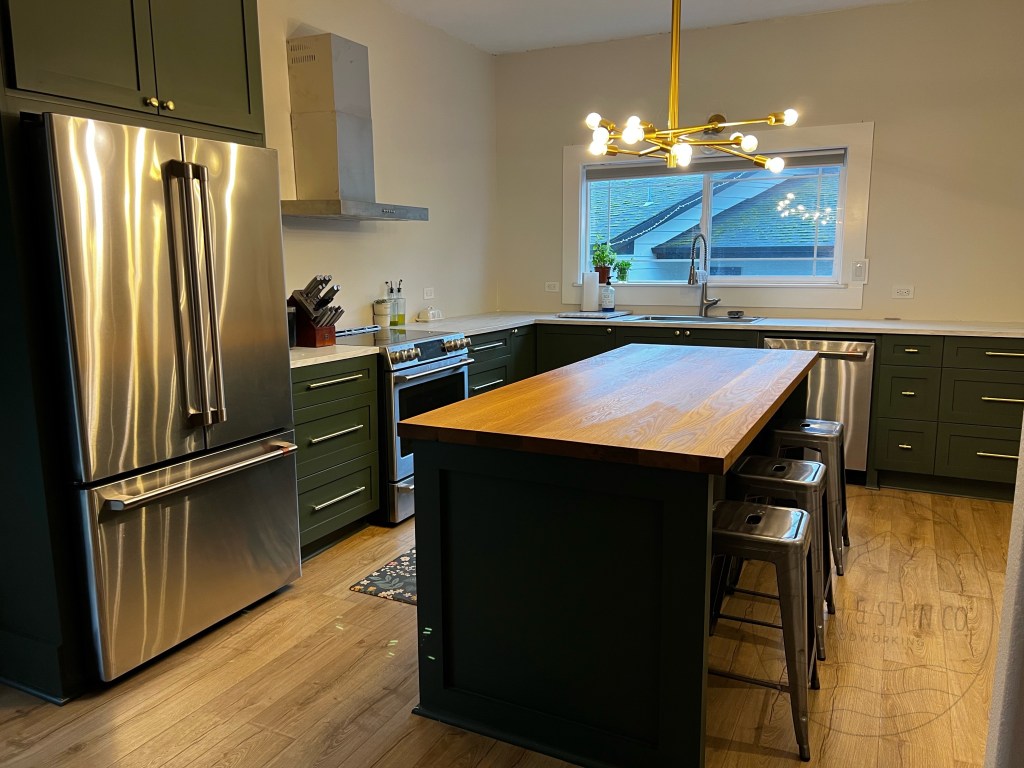
Today. This is what 80% complete looks like. This is what the kitchen looked like when we hosted Thanksgiving and Christmas. Our appliances are Cafe by GE. We purchased them through Flomer here in Woodburn. I’ll link them individually at the bottom of this post. We already had the Dishwasher and loved it, so we decided to continue using the line. We love them! The hardware is from Amazon. The sink and faucet are from Costco. The kitchen counters are from IKEA. I didn’t want granite or stone on my counters. I’ve had both and not a fan. The countertops in here before the take town were formica and I didn’t have to worry about scratching, burning, staining and it was nice. Instead of making the counters and adding Formica, I just bought them from IKEA and cut them to length. It was cheaper and the designs they had were what I was looking for.
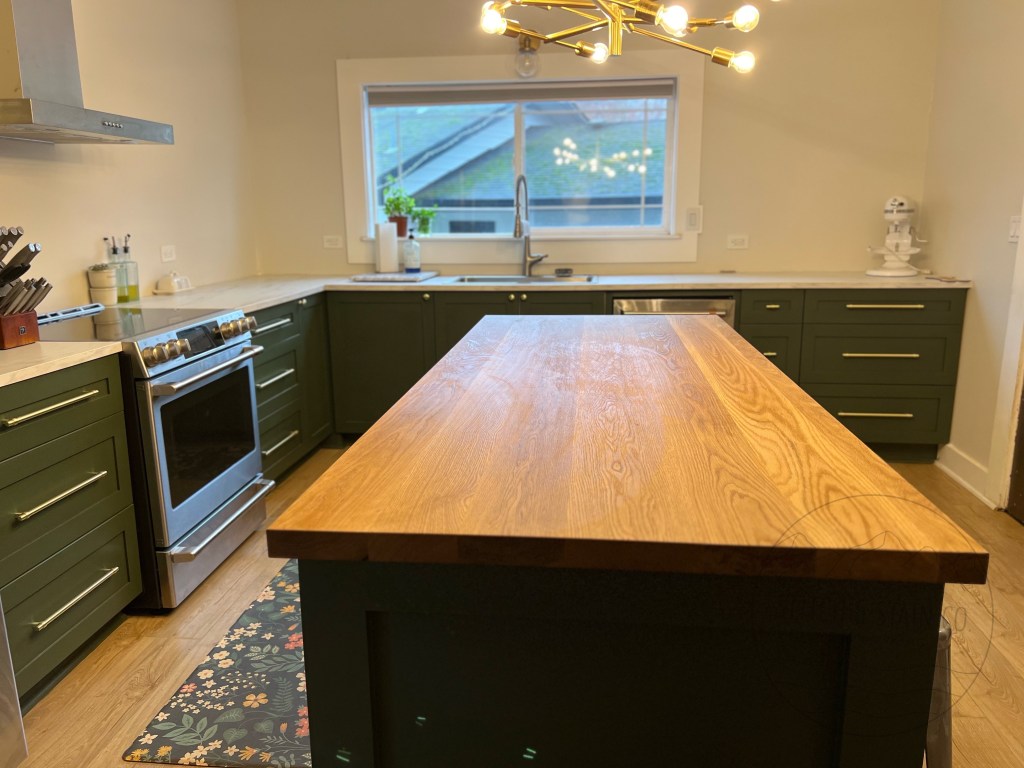
This week I start building the upper cabinets that will sit on the counter and go to the ceiling. One will go on the right side of the stove that will hold plates and cups and the other will go to the right of the sink against the wall. It’s going to hide my kitchen aid mixer with a cabinet door that goes up, so I can slide it in and out. The rest will be storage. Then I’ll build the range hood. Haven’t decided if I’m going to paint or stain that yet.
The last part will be adding all the crown moulding on the ceiling and cabinets. Im looking forward to completing Phase 2 hopefully in February.
Kitchen links: Dishwasher Slide-in Range refrigerator countertops


Leave a comment