


This will be the first time in about 2 years that I’ve updated this blog. I had to go through my camera roll in my phone and look back to 2023 and find out what I did. Turns out it was one of our returning clients and their Living Room area. I probably should give a quick update on what I’ve been up to.
Well… after I think May 2023 I took time off. My daughter was graduating high school and I didn’t want to be overwhelmed with orders, she’s now in her sophomore year in college. I also was dealing with some family health issues and I needed to make sure I was even more available while we figured it out. We found out what was going and just keeping up with those Dr appointments. Then… I decided to remodel our kitchen in August 2024 (I’ll have a post on that later), took a vacation to Disneyland and now it’s my son graduating in 2025. After some time off I’m feeling pretty good to take on some orders again and I really do miss it. That’s my quick update.
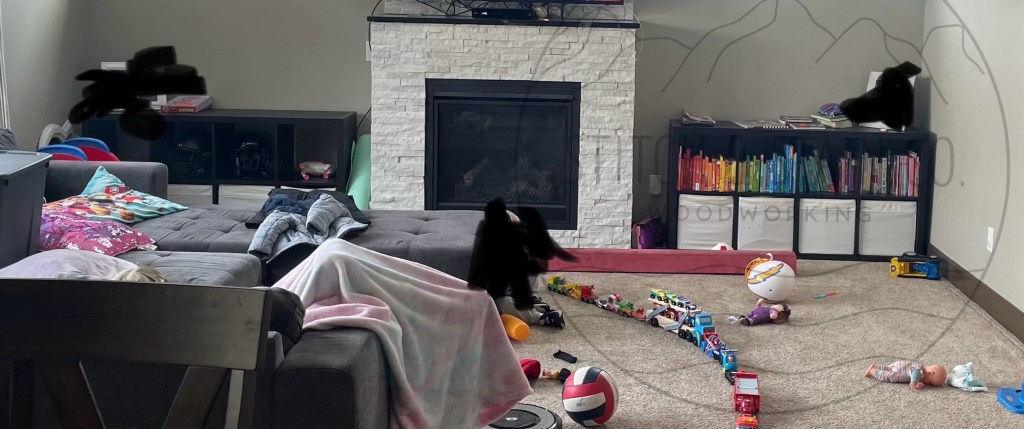
We’ve had these clients for about 3-5 years, following me from my days at The Fussy Duck. I’ll have to link some of the builds I’ve done for them. I think I have them in my blog. She’s been wanting these built-ins for a while. It was an area that needed some storage and with young kiddos, you need it! We finally got it on the books in December 2022. The goal was hide all the kids stuff.
So let’s get started..
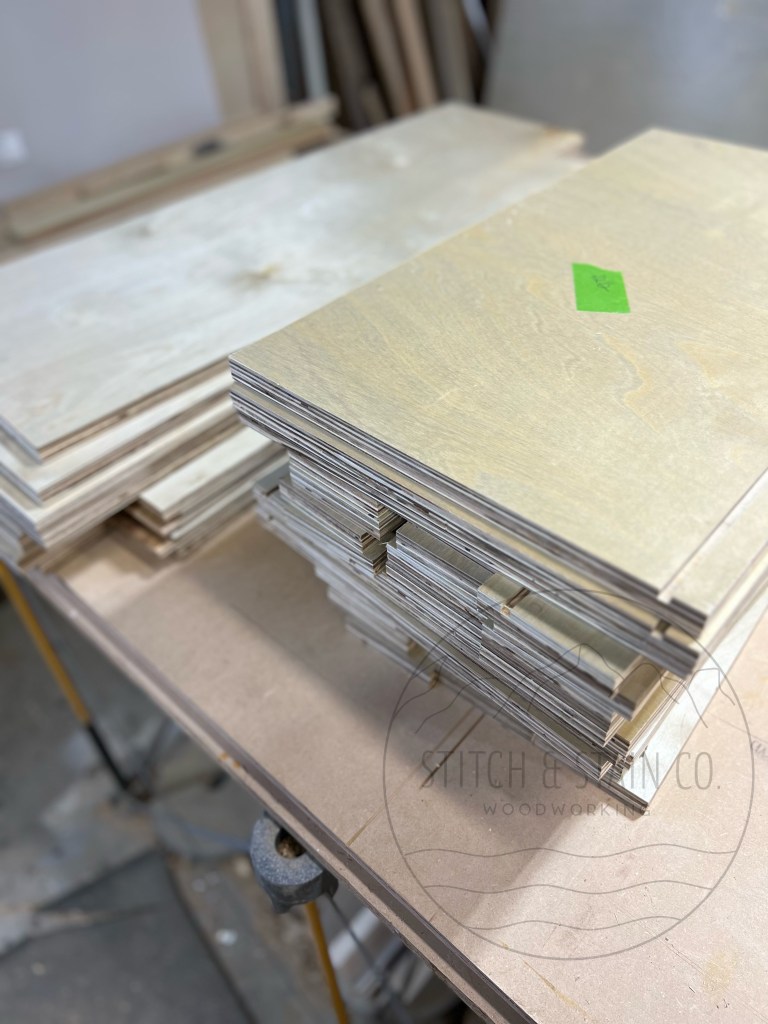
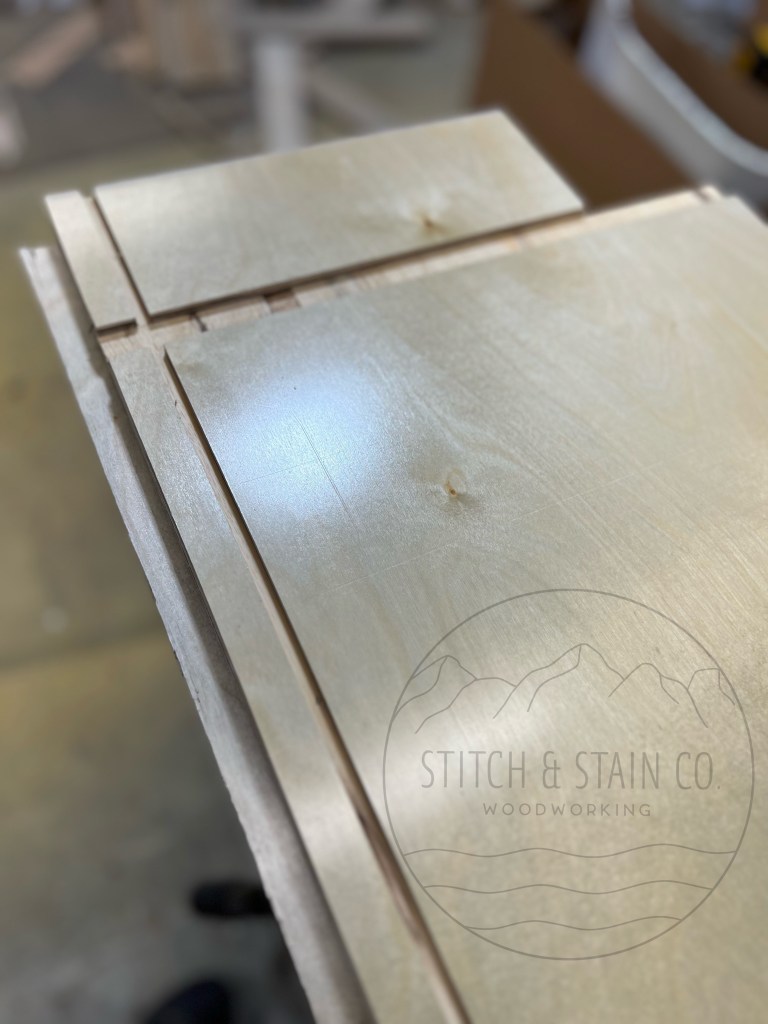
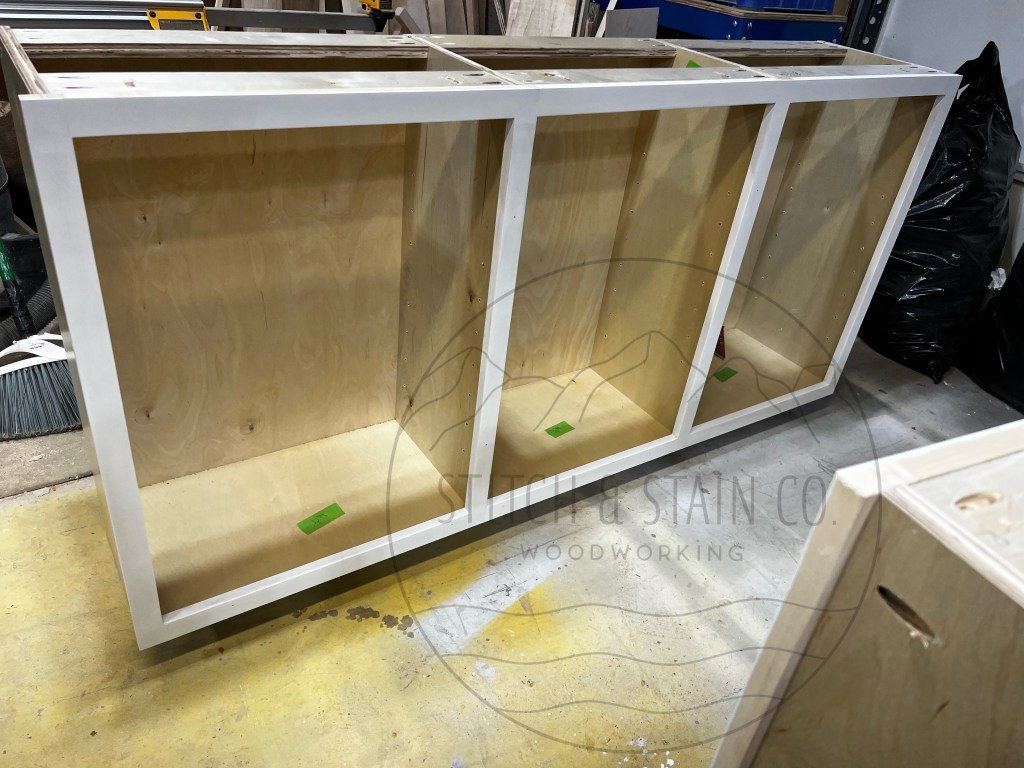
For the cabinets I used pre-finished birch plywood. This is probably the longest part of builds, all the cutting! I ripped all the pieces on the table saw, then added some dados on the bottom and backs. It’s for the bottom shelf and the backer. One thing that I try to remember is label with painters tape.

Here is the carcass all put together before I add the face frame. You’ll see some small pin holes. Those are for the adjustable shelves we added. 💡Tip: Do the pin holes BEFORE you put the carcass together. It’s a lot easier. Once both were built I started on the face frames.
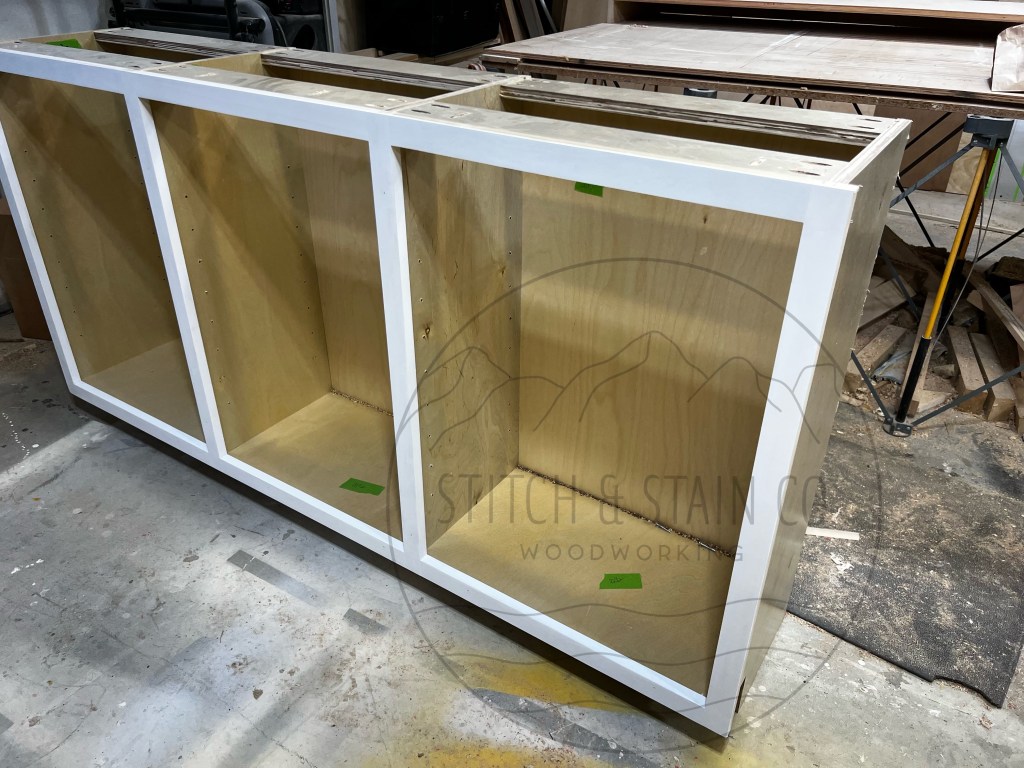
The face frames are Poplar wood. After I did test fits on both, I added some primer and started painting. Once they were dry I attached them to the box. I prefer to paint these before I attach, because I don’t want to tape the insides of the box with plastic. It’s annoying work, but when it’s needed I of course do it. Once all these were done I got to work on the doors. The doors are poplar and maple panels, they will be overlay doors.
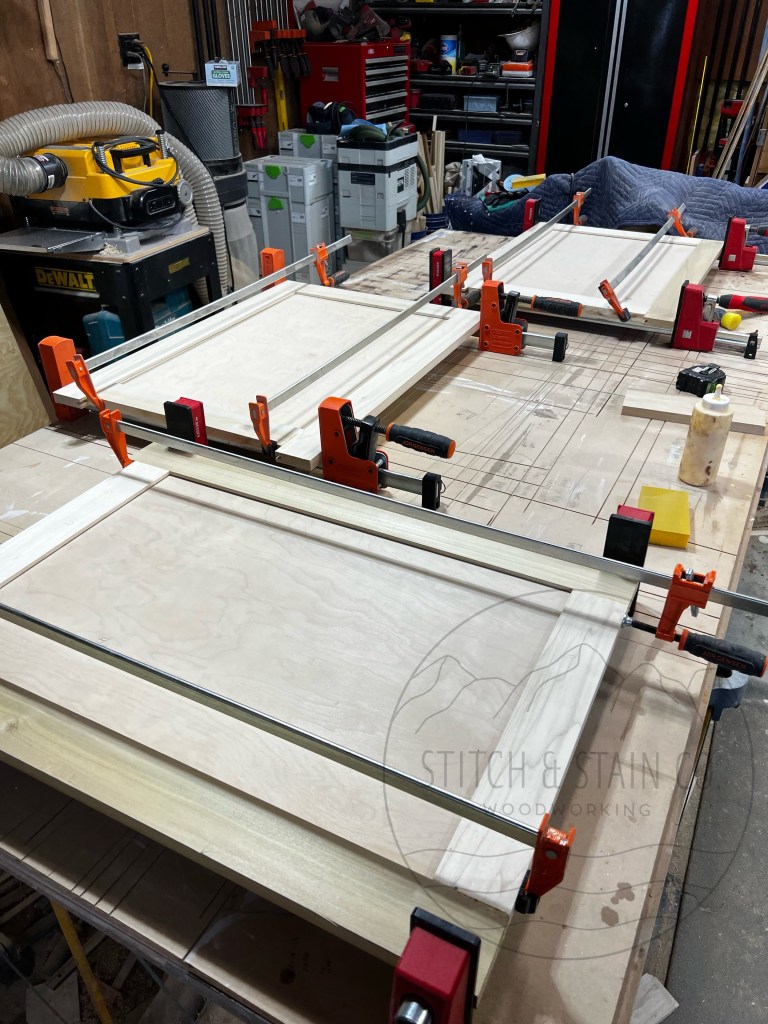
I didn’t get any pics of all the whole process .It’s a lot of cutting, a visit to the router table to add the dados to the styles and rails for the panel and then you glue them all up and into the clamps. I like to leave them on overnight, but depending on what season we’re in you can take them out after an hour or so. After some sanding, we’re ready to prime and paint.
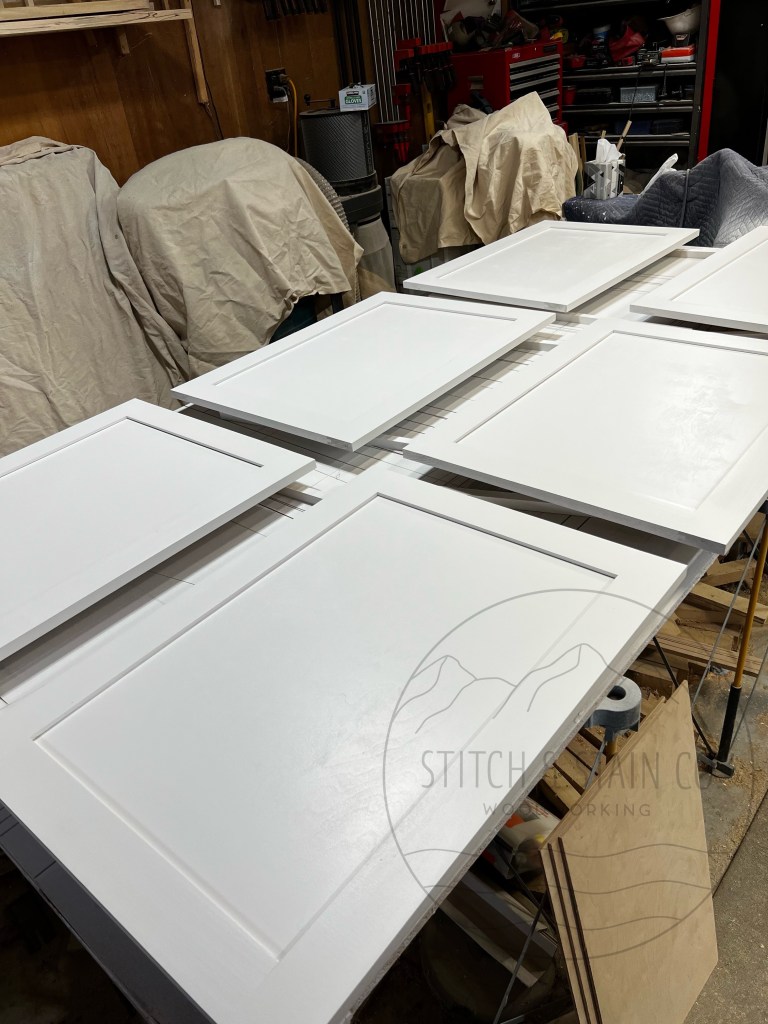
The paint color is Snowbound, by Sherwin Williams. It’s the same color as the walls.
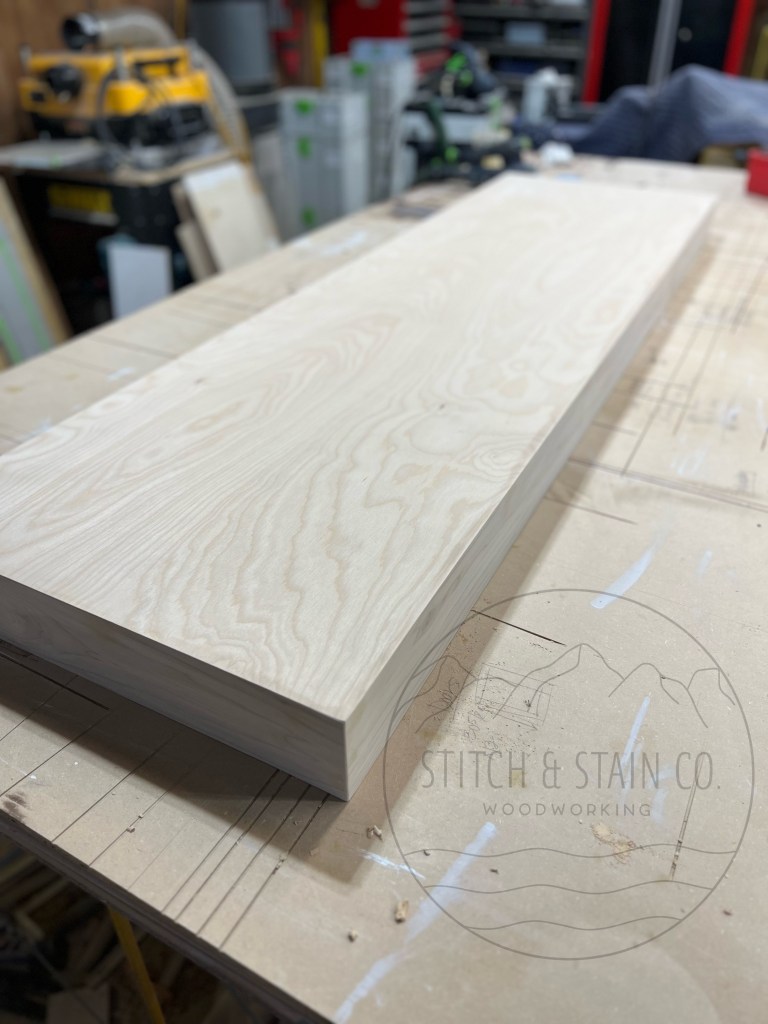
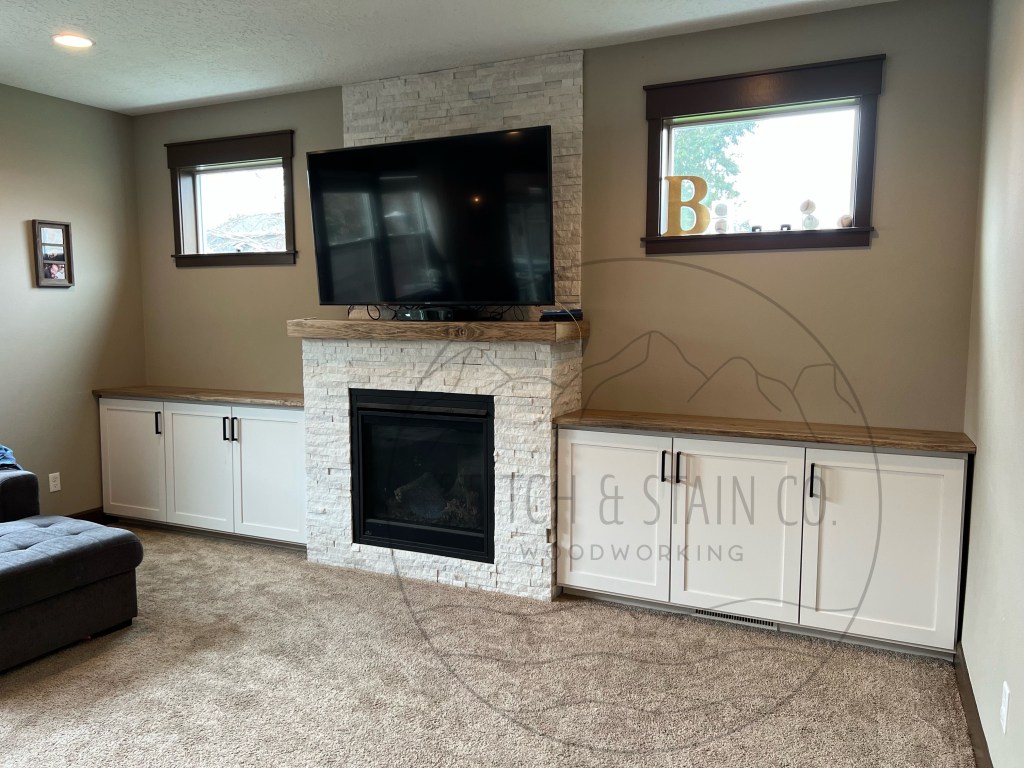
For the fireplace, we made this Mantel cover. It looks like a floating shelf, but it’s not. It has no bottom, so you just slide it over the top of the mantle and it’s set. We did make it a little wide then the fireplace, but the depth was exact.
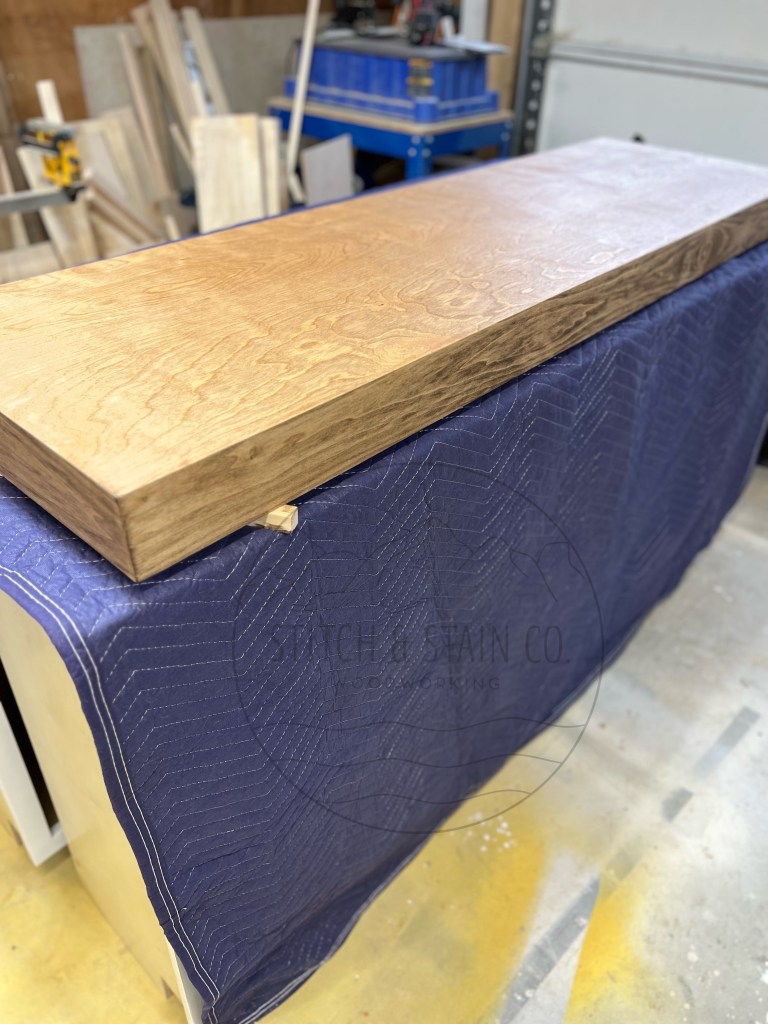
Here it is all stained and pretty. We stained this in Special Walnut, by Minwax. I can’t remember what the dimensions, were on this.
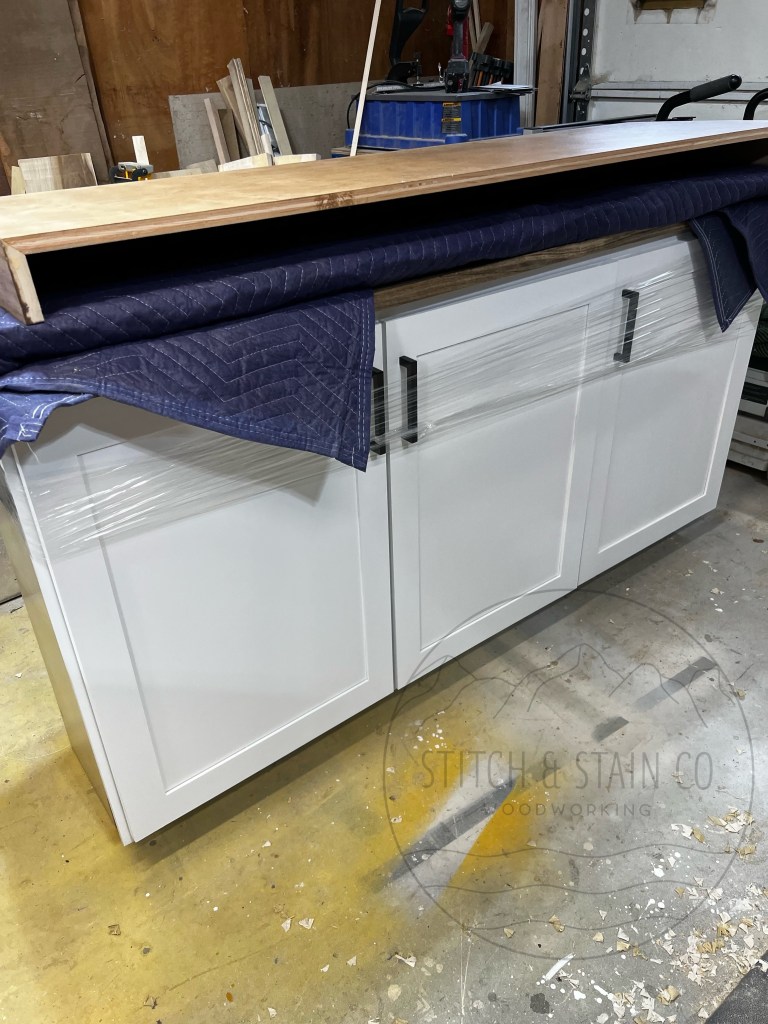
Once everything was dry it was time to wrap it all up and deliver. We used black hardware for the cabinets, I didn’t get any close up of these done. You can also see the back of that Mantel cover in this pic.

Here it is after it was all installed. It looks so different!! If I didn’t build the Mantel cover, I would’ve assumed it was already like that. I forgot to mention we also made the tops for the cabinets, also Poplar Hardwood and stained in Special Walnut by Minwax.

I was sent this picture later in the day, they love it! It’s pretty cool to see the things we’ve done when we head back there each time. There’s another project she’s been wanting done and it may been done in 2025. You’ll have to wait and see.


Leave a comment